Struggling to figure out where to place under cabinet lights for the best glow? The right positioning can make a big difference in brightness and shadow control on your countertops.
Typically, placing lights 1 to 2 inches back from the front edge provides optimal task lighting without creating unwanted glare. Keep reading for simple tips to perfect your installation.
What Counts as “Good” Under Cabinet Light Placement?
Good under-cabinet light placement requires delivering 300 to 500 lux onto your countertop. This range provides enough brightness for tasks without causing glare or shadows, ensuring your entire work zone is evenly lit. Position fixtures close to the front edge of the cabinet to reduce shadows from your body or the cabinet lip. Choosing the right color temperature, around 3000K to 4000K, offers a crisp, natural look that accurately displays food colors. Linear LED strips are ideal for seamless coverage, while puck lights should be spaced approximately 24 inches apart to avoid gaps. Use diffusers or frosted lenses to control glare and hide the light source. Proper placement ensures uniform brightness across all prep areas and sinks, avoiding bright reflections on glossy surfaces. For added protection in wet areas, consider selecting fixtures with waterproof recessed can lights to prevent moisture damage. For a more sculpted and decorative accent, consider integrating wall sconce candle holders into nearby wall areas to complement the task lighting with ambient warmth. To further refine your setup, check that your chosen control system offers smooth dimming and memory functions, as these features are commonly praised in top remote reviews for enhancing user convenience and overall lighting flexibility.
Front or Back: Where Should Under Cabinet Lights Go?
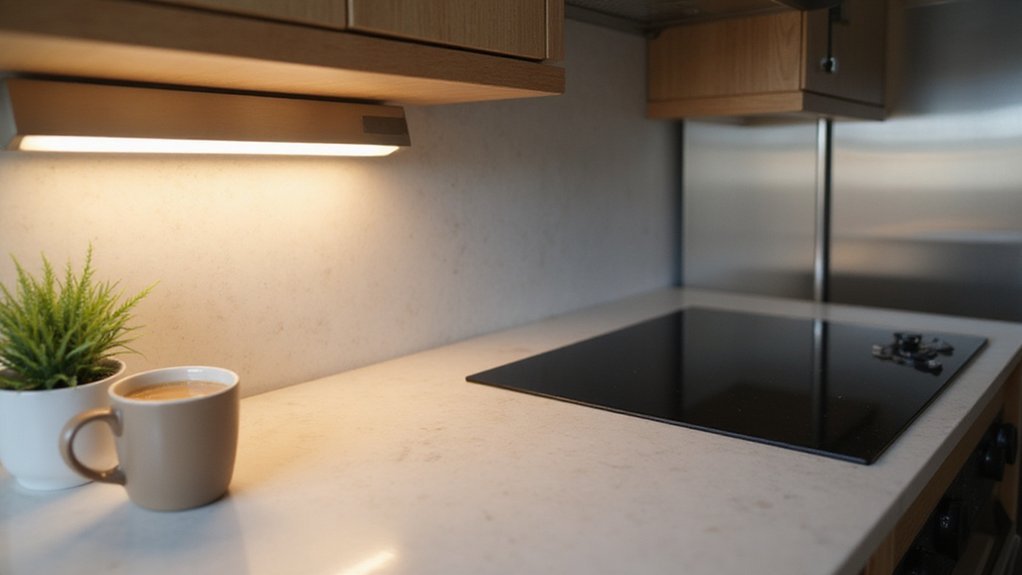
Front placement is generally the best option for under-cabinet lighting because it directly illuminates your countertop space, reducing shadows and improving visibility while working. Position the lights about 1 to 2 inches behind the front edge of your cabinet to minimize the body shadows cast during food prep. The exact distance depends on your cabinet’s material and trim depth, but ensure that the diodes stay hidden from view for a clean look. For task lighting, always prioritize front placement to maximize workspace illumination. Follow safe wiring tips to ensure a clean DIY finish when connecting the lights to your home’s electrical system. It is also important to check your Wi-Fi connection before finalizing the installation to ensure any smart controls work reliably. Remember that adjusting the direction of your lights can help reduce shadows, similar to how you would change a ceiling fan’s rotation for optimal airflow.
Placing the lights behind the front edge near the backsplash creates a softer, more decorative glow. While this can add ambiance, it often results in a dimmer work surface, which may hinder precision tasks. If glare from reflective countertops or aesthetic effect matters most to you, rear placement can work well. Keep in mind that the interaction of your lighting color and brightness with the backsplash’s surface will influence the overall look. It’s advisable to test both front and back positions before making a final decision to see which best suits your needs.
When Center Placement Makes the Most Sense for Under Cabinet Lights
Center placement is ideal when you want a balanced glow that covers both the countertop and backsplash evenly. It provides softer, more diffused illumination that highlights decorative accents without creating harsh shadows or overly bright spots. This placement is especially useful if fascia, trim, or shallow cabinets limit your options, or if energy efficiency takes priority over maximum task lighting. The light spreads gently across both surfaces, reducing scallops and intense bands of brightness. While it won’t produce the strongest lighting for detailed tasks, it offers a comfortable compromise for general-purpose use when you prefer balanced light over intensity. Note that this placement avoids the safety limits associated with using indoor-rated electrical fixtures in outdoor damp environments.
How to Keep Under Cabinet LED Diodes Hidden and Control Glare
To keep under cabinet LED diodes hidden and minimize glare, recess the LED strips into an aluminum channel fitted with a frosted or opal diffuser. This setup conceals the diodes from direct sight, preventing harsh hotspots and creating a softer, more even light. Position the strip closer to the wall or ceiling to distribute light smoothly and reduce glare, ensuring consistent spacing to avoid dark patches. Use concealed mounting hardware to prevent sagging over time, and hide wires with raceways or clips routed through the cabinets for a clean look. Matching the color of the channels with your millwork, either through painting or selecting appropriately colored materials, helps the entire lighting system blend seamlessly into your cabinetry. For a durable installation, secure the LED strips in the channel using hot glue to ensure long-term adhesion. This approach keeps your countertops looking tidy while making your eyes more comfortable. To further simplify control, you can integrate the lighting with a smart plug and voice assistant for hands-free operation.
The Best Way to Test Under Cabinet Light Position Before You Drill
To test the placement of your under-cabinet lights before drilling, you should first do a dry fit of the fixtures using painter’s tape. This allows you to evaluate spacing, brightness, and visual balance without committing to permanent holes. Place the lights temporarily at different positions—front-edge, center, and rear-edge—to see which arrangement provides the most even illumination and suits your cabinet layout. This trial run helps identify shadowy corners and dark gaps that overhead lighting might not reveal. Similar to how recessed can lights require careful positioning to avoid shadows and hot spots in a ceiling layout, your under-cabinet trial ensures the light is evenly distributed.
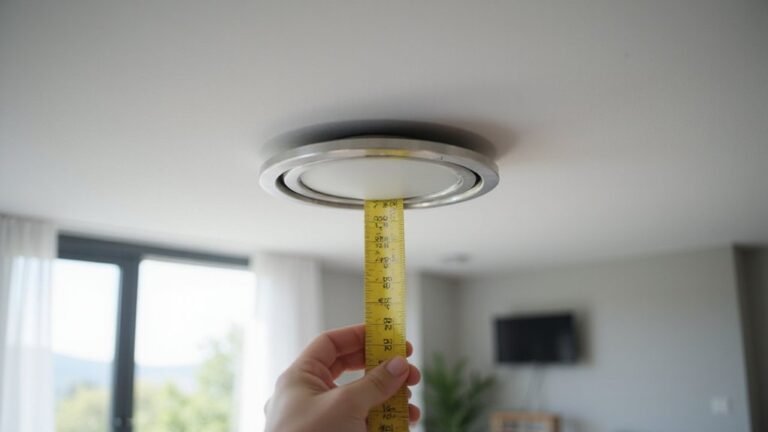
Next, turn your kitchen lights both on and off. In a darkened room, you can better see hotspots or uneven coverage that might otherwise go unnoticed. Confirm that the power cord can reach an outlet comfortably, and check that shelf brackets or hinges won’t block the light fixtures once installed. Mark the cabinet’s center line for puck lights or strip alignments, and measure the distance from the front lip to ensure proper placement. Reposition the fixtures as needed until the coverage looks even and balanced before you proceed to drill.
How to Measure Under Cabinet Light Levels at the Counter’s Front, Middle, and Back
To measure under cabinet light levels at the front, middle, and back of your countertop, use a lux meter or a phone app designed for light measurement. First, ensure the lights are securely taped in place and have been turned on for a few minutes to allow the illumination to stabilize. Then, record the light intensity at each designated spot—front, middle, and back—by holding the meter or phone sensor steady at countertop height. For connecting your light fixtures, using wire connectors that match your setup ensures a secure and lasting electrical installation. If any light malfunctions occur during setup, performing a reset procedure can resolve connectivity and pairing issues. Compare your readings to the recommended target of 30 to 50 foot-candles, which equals approximately 325 to 540 lux. The front measurement should be bright enough for chopping and prep work, ensuring you have sufficient task lighting. The middle reading helps confirm even light distribution across your main workspace. The back measurement checks for glare, reflection, and overall balance, especially near the backsplash. If your back reading exceeds the target level, consider adjusting the light placement or moving the fixtures forward to achieve a more uniform and glare-free lighting environment. Regularly verifying these points ensures your lighting is functional, comfortable, and visually balanced.
Where Under Cabinet Strips Should Sit Relative to Cabinet Doors and Gaps
If your cabinet lacks a front lip, add angle trim or quarter-round molding as a visual barrier. These details help hide the lighting from standing and seated eyes, maintaining a clean aesthetic. Avoid placing the strip at the back edge of the cabinet because it emphasizes the backsplash and can create deeper shadows, reducing overall brightness. To avoid repeat issues with your lighting controls, you can apply the reset process used for smart plugs to troubleshoot any inconsistent power connections. When concealment options are limited, a centered position along the underside of the cabinet can serve as an effective fallback. For a clean DIY finish, always follow safe wiring tips when connecting the strip to your power source.
Why Cabinet Depth and Frame Design Change Under Cabinet Light Placement
Your cabinet depth and frame design influence how far back you should place your under-cabinet lighting. Typically, a 1 to 2 inch setback is ideal for most installations. Deeper cabinets can create shadowing if the fixture is installed too far behind, resulting in a “cave effect” that darkens the front edge of your countertop. To prevent this, move the light closer to the front or add extra lighting near the rear. For a secure installation, always turn off the power at the breaker before handling any wiring.
For face-frame cabinets, a front lip or rail often forces the fixture to sit 2 to 3 inches back so it remains behind the trim, maintaining the cabinet’s visual appeal. Without this lip, frameless cabinets do not have that visual shield, so the fixture is more visible. In these cases, pushing the light farther back can help reduce glare, but it may also diminish the fixture’s brightness. Always measure your cabinet’s recessed underside depth first, as it determines the precise mounting zone and helps avoid frame obstruction. For tips on a clean installation, consider safe wiring tips from a ceiling fan guide to avoid common electrical mistakes.
How to Hit 300–500 Lux on Your Work Surface With Under Cabinet Lights
Use diffusers or opal lenses to soften the beam and reduce glare, ensuring even coverage on your work surface. To hit 300–500 lux, select high-quality, heat-resistant LED strips made for under-cabinet use, as their durability preserves brightness over time. Your ambient lighting handles general room illumination, so under-cabinet lights should focus solely on task lighting. Use a lux app to measure brightness; keep in mind that countertop color and mounting height can affect readings. To account for potential losses and dimming, add 10–20 percent to your target lux level, ensuring consistent illumination for detailed tasks. For a reliable starting point, look for LED retrofit kits that are specifically designed to deliver consistent output in tight spaces.