Wondering how to make your Christmas lights dance to music? Getting that perfect synchronized display doesn’t have to be complicated.
With the right planning, tools, and setup, you can create stunning light shows that groove perfectly with your favorite tunes.
Keep reading to find out how to turn your holiday display into a festive light and sound experience.
Plan Your Light Show Layout Before You Buy Anything
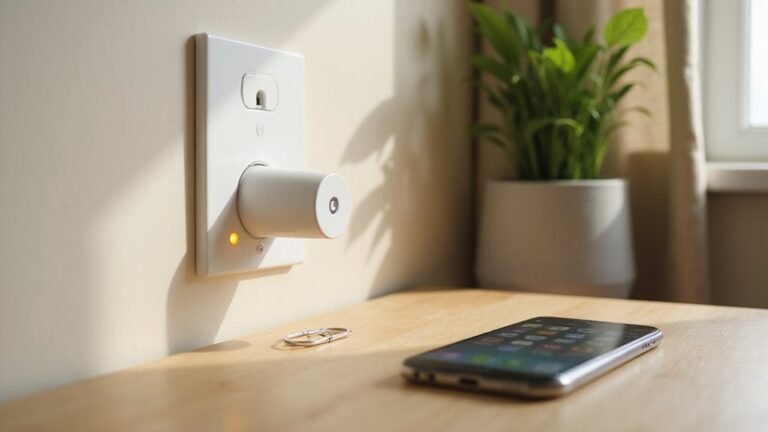
Before purchasing any lights, thoroughly measure your display area to ensure your design will fit your property. Accurately capturing the dimensions of rooflines, trees, and pathways helps you plan a realistic lighting footprint for each feature. Taking a reference photo from your main viewing position allows you to scale your layout precisely. This step prevents overbuying or undersizing your lights, saving time and money while ensuring your display looks just as envisioned. A clean DIY finish can be achieved by running LED strip lights along your ceiling molding with concealed wiring. Smart plugs can help manage energy usage and automate your show safely. Following a safe wiring method ensures your electrical connections handle the power load without risk.
Choose the Right Control Method for Your Display
The control method you choose depends on your display’s complexity and size. For small, static setups that only require scheduled on and off times, smart plugs or timers are the simplest and most effective options. They are easy to set up and keep your lights operating on a routine without much fuss. For larger outdoor displays, you may need a 12V, IP67-rated LED strip to ensure weatherproof durability and long-run reliability. If you need to shorten a strip for a precise fit, always cut along the marked cut lines to avoid damaging the circuit. For indoor accent lighting, you might instead consider best wall sconce candle holders to create a warm and static ambiance.
Mid-sized displays needing more dynamic features—such as music synchronization and scene changes—benefit from traditional sequence controllers. These devices translate your show data into specific lighting patterns for non-addressable lights, allowing for smoother transitions and coordinated effects. When troubleshooting issues with these controllers, you may need to check the capacitor if the lights flicker or fail to start, a common part replacement in fan and lighting circuits.
If you’re building animated RGB elements like trees or rooflines, addressable pixel controllers are essential. These controllers send individual data signals to each LED, enabling highly detailed motion and color effects. Common choices include devices like WLED or ESPixelStick, which provide fine control over each pixel’s behavior.
For large, multi-controller shows where precise timing is critical, network-based control is the best option. A show computer running software such as xLights can send E1.31 data over Ethernet to all your controllers, ensuring synchronized playback across the entire display. Matching your control method to your display’s size and animation goals ensures a smooth and impressive presentation.
Set Up Your Light Show Hardware: Controllers, Power, and Pixels
Start with controller placement by ensuring each unit is within reach of your lights and near a weatherproof outlet. Proper placement helps avoid unnecessary cable runs and makes troubleshooting easier. Assign a unique ID to each controller to prevent command conflicts when multiple units share a network, especially important in complex setups.
For power distribution, calculate the total wattage of your pixel strings and AC lights. Use separate, grounded circuits for each power source to stay within your controller’s output limits and prevent overloads. Keep mains-voltage power lines physically separate from low-voltage data cables to minimize electromagnetic interference, which can cause flickering or communication errors. Consider the benefits and uses of weatherproof connectors to ensure reliable connections in outdoor environments.
When installing pixels, test a few nodes early on. Confirm pixel mapping and channel counts before doing the full installation. This step ensures your controller correctly addresses each RGB node and that your effects will run smoothly, saving you time and frustration later. Choosing the right type of track lighting bulb can similarly prevent compatibility and flicker issues in your indoor setups.
Configure Light Show Software and Build a Digital Layout
Use the visualizer to accurately mirror your yard’s layout. Drag fixtures into circles or grids that match your physical setup, enable beams for added effects, and double-check fixture placement. This helps ensure your programmed effects will match your actual display, preventing surprises during operation. For unattended runs, LightShow Pi’s `start_music_and_lights` feature loops your playlist smoothly, so your show continues seamlessly without manual intervention. The visualizer also serves as a preview window to test lighting effects without connecting physical fixtures. If issues arise, repeating the pairing process often resolves connection failures between the software and lights. For those building an elaborate display, consulting a buyer’s guide can help you compare top chandelier with antlers on quality and performance.
Create the Music Sequence, Then Test the Full Show
Once you have chosen the exact version of the song and mapped its sections, you can proceed to create the music sequence and test the full show. Start by establishing precise timing marks to sync effects with beats and phase shifts. These marks ensure effects align perfectly with the music’s rhythm and transitions. Use orchestration techniques like layering fades, twinkles, and toggling on or off to build your effects. When designing effects, it helps to use waveform visualization to identify peaks and intense moments for precise alignment with the song’s dynamics. Begin with broad, simple patterns to establish timing, then gradually refine complex sections for accuracy. When programming effects, take advantage of copying repeated effects to save time, especially if the music repeats a section. Avoid swapping the song after sequencing because the timing marks are tied specifically to the version you used during programming. Once the sequence is complete, upload it to your main controller and run a full show test. Watch for timing problems such as effects happening too early or late, abrupt phase shifts, or effects that are missed entirely. Run multiple full-song tests and make adjustments as needed. Fine-tune the timing marks, audio cues, or speaker placement if the lighting and effects do not synchronize cleanly with the music. Persistent testing allows you to achieve a seamless, professional presentation where the visuals and sound are perfectly in sync.