If your ceiling fan remote isn’t working properly, a reset might fix the problem. Usually, it involves changing the batteries, turning off the power, and syncing the remote again.
Sometimes, adjusting internal switches or checking the wall switch can also help.
Keep reading to learn easy steps you can try right now.
Replace Your Fan Remote Batteries First
If your ceiling fan remote becomes unresponsive, the first thing to do is replace the remote batteries. Carefully open the back cover using your thumbnail or a small screwdriver, taking care not to crack the clips holding it in place. Check the inside for the battery type printed there—common types include CR2032, A23, or AAA. Make sure to use the exact replacement battery: using the wrong voltage or size will prevent the remote from working. Install the new batteries with the correct polarity. For CR2032, the positive side should face up; for A23, the negative side should face the spring. If your remote uses two batteries, replace both. Never attempt to recharge non-rechargeable batteries. Dispose of weak or used batteries safely by recycling, and discard them immediately if they are weak or leaking. After replacing the batteries, close the cover securely until it locks, then test the remote to see if it responds. If it still doesn’t work, try other troubleshooting steps, but replacing the batteries is usually the quickest fix. Always confirm the battery is seated properly before closing the cover to ensure a solid connection. Unlike a sunset lamp that projects a warm glow to mimic natural light, a ceiling fan remote uses electrical signals rather than optical effects. If the remote remains unresponsive, check for a loose wire connection inside the fan’s canopy, as a faulty electrical contact can prevent the receiver from recognizing the signal. For year-round operation, remember to adjust the fan direction for each season to maximize comfort and energy efficiency.
Start With a Simple Power Cycle
If replacing the batteries didn’t fix your remote, a power cycle is the next step. This process resets the fan’s receiver, which can clear minor electronic glitches and reinitialize its control system. Start by turning off the power completely at the circuit breaker—using the breaker is safer than a wall switch, which might leave residual charge. Wait at least 30 seconds; for a more thorough reset, wait up to 10 minutes to ensure capacitors fully discharge. Afterwards, turn the breaker back on before flipping the wall switch on. This clean restart often restores communication between the remote and fan. It’s a quick check before attempting to re-pair or access other troubleshooting methods. Remember, this step targets receiver issues, not hardware incompatibility or DIP-switch settings; those may require manual adjustment. Clearing the power is a straightforward way to reset the entire control system without any physical disassembly. Note that the 3-minute window after power restoration provides a limited time for pairing the remote to the receiver. For outdoor setups, ensure your ceiling fan’s exposure to sunlight doesn’t interfere with solar lights for decks that share the same circuit. A well-planned lighting design can prevent similar electronic interference in outdoor fixtures. After resetting the receiver, you may also need to adjust the fan direction depending on the season for optimal comfort.
Locate the Reset Button on the Remote
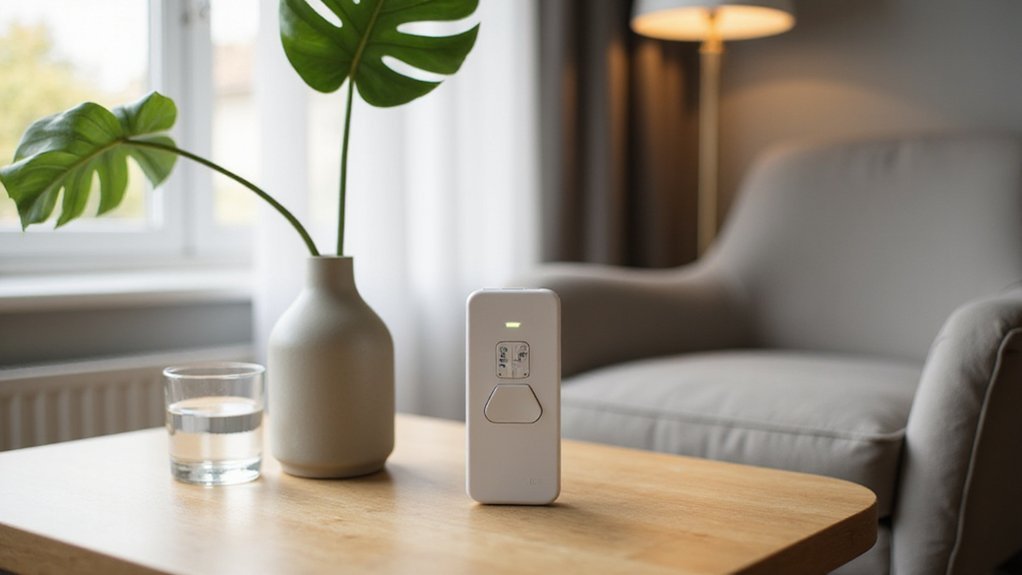
To locate the reset button on your remote, start by flipping it over. The button is usually hidden on the back or inside the battery compartment. Check the bottom or side edges, as placement varies by model. The reset button is often small and recessed, requiring a paperclip or pin to press. It may be labeled Reset, Learn, or Sync, so look carefully for those terms. This type of button is similar to the recessed design found on low profile recessed can lights, which also require a tool to access. If the button is inside the battery compartment, remove the cover first—some models need a small screwdriver. Before pressing, inspect the area for corrosion or damage. Because the button is recessed, you’ll need to apply firm, direct pressure with a paperclip or pin. Pressing it usually causes a light to blink or a beep to sound, confirming you’ve pressed the right spot. Remember, this discreet button is easy to overlook but serves an important purpose. For a more permanent installation, consider mounting the remote near a dedicated wall switch to keep it accessible. You can also try pairing the remote again by holding the reset button for five seconds.
Use the Learn or Sync Button to Pair
If pairing fails, you’re likely dealing with signal interference or remote compatibility issues. Repeat the power cycle, ensuring you follow the exact timing each time. Turning off the ceiling fan completely for at least five seconds is the first critical step. Once pairing is successful, test all functions—such as speed and light control—to make sure communication is fully established. If issues persist, a full reset may be required to clear the device’s memory and restore factory defaults. Additionally, ensure the remote’s batteries are fresh and properly installed to prevent weak signal transmission. Check that the fan’s DIP switches match those inside the remote for proper synchronization.
Match DIP Switches for Remote Reset
To match DIP switches for remote reset, you need to set the switches on both the remote and the receiver to the same pattern. First, turn off power at the breaker to ensure safety. Inside the fan’s canopy, locate the receiver, which has a small rectangular module with four DIP switches. Open your remote’s battery compartment to find an identical set of switches. Carefully match each switch’s position—whether up or down, or on or off—so that both units share the exact pattern. If the receiver is hard to access, start testing different switch combinations systematically until the fan responds. Once the patterns are aligned, restore power and test the remote within 30 seconds. The Wi-Fi receiver must be paired via the Smart Life app for full smart functionality. If the fan does not respond, the switches are likely already matched, and the problem might lie elsewhere.
Toggle the Fan’s Pull Chain or Wall Switch
To confirm the fixture isn’t blocking power to the remote, toggle the fan’s pull chain or wall switch first. Start by turning the wall switch on—without power, the remote won’t work. If your fan has a pull chain, pull it until the fan runs on high and the light turns on. A chain left in the “off” position can prevent remote commands from registering, making a seemingly good remote appear broken. This power troubleshooting step takes only seconds but can save a lot of frustration. After adjusting, test the remote for responsiveness on speed and light functions. If the fan still doesn’t react, the problem is likely elsewhere, but don’t skip this check—it’s the quickest way to rule out a simple power interruption. Restoring the switch or pull chain to the correct position often re-enables remote control immediately. For a thorough fix, use a wire tester to confirm power is off before handling any electrical connections. Always ensure the dip switches are set to the same configuration in both the remote and the receiver for proper pairing. Similar to how a Kasa smart plug requires a full power cycle to clear pairing errors, turning the fan’s power off at the wall switch for 30 seconds can reset the remote receiver’s internal state. For more complex setups, consider that a crystal chandelier often requires similar power cycling to reset its internal controls.
Reset the Fan Receiver Inside the Housing
To reset the fan receiver inside the housing, start by cutting power at the circuit breaker to eliminate any electrical shock risk. Remove the canopy with a screwdriver to expose the receiver. Locate the DIP switch bank on the receiver and change its position to a new combination, making sure to note the pattern you set. Next, open your remote and set its DIP switches to match that exact pattern. Reinstall the batteries in the remote after configuring the switches. This process of changing remote frequency settings helps resolve communication issues between the remote and receiver. Choosing the correct downrod length also ensures proper airflow and fan stability during operation. For recessed can lights, selecting the right trim is essential to achieving a clean, finished look and proper light distribution. Always confirm that the power is off before touching any wiring.
Test Fan Remote Range and Repeat If Needed
Testing the remote range is essential to determine whether a weak signal is the real issue. Start by checking at a short distance—about 10 to 20 feet from the fan—to verify basic operation. If the remote works well there but fails across the room, the problem likely lies with the distance or obstructions.
Remove any obstacles between the remote and the fan, such as furniture, walls, or metal beams, since these can block the signal. Ensure a clear line of sight for the most accurate test. Weak batteries can mimic range problems: if the remote only responds when held very close, replace the batteries first. After each change—whether swapping batteries, clearing obstructions, or re-pairing the remote—repeat the range test at the same distance to confirm if the issue is resolved.
If the remote responds reliably at the initial distance but not from farther away, move incrementally closer to identify the maximum effective range. Always perform multiple test attempts to account for possible interference. Interference from other devices or nearby light bulbs can affect performance, much like how recessed lighting components can create signal blockages if improperly installed. Consistent responses across multiple tries indicate reliable operation. If reliability isn’t maintained, the issue may lie with the receiver or electrical interference rather than the remote’s range. Just as with LED strip installation, ensuring a clean DIY finish often requires testing signal strength and removing obstructions.