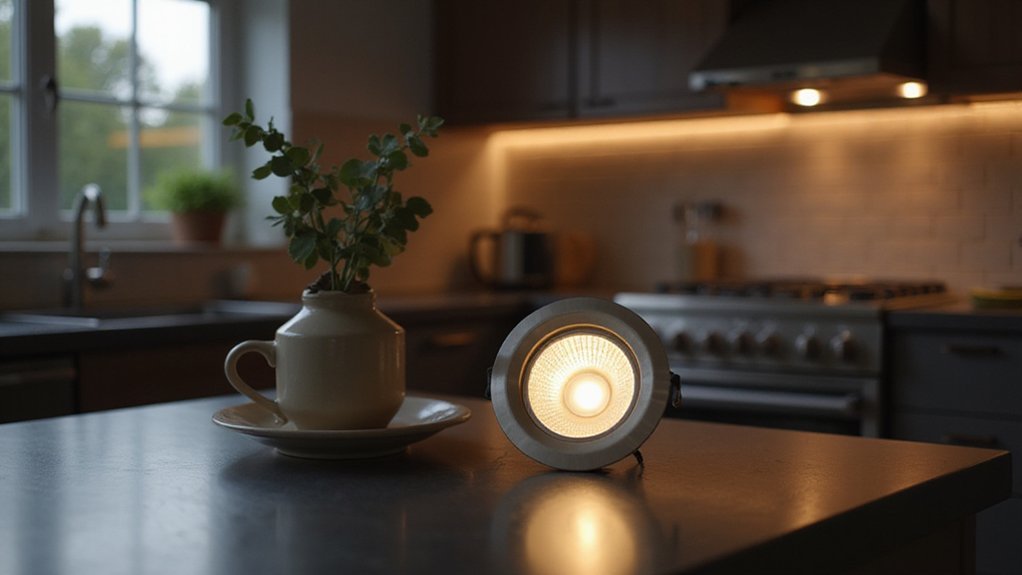
Are your LED downlights flickering unexpectedly? This common issue often has simple fixes, like swapping out incompatible dimmers or tightening loose wiring.
Understanding what causes flickering can help you fix it quickly and keep your lighting steady.
Below, you’ll find the main reasons behind flickering and easy solutions to restore your lights.
Replace Incompatible Dimmers to Stop LED Downlight Flicker
Replacing your old dimmer with an LED-rated trailing-edge dimmer is the key to stopping LED downlight flicker. These dimmers are designed to match the electronic load profile of LEDs, ensuring smoother control at all brightness levels. Before purchasing, always consult the manufacturer’s approved dimmer list to confirm compatibility. A compatible dimmer handles the lower power draw properly, which prevents flickering and results in stable, shimmer-free lighting. For a safe installation, remember to turn off the power at the circuit breaker before touching any wiring, just as you would when wiring a ceiling fan. This step is critical because dead remote controls often result from basic electrical issues like a tripped breaker or loose connections. Choosing a wall sconce with an integrated LED module can also reduce compatibility headaches, as these fixtures are engineered to work seamlessly with standard dimmers.
Swap Faulty LED Drivers Causing Downlight Flicker
Faulty LED drivers often cause downlight flicker even after replacing the dimmer. The most common issue is a mismatch between the driver and the LED load. Constant-voltage drivers cannot regulate constant-current LEDs, leading to irregular flickering. An undersized or non-dimmable driver can also produce unstable output, especially when dimmed at low levels. To avoid these problems, always select the correct LED driver with appropriate voltage and wattage ratings and ensure it has built-in circuit protection. Over time, drivers can degrade due to heat or electrical surges, resulting in intermittent dimming or strobing. Low-quality drivers may lack adequate filtering, making output ripple visible. Enclosed fixtures tend to overheat, which accelerates driver failure. Confirm a driver has failed by replacing it with a known good unit that matches your fixture’s specifications. Signs of immediate failure include burn marks or melted plastic, indicating you need to replace the driver promptly. If low-quality drivers fail, replacing them with high-quality, compatible options can prevent flicker. For landscape lighting, matching the driver to the specific constant-current LED type is critical to avoid performance issues. When installing a new driver, always use proper wire connectors to ensure a clean and secure electrical connection. Twist-on wire connectors provide a reliable grip for stranded leads, while push-in types offer a faster, tool-free installation for solid-core wires.
Tighten Loose Wiring That Triggers Random Flickering
Loose wiring is the most common cause of random flickering that doesn’t follow a dimmer pattern. Intermittent contact at terminals, push-in connectors, or junction boxes can cut power on and off, resulting in the unpredictable behavior. To fix this, start with a thorough inspection of all wiring connections, tracing from the light fixture back to the switchboard. Look for loose terminal screws, poorly seated connectors, or improperly installed bulbs, as these can all cause flickering. Tightening connections is usually enough to resolve the issue. Secure each terminal firmly, reseat push-in connectors properly, and make sure bulbs are fully twisted in. Check hidden ceiling cavities too, especially with recessed fixtures, where loose connections often hide. If multiple lights flicker simultaneously, the problem might be at a shared panel connection. Always turn off power before beginning any inspection or repair. For wiring inside walls or ceilings, hire a licensed electrician to ensure safety and proper repair, as hidden faults can pose serious electrical hazards. Consider using smart plugs to monitor the power draw of the affected circuit and identify patterns before inspecting wiring. For additional context, a similar seasonal adjustment can be made by switching the ceiling fan direction to maximize energy efficiency and air circulation in a room. Following the safe wiring tips from a dedicated LED installation guide can help prevent these issues when setting up new fixtures.
Balance Circuit Loads to Prevent Voltage-Related Flicker
Balancing circuit loads across phases is essential for preventing voltage-related flicker. Uneven loading on split-phase systems causes current to shift onto the neutral, leading to voltage variations at your downlights. To address this, reassign high-current appliances such as HVAC equipment to different phases, which helps reduce localized voltage drops. Proper load distribution also means keeping lighting circuits separate from heavy-draw appliances like dryers or air conditioners, as their startup surges can cause significant dips. For long wiring runs, this can be further mitigated by using proper wire gauge as specified in the installation guide for landscape lighting, which recommends sizing conductors to avoid excessive resistance that worsens voltage drop. For top performance, choose bulbs from Top Flood Light Bulb Reviews that prioritize stable operation under balanced loads.
Ensure the total load on each circuit stays below its branch capacity to avoid overloads that cause voltage sag. Even multiple low-wattage LEDs can add up and contribute to flicker if the circuit is already near capacity. For long wiring runs, using thicker conductors or relocating loads closer to the panel minimizes voltage drop, which above 5.0 percent can intensify flickering issues. Maintaining a balanced panel prevents one side from experiencing larger dips, thus stabilizing your sensitive LED lighting. Additionally, distributing loads evenly across phases helps minimize imbalances that can worsen flicker.
Install Signal Filters for Ripple Control Interference
Installing a signal filter is the most effective way to eliminate ripple control interference from your utility. These filters are designed to block the specific frequency of ripple signals, usually 750 Hz or 1050 Hz, preventing them from affecting sensitive lighting. To work properly, you must match the filter to your local ripple control frequency; otherwise, it won’t suppress interference. The filters are installed inline on the circuit or through a downlight hole, and it’s advisable to have an electrician handle the installation. They are compatible with LED, halogen, and dimmer setups, providing a noise-free mains supply. Using a filter targeted at the correct frequency directly addresses the interference—unlike wiring faults, which require different fixes. Proper installation requires a clean DIY finish using wire splice connectors to ensure secure and safe connections. Before beginning this electrical work, ensure you have the correct tools from your ceiling fan light bulb replacement kit to safely disconnect the power supply. Ripple control signals are injected into power distribution networks to manage off-peak appliances. Always verify that the filter’s frequency rating matches the signal used by your utility company, as mismatched filters will fail to stop the flickering.