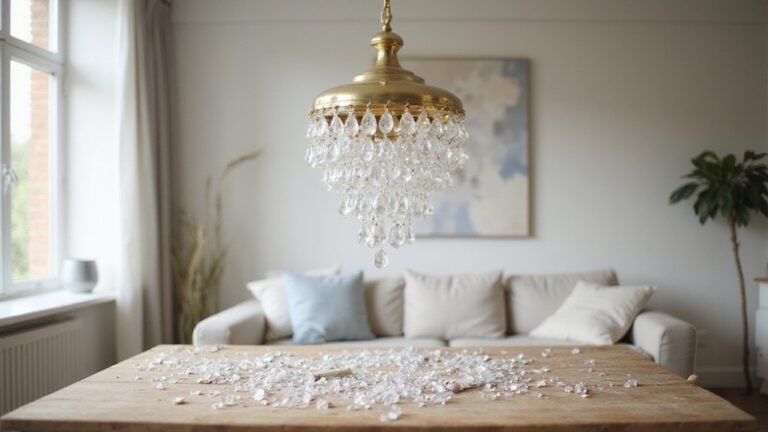
If your chandelier looks dull and lacks sparkle, upgrading its crystals is a simple way to restore its elegance.
By swapping out old or cloudy crystals with fresh glass or acrylic pieces, you can give your fixture a fresh, high-end look without any wiring work.
With just a few supplies and some planning, you’ll be able to create a stunning, designer finish in no time.
The details below will guide you through the easy steps to transform your lighting.
Reasons to Upgrade Your Chandelier With Crystals
Upgrading your chandelier with crystals instantly elevates its visual appeal and adds a touch of elegance. Crystals refract and scatter light, creating a softer, more intricate glow that adds depth and movement to any room. You can tailor the effect by choosing different types of crystals—opt for those with a high refractive index to achieve a vivid prismatic “fire,” or select simpler cuts for a subtle, refined shimmer. This simple upgrade transforms your fixture into a striking focal point that draws the eye upward, enhancing your interiors with a sense of luxury. You don’t need to replace the entire chandelier; just updating the hardware with crystals can produce a dramatically festive and stylish atmosphere. For a cohesive look, you can also coordinate your new crystals with wall sconce designs that feature similar finishes or glass styles. When selecting your upgrade, consider using larger crystals for a more ornate and improved visual impact. While enhancing your lighting, pairing your upgraded chandelier with smart plugs can help you schedule the fixture to operate only when needed. If you are converting a recessed housing, ensure you respect the safety limits of the existing electrical box and fixture weight.
Materials and Tools for a Chandelier Crystal Upgrade
To upgrade your chandelier with new crystals, you’ll need a selection of materials and tools. Start with affordable acrylic crystal garlands or teardrop-shaped acrylic crystals for a vibrant, sparkling effect. If you prefer a more traditional look, opt for glass crystals, which tend to have a more authentic shine. Connectors such as split rings, jump rings, and 16- or 18-gauge wire are essential for attaching crystals securely. Use needle-nose pliers and wire cutters to manipulate and trim the wire during assembly. Crystal garlands, like those commonly found in 3 to 6 ft strands, typically cost around $12, keeping the upgrade cost-effective. For added safety during any electrical work near the fixture, always confirm that the power is off at the circuit breaker before handling wires. On a related safety note, always use a sturdy ladder to reach the fixture and avoid overreaching during installation. Just as a ceiling fan’s direction can be adjusted for seasonal comfort, changing the fan direction seasonally is a simple way to improve energy efficiency year-round.
For installation, gather a sturdy ladder to reach the chandelier safely, painter’s tape for marking positioning, and drop cloths to protect nearby surfaces. Before attaching the crystals, clean them thoroughly with a microfiber cloth and glass cleaner to ensure maximum sparkle. Secure the crystals using primer pins and clear plastic washers, which help keep everything firmly in place. By having these tools and materials ready, you can efficiently upgrade your chandelier without needing professional help.
Where to Source Affordable Crystals for Your Upgrade
Online marketplaces like Amazon and Etsy are top sources for affordable crystals. You can find over 1,000 options for crystal prisms and sets priced as low as $15.96, which makes comparison shopping straightforward. These platforms offer a variety of lighting accessories, from finished strands to individual pieces, so you can build your collection without overspending. Buying crystal trays at around $20 each is a cost-effective way to gather many crystals with holes ready for attachment.
Discount craft stores such as Hobby Lobby and Michaels also carry inexpensive beading supplies, including clear acrylic beads, pearl beads, and other beading materials. These can serve as low-cost substitutes for real glass crystals. Mixing them with genuine crystals allows you to achieve a similar visual effect while reducing the overall expense of your upgrade.
Secondhand sources can be goldmine for budget-friendly crystals. Thrift stores like Goodwill often have chandeliers priced around $3.99 that you can repurpose for their crystals. Garage sales and estate sales are other good options for loose pieces. It’s also worth asking local lighting stores about damaged or surplus parts, which they may sell at a steep discount or give away. For free options, consider household items like leftover cupcake-stand crystals or old bead strands to fill in gaps in your collection.
Planning Your Chandelier Crystal Layout
To plan your crystal layout effectively, start by considering your room’s size. For a space measuring 12 by 14 feet, aim for a chandelier diameter of about 26 inches. This ensures the fixture is proportionate and enhances the room’s aesthetic without overwhelming it. In areas like dining rooms, position the chandelier so that its width is half to two-thirds of your table’s width. Hang it 30 to 36 inches above the tabletop to provide ample light while maintaining visual balance. For consistent illumination across the room, you might also consider how recessed can lights can supplement the chandelier’s focal glow. If your chandelier includes a remote control feature, ensure you follow the reset or pairing steps to sync the remote properly after installation. A flush mount ceiling fan can also be a practical alternative in low-ceiling rooms where a hanging chandelier is not feasible.
In open-concept spaces, leave at least 7 feet of clearance from the floor to the bottom of the chandelier. This prevents obstructions and keeps the space feeling open. When selecting crystal styles, match them to your layout by centering the fixture over key furniture areas — for example, directly above a dining table or kitchen island. In living rooms, position the chandelier to highlight conversation zones.
Mix different crystal shapes and sizes to add visual rhythm and interest. However, avoid competing with architectural features like beams or ceiling moldings. Your layout decision influences the room’s sparkle and atmosphere, so take your time to plan the placement carefully before installing.
Securing Crystals With Jump Rings and S-Hooks
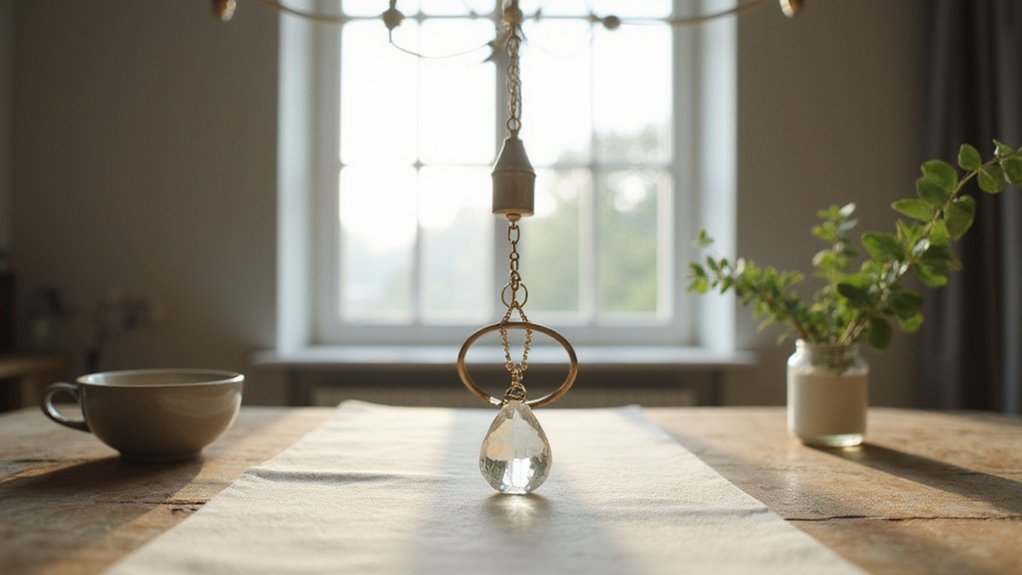
To secure your crystals using jump rings or S-hooks, start by choosing hardware that matches your chandelier’s scale. Use needle-nose pliers to open a jump ring slightly, then slide the crystal onto it before pressing the ring closed tightly. This ensures the ring won’t come apart and the crystal stays secure. For hook-style connectors, hang them directly from the chandelier arms without altering the structure, which makes swapping crystals easy. You can also add jump rings to create length or modify the length of necklaces as needed.
Always check each attachment by gently tugging to confirm it’s tight. Loose fittings can lead to crystal detachment, especially over time. Before installation, wipe down the chandelier surfaces so the hardware sits flush and holds better. Periodically inspect the closures; loose jump rings or S-hooks are common trouble spots that could compromise safety. Since these connectors allow quick removal, swapping or cleaning crystals becomes straightforward, so keep the ring size and strength appropriate for your crystals’ weight. Distributing weight evenly across the arms helps maintain balance and prevents sagging, resulting in a sturdy and attractive chandelier.
Design Patterns That Make Your Chandelier Look Expensive
Symmetry is one of the most effective ways to make your chandelier look expensive. Using mirrored placements and even spacing creates a formal, high-end aesthetic. Repeating crystal shapes within a single dominant cut keeps the visual language clean and intentional, avoiding clutter. Tiered layering adds depth, especially when graduated from short to long drops, which suggests a custom-designed piece. Incorporate period-inspired forms, like foliate motifs or classical finials, at key points to introduce refined sophistication while maintaining restraint. Pay attention to color combinations and lighting effects—these can transform the piece. Consistent hardware finishes and centered focal details reinforce the pattern, making the design cohesive. Limiting motif variety and aligning drops vertically help achieve a polished, crafted appearance that looks deliberate rather than random.
Safety Checks for a Long-Lasting Crystal Upgrade
Before upgrading your chandelier crystals, perform safety checks to prevent accidents and damage. Start by shutting off the power at the breaker, not just at the wall switch, and use a voltage tester to confirm there is no electrical current remaining. Removing the bulbs first helps minimize contact with hot components and reduces the risk of electrical shock.
Next, ensure your ceiling box can support the weight of the chandelier and that all mounting hardware is tight. Never allow the electrical wires to bear the load—only the hardware should hold the fixture. Inspect the frame for signs of metal corrosion, bent arms, or loose joints, as these can compromise stability. Examine each crystal carefully for cracks or chips that could cause them to break during handling.
Use a sturdy ladder and place drop cloths underneath to catch any falling pieces. Wear gloves to protect your hands from potential cuts and to avoid leaving fingerprints on the crystals. Clean the crystals thoroughly with mild soap and water, then dry them with a soft towel to prevent streaks or residue. Annual cleaning prevents buildup of dust and grime that can dull the crystals over time. After reassembling the chandelier, test the fixture for proper function, check for overheating, and verify that everything hangs level and secure for long-lasting performance.