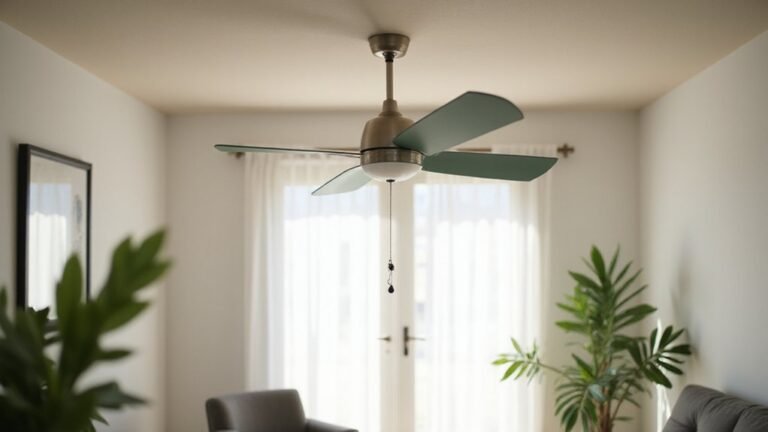
If your ceiling fan wobbles, it can be both annoying and potentially dangerous. The good news is that fixing it usually involves a few simple steps and some basic tools.
By checking the blades, screws, and balancing the fan properly, you can restore smooth, steady operation.
Keep reading to learn how to stabilize your ceiling fan with minimal fuss.
Diagnose Why Your Ceiling Fan Wobbles
A wobbling ceiling fan that persists across multiple speeds is usually caused by mechanical or mounting issues. Check for loose screws where the blades connect to the motor or where the downrod attaches to the ceiling. These small screws can loosen over time, leading to imbalance. Also, examine the ceiling attachment—if the mounting bracket or electrical box isn’t secure or is non-fan-rated, it can create structural instability that causes the fan to sway. When the fan swings rather than vibrates, this typically indicates a mounting problem, not an imbalance in the blades. Additionally, uneven dust buildup or warped blades can add weight discrepancies, which contribute to wobbling. For a similar principle of correcting weight variance, you could follow a DIY guide using a balancing kit with adhesive weights, much like a custom LED strip light project uses components to achieve even distribution. Correct diagnosis ensures you target the right problem and avoid unnecessary repairs. To confirm which condition to focus on, test the fan at all speeds, as wobble is often most pronounced at low speed, addressing it where most severe targets adjustments effectively. For a more rigorous check, consider how smart light bulbs work with integrated sensors to automatically adjust brightness, though this principle does not apply to fan balancing. You could also apply a finishing idea such as adding a decorative weight to the blade for visual appeal while correcting imbalance.
Gather Your Ceiling Fan Balancing Kit
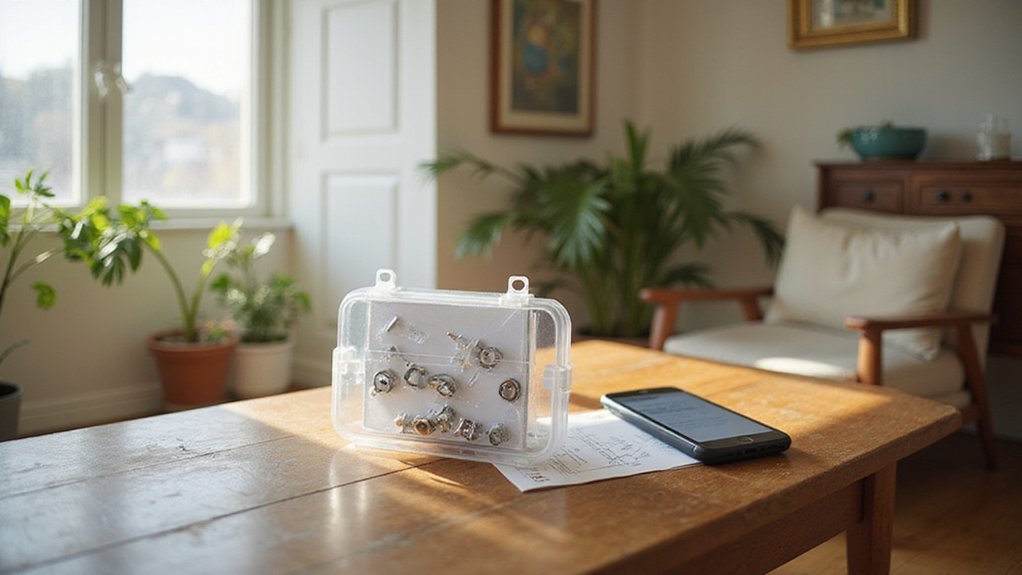
Once you’ve confirmed the wobble stems from blade imbalance rather than mounting issues, grab a ceiling fan balancing kit. These kits typically include a plastic balancing clip and adhesive weights, usually 3-gram or 5-gram pieces. They are universal and work on blades made of wood, metal, or plastic, regardless of their finish or color. Since the maximum wobble usually occurs at the highest speed, use that setting to test the blade’s response. A fan remote’s battery life can affect speed control reliability, so consider replacing the remote’s batteries before you start balancing. The balancing clip helps identify the precise spot that causes wobbling during high-speed testing. Open the kit before climbing your ladder to ensure the clip and weights are ready. Test one blade at a time, marking each position to avoid confusion. The clip helps identify the precise spot that causes wobbling; only after locating this position do you apply a weight. Always turn off the fan before making adjustments. Using multiple weights and clips allows you to fine-tune the balance for a very smooth operation. This process is similar to how flush mount ceiling fans maintain stability by keeping the motor housing close to the ceiling.
Avoid These Common Mistakes First
Many balancing attempts fail because you skip the obvious steps first. Always turn off the ceiling fan power before you start; blade movement can skew measurements and pose a safety risk. Next, check every screw—blade brackets, downrod, canopy, and mounting bracket—to ensure they are tight. Loose hardware is a common cause of wobbling and is more frequent than weight imbalance.
Be consistent when measuring blades. Use the same ceiling reference point for each blade and hold your ruler vertical to get accurate readings. Label the blades with tape to prevent mix-ups during the balancing process. If a blade is warped, bent, or damaged, replace it instead of trying to fix it with clips. Bent brackets should also be corrected before proceeding. Additionally, measuring distance from the ceiling to each fan blade helps ensure uniformity before applying any weights. For a clean finish, always verify the power is off using a non-contact voltage tester before touching any wiring. Consider how wire connector types affect the electrical connections inside the fan housing, as a loose or incompatible connection can cause intermittent power issues that mimic mechanical wobble.
Look out for hidden weights such as paint touch-ups that add extra weight or light bulb replacements that create socket imbalances. When applying balancing weights, move the clip one blade at a time in small steps. Press weights firmly in place and use the lightest weight that effectively balances the fan. Avoid these common mistakes to improve your chances of successful fan balancing. Remember that seasonal direction changes can also affect how the fan runs, so check the rotation setting after any repairs.
]
Balance Ceiling Fan Blades in 5 Steps
To balance ceiling fan blades in five steps, start by preparing the fan properly. Turn off the power at the wall switch or breaker and wait until the fan stops completely. Clean each blade thoroughly to remove dust and debris, then label them with tape for easy identification. Keep the fan de-energized when handling balance clips to avoid any risk of electric shock, which is a safety step similar to checking the downlight power before handling electrical components. This is especially important because flickering LED lights often result from a loose connection, much like the unstable power supply that can cause a fan to wobble.
Next, inspect the blades for alignment and hardware stability. Tighten any loose screws on the downrod, brackets, and holders. Different blade materials may respond differently; check for bent or warped blades to determine if replacement or further adjustment is needed. A similar precision is required when sealing recessed can lights to prevent air leaks around the housing.
Then, identify the problematic blade by running the fan at high speed. Use a balancing clip and move it across each blade to detect wobbling. The blade with the most movement is the one causing the imbalance. Once identified, adjust the position of the balancing clip along that blade to reduce wobbling, moving it gradually until the wobble minimizes.
Finally, install an adhesive balancing weight at the exact spot where the wobble lessens. Press the weight firmly onto the blade, making sure it’s secure. This method maintains the fan’s appearance without causing permanent damage and provides a smoother, quieter operation.
How to Test Your Fan After Balancing
To test your fan after balancing, run it at high speed. This setting makes wobble the most noticeable and easy to evaluate. Start with a counterclockwise rotation for about 10 to 20 seconds. Observe the wobble; if it is strongest only at one specific fan speed, use that speed for all subsequent tests. After moving the balancing clip to each blade, retest the fan at high speed to check for improvement. Once you identify the best clip position, attach the weight near the blade’s centerline and then remove the clip. Run the fan again on high speed to confirm the correction. Watch carefully for any noise, vibration, or persistent wobble. If the wobble shifts to a different blade or position, reposition the clip and repeat the testing process. Check the rotor alignment by ensuring that the distance from each blade to the ceiling is consistent across all blades. For alternative lighting solutions, consider battery-operated string lights for temporary setup flexibility. Compare the performance of your fan to wafer lights which often offer a simpler, flush-mounted installation with no moving parts. A final high-speed run should reveal a smoother, more stable operation, indicating the wobble has been effectively balanced. If the wobble persists, it may indicate a similar need to reset the device as required for certain smart plugs experiencing connectivity failures.
What If Balancing Doesn’t Work?
If blade balancing doesn’t fix the wobble, the cause is likely a structural issue rather than the blades themselves. Check for loose mounting brackets, improperly seated hanger balls, or misaligned downrods. These problems prevent the fan from stabilizing even when weights are added. Start by tightening all screws in a consistent order—examine the canopy, blade arms, and blade-to-motor connections first. Warped blades or uneven blade height also cause turbulence that balancing clips cannot correct. Measure each blade’s distance from the ceiling at the same point; any variation indicates sag or distortion. Cleaning the fan to prevent dust buildup can also help, as accumulated dirt causes imbalance and shaking. If the wobble persists after these adjustments, the root cause probably involves a deeper installation flaw rather than unbalanced blades. Performing a specific pairing sequence can ensure the remote and receiver are communicating correctly, which may resolve intermittent speed or wobble issues. Attempting a factory reset on any connected smart bulbs in the fan may also help clear pairing issues that affect performance stability. Over time, operating an unbalanced fan under strain can reduce the lifespan of its internal components, but just like with LED downlights, consistent use and simple maintenance habits can extend LED lifespan significantly.
When to Replace a Wobbly Ceiling Fan
If a ceiling fan wobbles persistently despite tightening blades, checking the mount, and balancing it, it’s time to replace it. Visible cracks, warped blades, or a burnt motor smell indicate deeper damage that repair cannot fix effectively. Fans older than 10 years tend to have decreased airflow and lower energy efficiency, making upgrading a smarter choice. An outdated unit may also clash with current decor styles, so replacing it can enhance the room’s look. Watch out for irregular speeds, ongoing vibrations, or damaged wiring, as these issues can pose safety hazards. If the cost of repairing exceeds half the price of a new fan, replacing it is usually the safest and most economical option. Your comfort and safety are best preserved by opting for a new, reliable fan rather than attempting repairs that may not hold.