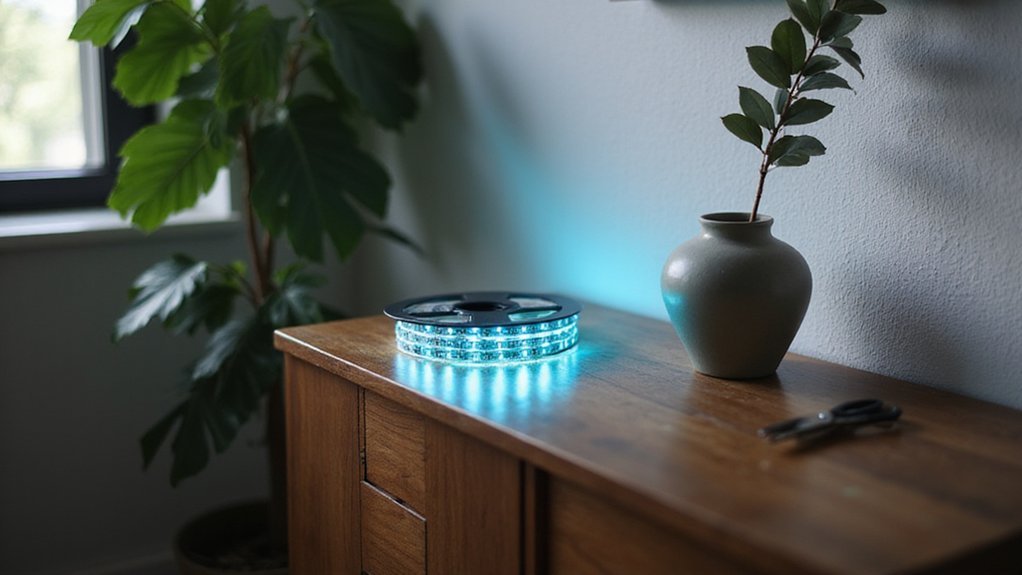
If you’re wondering whether you can cut RGB LED strip lights to fit your space, the answer is yes—but only at specific points marked by copper pads.
Knowing where and how to cut them safely can prevent damage and ensure your project works perfectly.
In this article, you’ll learn everything you need to know to cut and reconnect your LED strips properly.
Can You Cut Any RGB LED Strip Light?
Not all RGB LED strip lights are meant to be cut. You must check the manufacturer’s specifications before attempting to cut any strip. Cutting non-cuttable models, especially RGBIC types that rely on individual IC-controlled pixels, will damage the circuitry and ruin your project. Even among addressable RGB or RGBW strips, design differences dictate cutability—it’s not just about the generic RGB label. Many high-density or smart LED strips are not designed to be cut, so assuming all flexible 12V or 24V strips are interchangeable can lead to mistakes. Always look for designated cut points, usually marked by a scissor icon or copper pads, and ensure the strip is disconnected from power before cutting, much like turning off power at the breaker before wiring a ceiling fan to avoid electrical shock. A common alternative to cutting is using H-track connectors that allow you to segment runs without modifying the strip itself. When cutting, ensure a clean, straight cut to avoid damaging contacts, as copper pads can be easily harmed by uneven cuts. Following the correct etiquette preserves both your strip and safety, preventing costly damage or accidents. Understanding the correct fan direction for summer and winter airflow helps prevent similar mistakes when installing ceiling fixtures.
How to Find the Cut Points on Your RGB LED Strip
To find the cut points on your RGB LED strip, look for visual markers that indicate safe cutting spots. These typically include small scissor icons, thin transverse lines, or exposed copper pads. The copper pads are usually labeled R, G, B, and V+; these are not just guides but also electrical breaks that protect your circuit from damage. For buyers comparing lighting quality and design, similar to evaluating top floor lamps with shelves, ensuring proper cutting is critical for performance. The spacing between cut points varies with voltage. For example, 12V strips typically allow cuts every three LEDs, while 24V strips extend to six. Always refer to the printed indicators on your strip rather than relying on guesswork. Measuring your installation area beforehand and counting segments to the marked cut points helps ensure accuracy. If the markings are unclear or missing, consult the manufacturer’s manual before proceeding, as cutting incorrectly can mimic common issues seen in other low-voltage lighting systems. Cutting outside the designated markers can lead to uneven color mixing, circuitry faults, and wasted sections. Always cut precisely at the intended spots to maintain the integrity and appearance of your lighting setup. When in doubt, use a sharp pair of scissors to ensure a clean cut through the copper pads.
How to Cut RGB LED Strips Safely (Step by Step)
To cut RGB LED strips safely, make a precise, straight cut strictly on the designated cut line**, which is usually marked by a scissors icon. Cutting elsewhere breaks the circuit and destroys the strip’s design flexibility. Aim for a clean, straight line to keep the aesthetic integrity, as jagged edges can misalign the copper pads** and impact appearance. Planning ahead prevents wastage and errors by ensuring accurate measurement before cutting.
Ensure you preserve the four copper pads (R, G, B, V+) intact at both ends of the cut. These pads are critical for rejoining sections with connectors or soldering. Use sharp scissors or a hobby knife with a smooth, single motion to avoid damaging the surrounding components or the copper pads.
Before permanently mounting the cut section, always test it by powering it up to verify correct polarity and continuity. If the strip doesn’t light, double-check the connector alignment before proceeding. This step saves time and prevents wasteful rework or adhesive mistakes.
What Tools Do You Actually Need for Cutting?
You only need a few essential tools to cut RGB LED strips effectively. Start with sharp scissors or a precision utility knife to ensure clean cuts without damaging the fragile copper pads. Dull blades can crush the strip and risk damaging the internal wiring at the cut points. Use a ruler or measuring tape to accurately match the strip length to your installation space. Since the cut points are only at fixed intervals, precise pre-measurements prevent cutting too short or too long. After cutting, you can achieve a clean finish by applying twist on wire connectors to join any new wire sections.
Place the strip on a cutting mat or a protected surface to improve control and prevent slips. A flat, sturdy surface helps achieve cleaner cuts and reduces the chance of damaging the strip. Always verify that the strip is unplugged before cutting to avoid electrical shock or short circuits. Performing an electrical check before cutting is essential for safety, especially with powered strips. Following the manufacturer’s guidelines for your specific strip model can help prevent voiding the warranty. With these basic tools—sharp cutting implement, measuring device, stable surface, and safety check—you can achieve precise, damage-free cuts every time.
Reconnecting Cut Sections: Connectors vs. Solder
Connecting cut sections can be done with either clip-style connectors or soldering. If you choose connectors, verify that they are compatible with your strip’s width and pad count—RGB strips need four pads, while RGBW strips require five. Align each copper pad under the matching metal contact and close the latch firmly. Ensuring exact pad-to-pad matching, such as red to red, is crucial to avoid color mixing and preserve the intended lighting effects. Before connecting, you must remove rubber covers to expose the circuitry for proper pad alignment. For a polished look, consider a top gold floor lamp that combines quality and style. To ensure safe wiring tips for a clean DIY finish, always power off the circuit at the breaker before handling any live connections. For a secure outdoor installation, you should also seal all connections with silicone or waterproof tape to protect against moisture damage.
Soldering provides a more durable and low-profile joint but demands some skill. Use heat shrink tubing for protection after soldering to prevent short circuits. Keep conductors separated during the process to avoid shorts, and verify the correct orientation of positive and color pads before making a connection. Misalignment can lead to failure, so double-check your work. While soldering offers a longer-lasting connection, connectors are quicker and easier for no-solder jobs, making them suitable for testing or temporary setups.
What Happens If You Cut an LED Strip in the Wrong Place?
Cutting an LED strip in the wrong place can cause permanent damage and malfunction. The correct cutting points are marked by copper pads, and cutting outside these areas breaks the internal circuit. When you cut between these designated pads, the circuit beyond the cut is interrupted, which causes that section to turn off and stop working altogether. This results in a dead segment that cannot be powered or controlled properly without repair. Cutting in the wrong spot often leads to a section failure because the entire segment beyond the cut becomes non-functional, as confirmed by the circuit continuity requirements.
Severing copper traces may also cause electrical issues, such as flickering or instability, because the damaged path disrupts the strip’s electrical integrity. Always verify the manufacturer specifications before making any cuts to ensure proper voltage and current limits. Sometimes, the portion before the cut still lights up, but anything after remains dark, making the segment unusable without proper repair. Besides malfunction, cutting in the wrong location increases the risk of hazards like short circuits or sparks. To avoid these issues, always cut only at the marked scissor icons printed alongside the strip.
Why RGBIC Strips Can’t Be Cut Like Standard RGB
RGBIC strips cannot be cut like standard RGB strips because they rely on independent control chips to manage multiple colors simultaneously. Cutting them outside designated points disrupts the signal pathway between the controller and downstream chips, causing sections to go dark or lose advanced effects. This architecture enables color segmentation, allowing each chip to display unique hues, but it also means trimming must be done precisely at specific locations. Even if you cut at a marked section, you may lose programmed effects because the remaining segment may no longer match the controller’s expected number of segments. Standard RGB strips, which depend on synchronized control for uniform color, tolerate cutting at marked points without much issue. However, RGBIC strips prioritize multicolor flexibility over easy length adjustment, so careful planning is essential before trimming. Additionally, cutting at the copper pins on the strip is technically feasible but can pose risks. For a similar reason, choosing the right component for a device, like selecting the best capacitor for a ceiling fan, requires careful attention to specifications to avoid performance issues. Always verify the strip’s datasheet to confirm cut points before making any modifications. If you need a flexible lighting structure instead, consider building a DIY tripod floor lamp that allows for adjustable height and custom placement.
Don’t Make These Cutting Mistakes
Cutting RGBIC strips at the correct location is essential for proper functionality. Always cut only at the designated cut line, which is marked between copper pads. Cutting elsewhere interrupts the circuit, creating dead sections or flickering lights. Before cutting, ensure the power is disconnected to prevent short circuits that can damage your controller or LED strip. Use sharp scissors to make a straight cut; dull blades can tear the PCB or cause stress on adjacent LEDs, leading to damage or uneven lighting. Using the right step-by-step method for measuring and marking the cut point prevents these common errors. For a consistent spacing between cut points, reference the layout rules used in recessed lighting to ensure even illumination.
Avoid mismatched connectors by verifying polarity and pin count before attaching them. Mismatched connectors can cause signal loss or incorrect color display. After cutting, insulate the exposed copper pads with electrical tape or heat shrink tubing and reseal waterproof coatings to maintain water resistance. Always test the strip’s functionality after cutting to ensure the color calibration remains consistent. A faulty cut can cause uneven lighting or impossible-to-repair defects later. For reliable connections, consider using wire connectors like solderless clips or terminal blocks designed for LED strips. Measure carefully, cut precisely, and verify the strip’s performance before final installation.