Thinking about installing recessed can lights but unsure where to start? Knowing how many you need and how to position them is key to a balanced, safe setup.
Whether you’re aiming for ambient lighting or task-focused illumination, a few simple calculations can guide your plan.
Keep reading to learn how to plan and execute your recessed lighting project with confidence.
How Many Recessed Lights Do You Need?
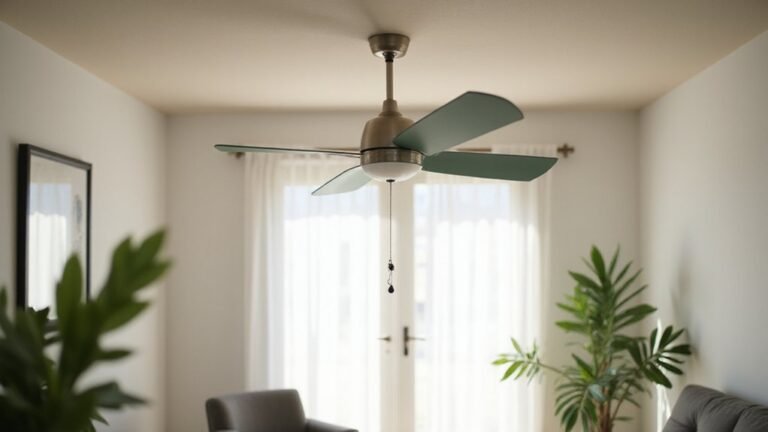
To determine how many recessed lights you need, start with the room’s size and purpose. A general guideline is one light for every 25 square feet, suitable for living rooms or bedrooms where ambient light suffices. For task-heavy spaces like kitchens or work areas, you may need one light every 4 to 6 square feet to ensure proper illumination. For example, a 12×12 foot room (144 square feet) would typically need about 4 to 6 lights. Ceiling height also influences spacing: divide the height by two. An 8-foot ceiling suggests placing lights approximately 4 feet apart, while a 10-foot ceiling increases that spacing to about 5 feet. Keep the first row of lights 2 to 3 feet from the walls to prevent dark corners. Considering cost, note that professional labor can significantly increase total installation expenses. Additionally, consider the color temperature and lumen output of the fixtures, as larger lights (6-inch) cover more area than smaller ones (4-inch). For rooms with high ceilings, adjusting the ceiling fan direction can help distribute air and light more evenly. Tailor your count further based on the room’s specific activities and purposes to achieve optimal lighting. For deeper insights, the guide also offers practical guidance on selecting trims and housings that match your ceiling type and insulation needs.
What to Check Before Cutting Recessed Lighting: Joists, Wires, and Clearance
Before cutting into your ceiling, you need to check for joists, wires, and clearance to prevent costly errors. Use a stud finder to map out joist placement; your recessed lighting openings must avoid framing members. If a fixture lands on a joist, move it a few inches rather than cutting into the wood. Think of these as non-cut zones to preserve the structural integrity of your ceiling. For a similar process, always follow a safe wiring method when connecting the fixture to the electrical system.
Next, verify the clearance space above your planned cut. Insert a bent wire or similar tool through a small pilot hole to feel for obstructions. Most fixtures require about 8 inches of vertical clearance, although some 3-inch IC (insulation contact) kits need only 6 inches. Double-check this distance before making any cuts to ensure enough room for your fixture and proper ventilation. To maintain safe operation, always confirm you are using either an IC-rated or non-IC housing with the appropriate insulation clearance based on your ceiling type. For outdoor wiring, it is smart to use a weatherproof junction box to protect connections from moisture. Just as you would adjust a ceiling fan’s direction seasonally to improve air circulation, confirming these clearances ensures your lighting operates efficiently.
Finally, confirm the absence of live wires in the area. Use a stud finder with AC detection or make a small inspection hole to look inside. Always switch off the power at the breaker before proceeding and verify the circuit is dead with a voltage tester. Performing this check helps you avoid electrical hazards, structural damage, or installing a fixture that doesn’t fit.
Cut Drywall Openings Without Damaging Joists or Wires
To cut drywall openings safely without damaging joists or wiring, follow a precise process. Start by marking the fixture centerpoints from your layout and transfer those onto the drywall. Use a rigid template to outline the opening, ensuring the cut remains centered. Select a drywall saw or hole saw and cut perpendicular to the surface, staying just outside your marked line. Cut slowly to prevent damaging underlying structures, and chip away small gaps rather than widening the hole. Push visible wiring back into the cavity carefully, maintaining a shallow cut depth to avoid nicking cables behind the drywall. Be mindful of fireproof insulation or moisture barriers that might shift your cut line. For a clean finish and minimal repair work, trim loose gypsum and paper before installing the fixture. Lastly, angle your cut slightly to allow the fixture to slip in easily, ensuring small gaps for a neat installation and clean trim-ring fit. When joist placement limits access, cutting the ceiling in an adjacent room simplifies installation and avoids aesthetic consistency issues from repainting the entire wall or ceiling. For optimal results, follow standard spacing rules to ensure even light distribution across the room. To reduce future maintenance, choose top solar lights that are rated for outdoor deck conditions to match your fixture’s durability. Once wires are exposed, twist on connectors securely to ensure a safe and clean electrical connection.
Shut Off Power and Test for Voltage First
Always shut off power and verify for voltage before working on electrical fixtures. Use a non-contact voltage tester to check if a circuit is live. Open the fixture and hold the tester near the socket or conductors; if it beeps or lights up, the circuit still has power—stop immediately and double-check your work. If the tester remains silent, test the accessible wires directly. For absolute certainty, employ a multimeter to measure voltage; a reading of zero confirms it’s safe to proceed. Treat every box as live until you have confirmed it isn’t. Don safety glasses and gloves, as sharp edges and debris can be common once the fixture is open. Recognizing wiring anomalies like missing grounds or incorrect switch wiring is crucial to avoid fire hazards before finalizing connections.
Run and Splice Wiring for a Recessed Light Daisy-Chain
Start by turning off the power at the breaker panel and verifying that it is disconnected. Run a 14/2 or 12/2 NM-B cable, matching your circuit’s amperage rating, from the breaker panel to the wall switch location. From the switch, route the switch leg to the first recessed-light housing, leaving about 8 inches of slack inside each junction box to allow for wiring and adjustments. Inside the first housing, you will splice together three sets of conductors: the incoming cable, the outgoing cable to the next fixture, and the fixture pigtails.
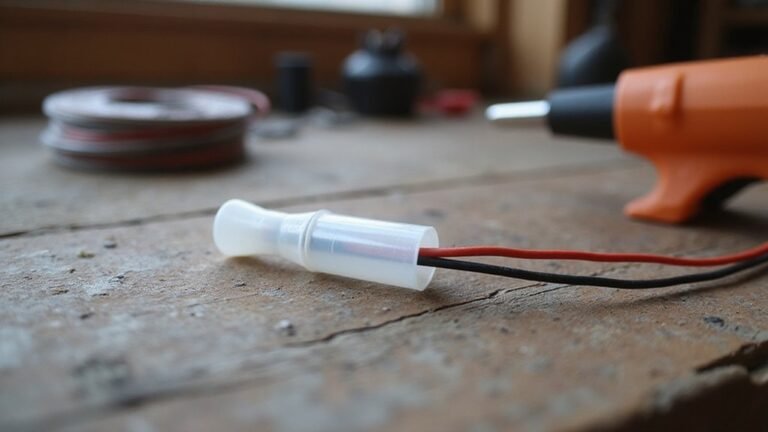
Connect the black (hot) wire to black, the white (neutral) to white, and bond the bare ground wires together, attaching them to the metal box for grounding. Use 3/4 inch or 11 mm Wago connectors to make secure connections, and strip the conductors to this length for proper fitting. After making your connections, perform a gentle pull test on each splice to ensure they are secure before closing the junction boxes.
To continue wiring, run a second cable from this housing to the next recessed light, repeating the same splice pattern. Each fixture receives one cable for power-in and one for power-out, forming a daisy chain. Secure all cables with internal Romex clamps and ensure that each junction box remains properly closed after completing the wiring.
Push the Housing Into the Ceiling and Lock It in Place
Push the housing into the ceiling until the flange sits flush against the surface. Keep the wiring slack loose to avoid tension as you position the can. Pre-bend the mounting clips inward so they stay flush with the housing body, then guide the can straight up, taking care to avoid drywall scrapes. Verify that the cutout does not overlap a joist or any obstructions above. The housing should seat firmly without gaps; if you notice spacing, it indicates a miscut or obstacle that needs correction. Once in position, engage each of the four lock clips by pushing them upward and outward until they click into place. These spring-loaded clips grip the drywall behind the ceiling and provide a secure hold. Confirm all clips have fully engaged to prevent movement. After locking, gently wiggle the can; any shifting indicates weak clip tension or an improperly sized hole. Correct any issues immediately to ensure a stable installation that keeps the housing flush and prevents trim problems later. Ensure all wiring connections are secure and properly insulated before proceeding, following the same safe wiring tips used for wall sconces. Verify fixture compatibility by confirming the trim matches the housing brand and type to ensure proper fit. For outdoor applications, consider solar flood lights to reduce wiring complexity. If you need to remove the housing later, use a flathead screwdriver to gently pry the lock clips back from the drywall.
Attach the Trim, Install the Bulb, and Test Every Light
After turning off the power at both the switch and breaker, remove the existing bulb from the socket. Attach the trim by hooking its coil or rod springs into the designated holes in the housing. For coil springs, first hook them into the trim and then connect to the can. For rod springs, compress them and insert them into the holes. Push the trim upward until it sits flush against the ceiling and is spring-loaded into place. The adjustment of the bulb height is controlled by the inner wing nut in the can. This spring-loaded flush mount ensures the trim hides the raw housing edges, a key part of the uplighting effect that directs light upward for a clean, even glow. Since this setup relies on a fixed power source, you might consider battery-operated string lights if you want a portable alternative that avoids hardwiring altogether. For a more permanent decorative touch, you can instead build your own wall sconce from wood or metal to match your room’s style.
Next, install the bulb. Screw it securely into the socket. If necessary, adjust the socket plate with its wing nut to ensure the bulb sits at the correct depth; test-fit a long or short bulb before final tightening to avoid discrepancies.
Finally, restore power and test each light individually. Do not simply flip the switch; verify that each trim is flush against the ceiling with no gaps, and confirm that the bulb lights up correctly. A loose bulb or misaligned socket can cause failure or uneven lighting, so check every unit before proceeding.
Avoid These 3 Installation Mistakes That Ruin Your Recessed Lights
Incorrect spacing is one of the most common mistakes that can ruin your recessed lighting design. If fixtures are placed too far apart, you create dark zones and uneven illumination, while placing them too close results in harsh shadows and a cluttered look. To achieve a balanced lighting effect, divide the ceiling height by two to determine the optimal center-to-center distance between fixtures. For example, in a 10-foot-high ceiling, spacing fixtures approximately 5 feet apart ensures even coverage without oversaturation. For additional accent lighting, wall sconce candle holders can complement the recessed fixtures by adding a softer glow to the room. Modern wafer lights include an adjustable driver for Kelvin and lumens, allowing you to fine-tune brightness and color temperature after installation to further compensate for any minor spacing errors. Proper spacing not only improves ambiance but also enhances the functionality of your space by providing consistent light distribution throughout the room.
3 Signs You Need a Licensed Electrician for This Job
Ignoring warning signs like frequent buzzing, burning smells, or hot outlets can lead to dangerous situations. These symptoms often indicate underlying electrical issues that need immediate attention. If you notice any of these signs, stop using the affected outlets or appliances and contact a licensed electrician right away. They have the expertise to diagnose the problem safely and perform the necessary repairs to prevent fires, shocks, or further damage. Never attempt to ignore these warning signs or fix the issues yourself unless you are qualified. For example, a professional should always handle safe wiring completion to ensure a secure and code-compliant installation. A licensed electrician will also know how to properly secure the mounting bracket to a ceiling joist for stable support. They will also ensure that all wire connections are properly matched to the fan’s wiring diagram for a safe and functional setup.