Thinking about adding recessed lighting to your ceiling but unsure where to start? The key is planning your layout carefully and ensuring safety before cutting into any existing ceiling.
With the right approach, you can achieve a professional look and bring new light to your space. Keep reading to learn the essential steps to successfully install recessed lights in your ceiling.
Plan Your Recessed Lighting Layout Without Guessing
To plan your recessed lighting layout accurately, start by defining the purpose of the lights—whether for general illumination, task lighting, or accent lighting. Mark your room’s focal point first, such as a kitchen workspace or artwork, to serve as the central anchor for your layout. Instead of focusing on the room’s geometric center, position fixtures around this focal point for better lighting effectiveness. For even spacing, measure center points of corner lights to find middle positions and insert lights in the middle of the space between them.
Measure the full length and width of the space, then create a detailed sketch on grid paper. Include furniture and ceiling obstacles to ensure your plan accommodates all elements. Use the ceiling height divided by two as your baseline spacing: for an 8-foot ceiling, space the fixtures about 4 feet apart. Adjust this spacing by 2 to 3 feet for areas near walls to prevent overly bright spots or shadows. You can also optimize energy use and comfort by understanding the correct ceiling fan direction for each season, which works similarly to adjusting air distribution. To avoid harsh wall washing, keep fixtures at least 3 feet from vertical surfaces as a general wall spacing rule.
Before installing, test your layout with a tape or flashlight mockup to verify even coverage. This step helps identify potential issues, saving time and effort. While planning, double-check that your circuit can handle the additional fixtures and that selected fixtures are compatible with your preferred dimmers or trims. Calculate the number of fixtures needed based on coverage: for 4-inch cans, plan for approximately 25 square feet per fixture; for 6-inch cans, about 36 square feet. A common mistake is neglecting to verify the junction box size for compatibility with your chosen fixture type.
Turn Off Power and Confirm Wires Are Dead Before Cutting
Before making any cuts into the ceiling, you must turn off the power and verify that the wires are dead. Start by locating your circuit at the breaker panel. Turn the wall switch off, then flip the corresponding breaker until the light or fixture goes out. Label that breaker immediately to avoid confusion later. Don’t rely solely on the switch because it may not control the circuit you need to work on.
Next, use a non-contact voltage tester near the fixture or exposed wires. If the tester lights up, the circuit is still live. Recheck your breaker selection or turn off the main power if needed. Treat every conductor as if it could still be energized until you are certain there is no voltage. Only after confirming wires are dead should you proceed with cutting. This step is essential to prevent electrical shock and ensure safe installation. Furthermore, when cutting into the ceiling, always drill exploratory holes in safe, strategic locations to avoid damaging water pipes, drains, or existing wiring, as this protects against potential infrastructure damage. Applying the same principle of verifying dead wires used for safe wiring tips ensures you do not accidentally contact live conductors while drilling. To fully prepare for the new unit, you should also measure the housing diameter to confirm it matches the cutout size needed for replacement. A similar approach to connecting a pendant light involves stripping the wires to expose fresh copper before making secure connections.
Drill a Pilot Hole and Inspect the Attic for Obstructions
Drilling a small 1/4-inch pilot hole at each fixture location is essential before any electrical work. Use the manufacturer’s template for precise placement and to keep patching simple if you encounter an obstruction. Once you’ve confirmed the power is switched off, carefully mark the spots and drill the pilot holes. These small holes help detect hidden obstacles like wires or pipes behind the drywall. If you hit an obstruction, you may need to use wire connectors to safely splice any existing cables you discover.
If you have attic access, examine the space above each hole visually. Look for wires, pipes, or ductwork close to the ceiling. Confirm there’s enough clearance around insulation and make sure you’re not hitting electrical codes by cutting into concealed utilities. In case attic access isn’t available, insert a bent wire or a straight probe into each pilot hole. Rotate the wire gently to sense if it hits solid material or if the cavity is open enough. In finished ceilings without attic access, use a reverse starting drill to prevent drywall tearing and dust spread while drilling pilot holes. Always use a low-speed, controlled drill to avoid damaging the ceiling. Remember to wear eye protection at all times during this process.
Cut the Fixture Openings Without Damaging Anything
Trace the fixture template onto the ceiling to mark the exact cut line, ensuring the hole matches the trim coverage without enlarging it. Use a hole saw for precise, clean drywall cuts—this tool minimizes mess and jagged edges. Keep the drill at low RPM to prevent kickback, applying light and steady pressure as you cut. Make sure your cut is perpendicular to the ceiling surface and centered to allow the fixture to fit correctly. To further control debris, tape a plastic basin beneath the cutout as a catch basin to contain dust and fragments. For a similar approach to integrated controls, consider how Hunter ceiling fan remotes simplify operation with dedicated mounting and wiring. Unlike AC fans, DC ceiling fans offer greater energy efficiency and quieter operation.
For surface protection, apply painter’s tape around the marked opening to prevent scuffs. Hold a dust shield or debris catcher beneath the cut to contain drywall dust and insulation fibers from falling into the room. Cover your flooring with drop cloths to guard against any debris or accidental spills. Using a stud finder beforehand helps avoid cutting into joists or wiring hidden in the ceiling.
Cut only to the diameter required by the fixture trim; enlarging the hole beyond that can cause installation issues or reveal unsightly gaps. If small chips or rough edges appear, use a drywall saw for touch-up work but avoid making the opening larger than necessary. Proper preparation and careful cutting are key to a clean, damage-free installation.
Wire Your Recessed Lights From Start to Finish
At each fixture, start by stripping the outer sheathing to expose the internal conductors. Then, carefully strip approximately 1/2 inch of insulation from each wire, ensuring you don’t damage the conductors. Match the wire colors precisely: black to black, white to white, and ground to ground. Use only UL-approved connectors to secure the splices and ensure safety. Before installing, double-check that your fixture is compatible with your existing housing type to prevent any fit issues. When working with switch wiring, keep the neutral whites joined together, route the hot black wire through the switch, and bond all ground wires together. Neatly fold all spliced conductors into the junction box before continuing with the installation. Use push-in connectors for solid ROMEX wire to eliminate the need for wire nuts. For those converting existing fixtures, consider selecting a high-rated retrofit kit to ensure optimal performance and compatibility. To avoid unnecessary ceiling damage, consider using surface-mounted channels as a non-invasive alternative for routing your power cable along the ceiling perimeter.
Secure Recessed Lighting Fixtures and Install Trim
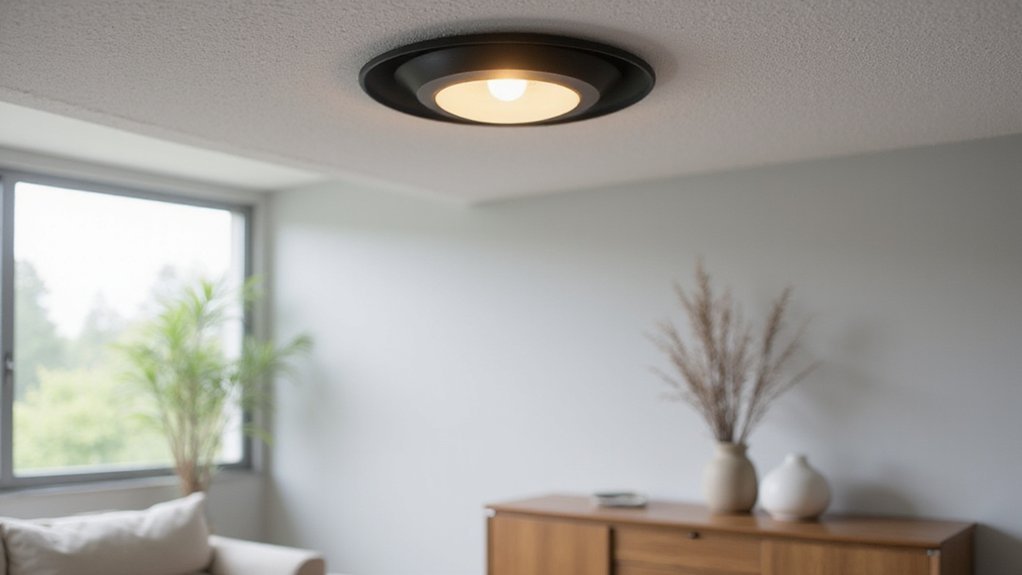
To install the trim, simply secure the trim ring after the housing is properly seated. The trim ring covers the rough drywall edge and creates a clean, finished look. If you’re using paintable trim kits, you can match your ceiling color exactly for a seamless appearance. This Turner Light Covers kit includes a mounting ring, trim plate, and screen, all of which are paintable for customization. Make sure all clips are fully engaged to prevent the fixture from shifting later, which could compromise both safety and aesthetics. For an even more subtle effect, consider ceiling LED strip lights as an alternative for indirect ambient lighting. For those seeking alternative decorative options, consider wall sconce candle holders for a softer, more traditional glow. For a more dramatic focal point, consider replacing the trim with a dining chandelier for ambient elegance.
Test Your Lights and Fix Common Problems
If flipping the switch results in nothing happening, start by confirming that the power is on. Check the circuit breaker to see if it has tripped; reset it if necessary. Use a voltage tester at both the switch and the fixture to verify electrical current. If multiple lights are not working, this indicates a circuit-level problem rather than an issue with a single bulb. Before fitting a new unit, always consult the manufacturer’s guide for the correct bulb removal steps specific to your track lighting system.