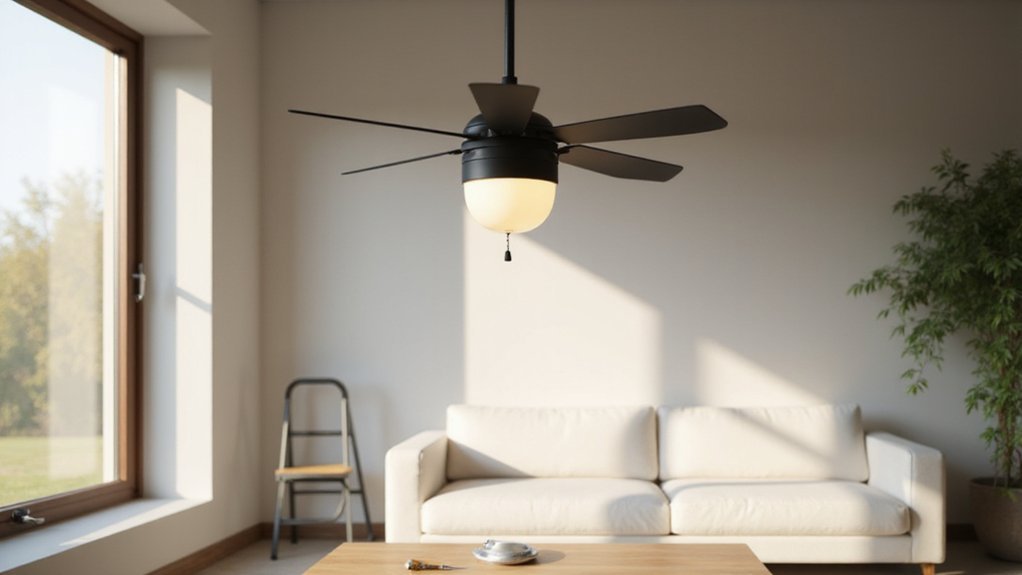
If your ceiling fan wobbles, runs unevenly, or you just want to swap it out for a newer model, knowing how to do it yourself can save you time and money. The process involves safety checks, proper wiring, and careful assembly.
Once you get the hang of it, replacing a ceiling fan becomes a manageable project you can handle on your own.
The steps below will guide you through the entire process in detail.
Turn Off the Right Breaker and Double-Check for Power
Turn off the right breaker to ensure safety. First, turn the fan on so it can be stopped quickly. Then, flip breakers one at a time until the fan stops. This method reliably identifies the correct breaker even if wall switch labels are unclear, as wall switches may not fully disconnect power. Once the fan stops, double-check that it doesn’t respond to any wall switch. Use the panel schedule to locate the description for the upstairs bedroom, which helps confirm the right breaker before flipping. Keep in mind that ceiling fan direction changes based on the season for optimal airflow. For lighting tasks like this, choosing the right lighting setup is also crucial for visibility.
Next, use a non-contact voltage tester at the fan housing: if there’s no light or beep, the circuit is dead. This step confirms the power is truly off and prevents the risk of electric shock. Never skip this test—making assumptions can keep the fan energized. If you cannot confidently identify the right breaker, shut off the main breaker for added safety. Mark the correct breaker clearly for future service. Always verify power is off before touching any wires.
Confirm Your Ceiling Box Is Fan-Rated
Since a standard light fixture box cannot safely support a ceiling fan’s weight and movement, it’s crucial to verify that yours is properly rated before installation. Look inside the box for markings such as “Fan Rated” or “Ceiling Fan Support,” along with a weight limit, usually between 35 and 70 pounds. Metal boxes alone do not guarantee safety—absence of these labels means it’s not compliant with electrical codes for supporting a fan.
Ensure the box is attached directly to a structural element like ceiling joists or beams, not just hanging from the ceiling. If you notice wobbling, lateral movement, or if the box lacks proper labeling, you need to replace it with a fan-rated box. The combined weight of your fan and any light kit must stay within the box’s specified capacity. Failing to meet these requirements can lead to dangerous situations, as the National Electrical Code mandates a fan-rated box or a direct connection to framing capable of bearing the load. If the existing box moves when tested, it is not ceiling fan rated and must be replaced to avoid safety hazards.
How to Safely Remove an Old Ceiling Fan
To safely remove an old ceiling fan, start by turning off the power at the circuit breaker and confirming that the fan is completely dead by using a wall switch or remote control. Then, test the wires with a voltage tester to ensure no electricity is flowing. Place a sturdy step ladder on a flat surface, and clear the floor area below to prevent accidents or damage. First, remove the light bulbs and glass globes, then detach the light kit from the fan body. Store globes safely to prevent damage after removal. Next, take off the blade brackets and blades, ensuring each blade stays attached to its bracket for easier handling. Remove the blades in a controlled, sequential manner to maintain balance and facilitate future repairs or reinstallation. After that, disconnect the wiring connections, cap the exposed wires with wire nuts for safety, and unscrew the canopy that covers the mounting hardware. It is essential to follow safe wiring tips to avoid electrical hazards during this process. Consider whether you plan to replace the old fan with a model that offers lower running costs for long-term savings. Support the fan body carefully as you lower it from the ceiling. Finally, remove the mounting bracket and inspect the area to prepare for the next steps or new installation.
Assemble Your New Ceiling Fan Before Wiring
Before wiring, assemble your ceiling fan by first deciding whether it uses a downrod or a low-profile mount. Thread the fan wires through the canopy, trim ring, and downrod in the proper order. When attaching the motor, remove any shipping blocks from the motor housing and secure the mounting bracket to a fan-rated box for stability. For blade alignment, mount each blade arm to its blade using the supplied screws—start all screws by hand to prevent cross-threading, then tighten them evenly. Handle blades carefully to avoid bending, which can cause imbalance. Ensure reversible blades face downward and are oriented in the correct direction. Keep all prewired leads untangled and accessible for wiring. Double-check that the mounting bracket is secure and that the motor moves freely without binding. Consult your specific manual for the precise assembly order tailored to your model.
Wire Your Ceiling Fan: Ground, Neutral, and Hot Connections
To wire your ceiling fan correctly, start by connecting the neutral wires. Twist the fan’s white wire to the ceiling’s white wire and secure both with a wire nut. This ensures a proper return path for electrical current. Next, connect the ground wires for safety; twist the fan’s green or bare copper ground wire to the house ground. If your mounting bracket has a green grounding screw, attach the ground wire there as well. Never connect the ground wire to the neutral wire, as they serve separate functions and should remain isolated. While wiring a ceiling fan, recessed can lights often require similar attention to grounding and neutral separation for safe installation. For these fixtures, the housing and trim must be properly grounded to prevent electrical hazards. Using wire connectors that match the wire gauge ensures a secure and lasting splice.
Finally, connect the hot wires. For a single-switch circuit, join the fan’s black wire to the ceiling’s black wire and secure with a wire nut. If your fan includes a light kit, connect the blue wire to the same hot wire to control the light and fan together. For setups with dual switches, connect the fan black wire to the ceiling’s fan hot wire (often black), and the blue wire to the separate light hot wire (often red). After making all connections, give each splice a gentle tug to ensure they’re secure, then neatly tuck everything into the electrical box.
Test the Fan and Install the Light Kit
Verify electrical power at the fan’s electrical box after confirming the circuit breaker is on and the wall switch is in the correct position. Turn the fan to high and then test medium and low settings, listening for grinding or rattling sounds that could indicate mechanical issues. Perform control tests for remote pairing and the reverse switch, ensuring all functions respond correctly. Let the fan run briefly before turning it off to inspect the blades. Check that the blades are securely attached, properly aligned, and free of wobble or imbalance. Tighten any loose screws or connections as needed. Only proceed to install the light kit if the fan passes these stability and operation checks. Secure the light kit and verify all bulbs illuminate properly without flickering. Confirm the light kit’s compatibility with your switch or dimmer. If the lights do not work, recheck power connections and wiring. Note any unusual noise, irregular speeds, or light issues for further troubleshooting. When testing motor functions, confirm that thermal fuse protection prevents damage by monitoring for overheating signs during extended operation. For optimal energy savings, test the reverse switch to ensure it sets the correct ceiling fan direction for the current season. Before installing the light kit, use safe handling techniques to avoid damaging the fixture during assembly.