Wondering how your ceiling fan should spin in winter to keep your home cozy? The right direction is usually a gentle clockwise rotation, which creates an updraft that pushes warm air down from the ceiling.
Getting this right can help improve comfort and energy efficiency during the colder months. Keep reading to learn exactly how to set your fan for winter warmth.
What Direction Should a Ceiling Fan Spin in Winter?
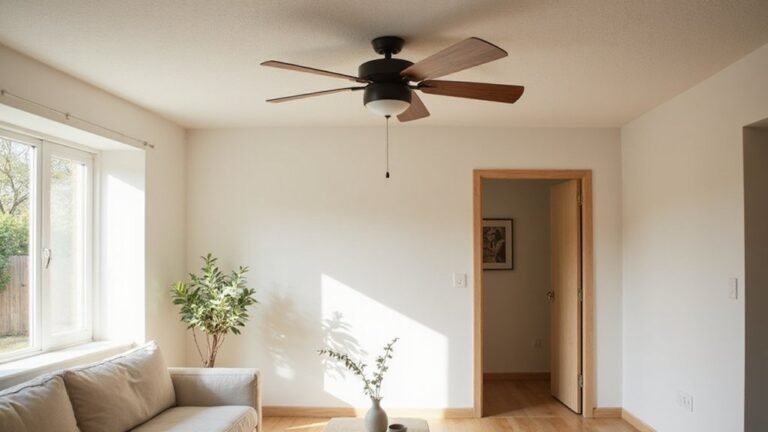
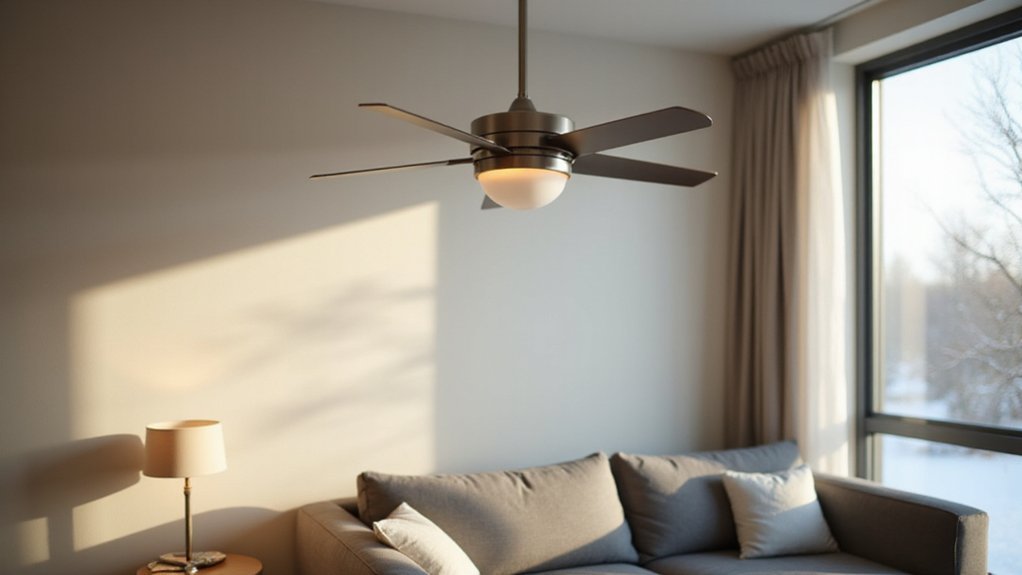
In winter, your ceiling fan should spin clockwise. Stand directly under the fan and look up; the leading edge of the blades should move to the right. This setting creates a gentle updraft that pushes warm air near the ceiling down into the living space. As a result, you won’t feel a cool breeze, but the room warms more evenly. Use the fan’s lowest speed to prevent drafts from becoming noticeable. This process is often called winter mode and helps maximize energy efficiency during colder months. To ensure this works correctly, verify the wiring of your fan switch is properly set up before adjusting the direction each season. You should also check that the fan is securely mounted to a recessed housing that can support its weight.
It doesn’t matter what material your fan blades are made of—wood, metal, or plastic—they all spin clockwise in winter to achieve this effect. The size of your fan does matter, however. Larger fans move more air, so keeping it on low ensures you don’t stir up excessive cold air at floor level. The main goal is to circulate trapped hot air above, promoting warmth throughout the room without creating uncomfortable drafts.
Why Clockwise Ceiling Fan Direction Warms Your Room
A clockwise ceiling fan rotation warms your room by recirculating the trapped, warm air near the ceiling. Since warm air naturally rises, it tends to stay close to the ceiling, creating a layer of stratified, warmer air above cooler air at ground level. When the fan turns clockwise at low speed, it produces a gentle updraft that pushes this warm air along the ceiling and down along the walls. This indirect airflow mixes the different air layers, pulling heat from the top of the room down to your level, helping to evenly distribute warmth. This principle is similar to the root cause of flickering LED downlights, where poor contact or incompatible dimmers cause unstable electrical current. This method is especially beneficial for rooms with high ceilings, where heat tends to accumulate at the top, much like choosing 4 inch recessed lighting can optimize beam placement in tighter ceiling spaces. It enhances comfort without creating drafts or making you feel cold, as the airflow is subtle and no breeze is produced. By moving the existing heat rather than generating new warmth, this technique also reduces your heating system’s workload, which can result in lower electricity bills when combined with smart plugs that schedule off times for unneeded fans. To maximize comfort, set your fan to a low speed so it gently circulates the air without causing any draftiness.
Common Winter Ceiling Fan Direction Mistakes to Avoid
Even if you’ve switched your ceiling fan to clockwise, several common mistakes can still prevent it from effectively warming your room. Running the fan at high speed creates a noticeable draft, which can make the room feel colder and undermine your winter comfort—always keep it on low. Remember, the fan does not lower the room temperature; it redistributes the warm air trapped near the ceiling. If the fan is still rotating counterclockwise, it produces a wind-chill effect, so it’s essential to check for a visible downdraft. When reversing the fan’s direction, always turn it off first and wait until the blades stop completely—that’s a crucial safety step, much like ensuring a clean connection when soldering. In the same way, your home’s electrical wiring must follow proper safe wiring tips to prevent hazards. If your remote fails to change the fan’s direction, you may need to perform a reset and re-pair procedure to restore control. Lastly, misreading the blade direction can lead to frustration; stand underneath the fan and verify that the blades are rotating clockwise. Avoiding these mistakes helps improve energy efficiency and keeps your space cozy during the colder months.
How to Set Your Fan to the Winter Mode
To set your ceiling fan to winter mode, you need to reverse the blade direction to clockwise and reduce the fan speed to low. First, turn off the fan and wait until the blades stop completely. Most traditional fans have a toggle switch on the motor housing—simply flip it to change the direction. For fans with a DC motor, use the remote control’s reverse or F/R button. Smart fans usually allow you to adjust the blade direction via an app. After switching, turn the fan back on and stand beneath it to verify the rotation is clockwise. You should feel minimal direct airflow, as this gentle circulation redistributes warm air near the ceiling without creating a draft. Always perform this adjustment as part of routine maintenance and check your manual if you’re unsure about the switch location, especially if your fan has a decorative style with controls hidden near the light fixture. For a secure installation, ensure that mounting brackets are properly rated to support the fan’s weight and prevent wobbling. The number of blades, such as 5 blades, can influence the overall balance and efficiency of this gentle air movement. To maximize energy savings, pair this winter setting with layered lighting from under-cabinet fixtures in nearby kitchen spaces, which can reduce the need for overhead heat lamps.
Does Ceiling Fan Direction Really Save on Heating Costs?
Ceiling fan direction can contribute to heat savings, but the impact varies. You might see savings ranging from about 5% up to 15%, and in some cases as high as 30%. The biggest benefit occurs in rooms with high or vaulted ceilings because the fan helps circulate warm air that tends to rise and stay near the ceiling. If there isn’t significant heat buildup at the top, the fan’s effect will be minimal. Keep in mind that these savings are not guaranteed; instead, consider fan direction as a tool that works best when your home’s layout and insulation facilitate warm air stratification. This principle works similarly to how uplights illuminate dark ceilings. When working on ceiling fans or their wiring, you may need to safely disconnect push wire connectors to avoid damaging the internal components during installation changes. Knowing the difference between twist-on and crimp connectors can help you choose the right one for a secure electrical connection.