Replacing a recessed light bulb can seem tricky, but with the right tools and a bit of know-how, it’s a straightforward DIY task. Whether you’re swapping in a brighter option or fixing a flickering bulb, knowing how to safely access and replace it is key.
In this quick guide, you’ll learn how to remove the old bulb, choose the right replacement, and handle tricky trim or clip styles. Keep reading to become confident in your lighting fixes.
What You’ll Need Before You Start a Recessed Bulb Change
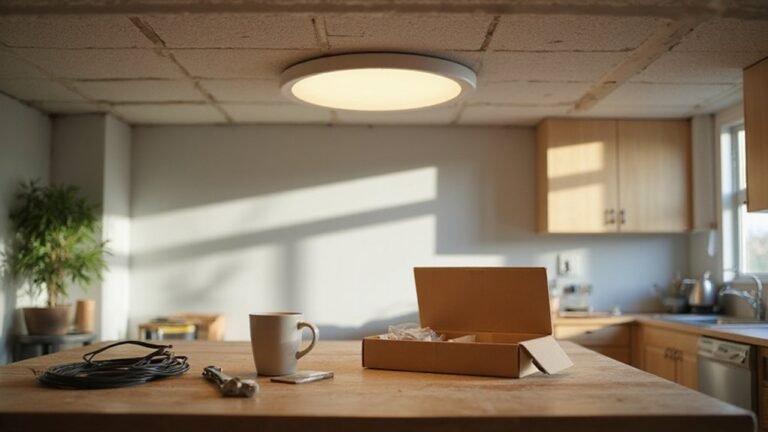
First, gather your tools: a sturdy ladder to safely reach the ceiling, a flathead or Phillips screwdriver if the trim has screws, and a putty knife for stubborn painted-on trims. A suction cup is helpful for gripping hard-to-remove bulbs. Wear gloves and safety glasses to protect your hands from sharp edges and your eyes from falling dust. Finally, bring the old bulb with you to the store to ensure you select the correct replacement by matching the type, wattage, and socket base precisely. A voltage tester can also confirm the power is off before you begin. Just as a ceiling fan uses the correct setting for each season to improve efficiency, using the right bulb type ensures your fixture operates safely and effectively.
Removing the Trim to Access the Recessed Bulb
To access the bulb, you need to remove the trim first. Most trims are held in place by spring clips gripping inside the can. Start the removal by inspecting how your trim attaches. If paint has sealed the edge, use a utility knife to carefully cut through it and break the bond. Then, pull the trim straight down with firm pressure; it should drop about 2 to 3 inches, revealing the springs. The trim ring is held by springs that provide flexibility and hold it securely. Always ensure the power is turned off at the breaker before handling any electrical components. Check the housing for a label specifying the maximum wattage for safe bulb replacement. For a clean setup, consider applying guide wire lighting techniques to organize the springs and wiring after removal.
Next, locate the spring ends. Squeeze them together to release the springs from their slots. Support the trim with one hand while releasing each spring, one at a time. If space is tight, needle-nose pliers can help grip and squeeze the springs. Remember to turn off the breaker and let the fixture cool before starting. Using a step ladder provides stable access and prevents strain while working.
Taking Out the Old Recessed Bulb: Screw-In vs. Twist-Lock
To remove the old recessed bulb, the method depends on its base type. For a screw-in bulb, grip it firmly and turn counter-clockwise until the threads release. If the bulb is stubborn, use a dry rubber glove or a bulb-removal tool—never yank straight down, as this could crack the glass or damage the socket. Always ensure the power is off and the bulb has cooled before handling to avoid burns or electrical shock.
For a twist-lock bulb, such as a GU10, push it inward slightly, then give it a quarter-turn counter-clockwise. The bulb will drop free once the pins align with the release slots. Don’t force it—bent pins or a damaged socket pose risks. Sometimes, a suction cup suited for deep fixtures makes removal easier and safer. Identifying whether your bulb has a screw-in or twist-lock base before starting helps prevent guesswork and potential damage.
Picking a Replacement Bulb for Your Recessed Fixture
Start by checking your fixture’s label for the maximum wattage and lamp type. Matching the replacement bulb to these specs is crucial to prevent overheating and socket damage. Confirm whether your fixture requires a screw-in or twist-lock base, as they are not interchangeable. Bring the old bulb to the store to compare the base, shape, and reflector size, such as BR or PAR types. If opting for LED retrofits, choose versions that are compatible with dimmer switches if you plan to use one, since not all LEDs are dimmable. Always prioritize safety: let the old bulb cool completely, wear gloves, and never force a mismatched base into the socket. Stick to the wattage rating or choose a lower wattage to avoid excessive heat, and check that there is adequate clearance inside the fixture can. Measuring the can diameter will help ensure you select a bulb or retrofit that fits securely. Selecting the correct bulb now helps prevent flickering, heat buildup, and potential fixture wear down the line. If you need to check how securely the trim holds, remember that painted surfaces can sometimes affect fit and require careful reassembly. For long-term reliability, verify that the replacement bulb is rated for enclosed fixtures to avoid overheating that can cause flickering.
Installing the New Bulb and Reattaching the Trim
Now reattach the trim. If you have coil springs, hook them into their designated holes inside the can. For rod springs, compress each end and insert them before pressing the trim upward. Ensure the trim sits flush against the ceiling with no gaps around the edges. For a more permanent and decorative solution, consider building a custom DIY wall sconce to cover the recessed can entirely. Select trim style based on needs, such as open, baffle, or reflective options, before attaching it. Once in place, restore power at the breaker and flip the switch to test the light. If the trim feels loose or wobbly, remove it and reseat it properly to ensure a secure fit. For long-lasting brightness, periodically clean the solar panel on any outdoor lights to remove dust and debris. Always follow safe wiring tips from a smart plug guide to avoid electrical hazards during installation.