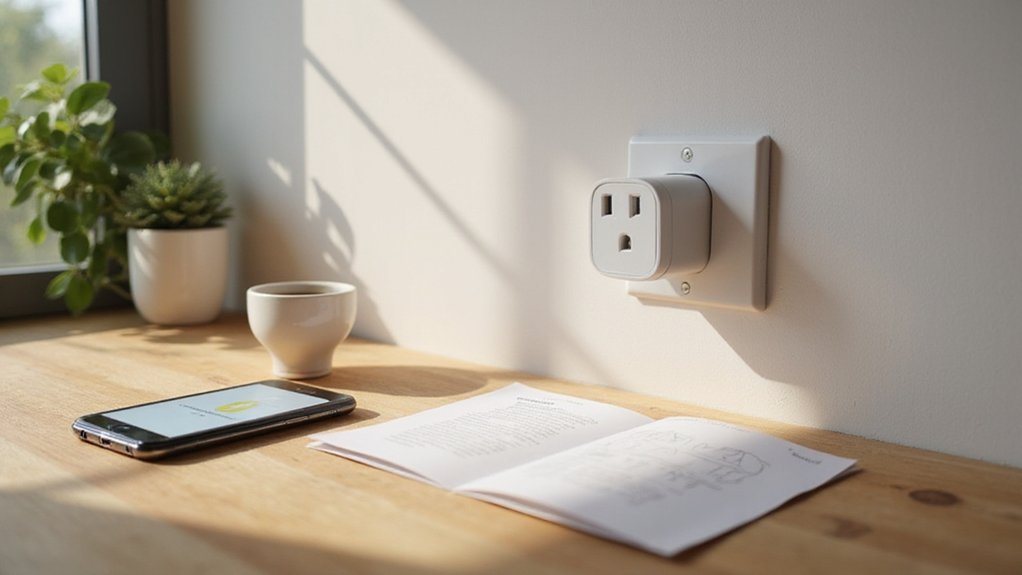
Want to set up your Amazon Smart Plug but unsure how to start? The process is straightforward once you know the key steps, like connecting it to a 2.4 GHz Wi-Fi network and using the Alexa app.
Making sure your device resets properly and follows the in-app instructions will get it working smoothly.
Below, you’ll find all the details to get your smart plug up and running easily.
Gather Your Phone, Account, and 2.4 GHz Wi-Fi
Ensure your phone or tablet is prepared with the latest Alexa app, Bluetooth enabled, and location services active. You need to sign in to your Amazon account because the setup links directly to it. The Amazon Smart Plug only works with a 2.4 GHz Wi-Fi network, so verify your router’s band—5 GHz networks are not supported during setup. Keep your Wi-Fi network name and password handy. For a device like the plug, which stays on continuously, it can benefit from the same operating temperature limits that help maximize the lifespan of LED downlights. Similarly, understanding the correct ceiling fan direction for each season can optimize airflow and energy efficiency.
Power on the plug before beginning the setup process. Check that your 2.4 GHz Wi-Fi network is secure and has internet access, as the initial connection depends on it. Turn off low-power mode on your device to prevent interruptions. Prepare to scan the barcode located on the back of the plug or in the Quick Start Guide. If barcode scanning doesn’t work, you can always set up the device manually through the Alexa app.
If the plug’s LED does not flash blue after plugging in, verify its registration status under Devices > Plugs in the Alexa app. Resetting the device by holding its button for 12 seconds can restore factory settings as a last resort for persistent issues. For a safe and reliable installation, always adhere to proper grounding practices like those used when wiring a ceiling fan.
Add Your Amazon Smart Plug in the Alexa App
Open the Alexa app and go to Devices > Plugs. Your Amazon Smart Plug should appear automatically if the device was registered successfully. If it doesn’t, tap the plus icon, select Add Device, then choose Plug and Amazon as the brand. Follow the on-screen instructions, which include scanning the barcode on the box or device for faster setup. Good lighting helps the app read the barcode more easily. After scanning, the app will automatically handle firmware updates, ensuring your device runs smoothly and stays compatible with your smart home setup. Once setup is complete, confirm the process on the screen—Alexa might announce that the new plug is ready. Rename the device for easier voice commands, then verify it appears in your device list. You are now ready to test voice control or set up routines involving the plug. For ongoing control, you can toggle the plug manually via its physical button or remotely through the app.
Pair It Automatically or Set Up the Plug Manually
Ensure your phone has Bluetooth and location services turned on, as these are necessary for setup. Compatibility checks verify if your 2.4 GHz Wi-Fi network is supported, which is required for proper connection. A blue flashing LED** indicates the device is in pairing mode. If the LED doesn’t flash, perform a factory reset by holding the button on the plug for 12 seconds. Once paired, the app will prompt you to install Firmware updates, which are essential for optimal performance and full feature access. The plug features reliable reconnection to Wi-Fi and Alexa after outages, ensuring continuous operation. For a clean DIY finish, always follow safe wiring tips from the manufacturer to avoid electrical hazards. Before mounting the plug near a ceiling fixture, you may need to remove the housing** to access the wiring safely.
Confirm Your Phone Is on 2.4 GHz Before Pairing
Your phone must be connected to a 2.4 GHz Wi‑Fi network before pairing the plug. Amazon’s documentation states that the plug only supports 2.4 GHz Wi‑Fi, so verifying your network band is essential. If your router uses the same SSID for both 2.4 GHz and 5 GHz bands, you’ll need to separate them in your router settings or rename the 2.4 GHz network to avoid connecting to the wrong one. Open your phone’s Wi‑Fi settings and ensure you are connected to the 2.4 GHz network. Keep your device connected to this network during the entire setup process to prevent pairing failures caused by band mismatch. The plug works exclusively with Alexa, enabling voice control and remote management via the Alexa app without needing third-party apps or hubs. For a secure and tidy installation, use t tap wire connectors to simplify connections without stripping or soldering wires. For optimal airflow and performance, consider that even three-blade ceiling fans can provide efficient circulation when paired with smart home controls.
Fix Plug Setup Errors: LED Patterns, Resets, and Permissions
To fix setup errors, start by understanding the LED patterns. A solid blue indicates the plug is powered on. Blinking blue shows it’s ready for setup, meaning it’s in pairing mode. If you see blinking red, there’s no network connection or a timeout has occurred. In that case, hold the side button for 12 seconds to reset the plug to factory defaults. After this reset, the LED should return to blinking blue, signaling it’s ready to pair again. Before pairing, ensure the plug is within a reasonable range of your Wi-Fi router to maintain a stable signal, as a weak connection often triggers the same timeout errors. Consider optimal spacing guidelines to avoid interference from nearby fixtures when placing the plug. If you need to remove the plug from an outlet for repositioning, use a safe wiring method to avoid damaging the connections.
Next, check your Alexa app permissions. Make sure Bluetooth and location services are enabled on your device. Also, grant all permissions requested during setup. If scanning the barcode fails, select “Unable to set up with barcode” to bypass the scan and input details manually. Don’t forget to update the firmware through the app, as outdated software can cause setup failures. If issues continue, troubleshoot by restarting your router and performing a power cycle on the plug. If the plug never shows blinking blue during setup, it might already be registered. Reset it again and restart the setup process in the app to resolve any conflicts. For persistent network problems, consider the low profile design of the plug, which can affect placement options near metal fixtures that may interfere with Wi-Fi signals. An off LED indicates the device is completely powered down and not active.
Test Your Amazon Smart Plug With a Voice Command
After completing setup and confirming your plug appears in the Alexa app, test it immediately with a voice command. Say, “Alexa, turn on [plug name],” ensuring you use the exact name you assigned to the device. Accurate device naming is crucial because Alexa’s voice recognition depends on it. Choose a simple, clear name like “desk lamp” to make the command sound natural and improve recognition accuracy. Speak clearly, keep the command brief, and avoid adding unnecessary words that might confuse Alexa. For more reliable lighting control, consider track lighting options that integrate easily with smart home systems. If the fan is making a clicking sound, check for loose screws or unbalanced blades as a common cause. For ceiling fans, you might also consider pull string switches as a manual alternative to smart plugs.
Next, verify the plug responds correctly by saying, “Alexa, turn off [plug name],” to test the off functionality. Make sure your Echo device, smartphone, and the smart plug are all connected to the same Wi-Fi network and stay within 30 feet of each other to ensure reliable communication. If the voice command does not work, double-check the device’s name in the app, restart your Echo device, or reset the plug. Successfully completing this voice test confirms Alexa can control your smart plug hands-free.