Thinking about adding LED strip lights to your wall but unsure where to start?
The key steps include measuring carefully, cleaning the surface, and cutting the strips only at marked points.
With the right techniques, you can achieve a seamless, professional look that brightens your space efficiently.
Keep reading for the full step-by-step process to get your LED setup just right.
Measure Your Wall and Plan Your LED Strip Layout First
Start by measuring your wall carefully before buying or cutting any LED strip. Take separate measurements for each segment, especially if your wall includes L-shaped alcoves or bump-outs. Sketch out the layout, marking every door, window, or obstacle that interrupts the strip’s path. This step helps prevent forcing the strip through tight corners or around obstructions. Include all bends and corners, which will impact the total length needed. It’s wise to add a 10% to 20% buffer to your measurements to account for installation slack and unforeseen adjustments. Ensure your planned route aligns with the strip’s designated cut points, as these are the only places you can trim safely. Accurate planning at this stage saves effort, money, and frustration later on. Before cutting any strip, verify that your power source is turned off at the circuit breaker to avoid electrical hazards during the entire installation. Once your layout is finalized, use wire connectors to join any separate strip segments at corners or gaps, following safe wiring procedures to maintain a clean and reliable connection. For a professional DIY finish, always test the strip’s connection before securing it permanently to the wall.
Clean the Wall So Your LED Strip Lights Stick
Cleaning the wall thoroughly is essential before applying LED strip lights to ensure they stick properly. Start by removing dust and debris with a dry microfiber cloth or compressed air, paying attention to seams and textured spots. This step creates a clean surface and prevents dirt from compromising the adhesive.
Next, prepare a cleaning solution using warm water with a few drops of dish soap or 70% isopropyl alcohol for stubborn oils. Dampen a lint-free cloth with this mixture—never soak it—and wipe along the entire strip path. Avoid using acetone, as it can damage the paint or finish. If you are connecting these strips to a power source, be aware that using a junction box near the wall can help keep the wiring safe and tidy. Additionally, proper surface preparation helps avoid higher labor costs if you later need professional installation to fix adhesion issues. Allow the surface to dry completely for 1–2 minutes before proceeding. Additionally, identify cut points on the LED strip to avoid damaging the circuitry before you begin mounting. For best results, ensure the room’s ceiling fan direction is set appropriately to avoid blowing dust onto the fresh surface.
Finally, peel back small sections of the backing tape and press each firmly onto the wall for 10–15 seconds. Use a roller or similar tool to ensure even contact across the surface, which improves adhesion. Once you finish, your wall will be clean and dry, providing the best possible surface for your LED strip lights to stick securely.
Cut LED Strips Only at the Marked Safe Points
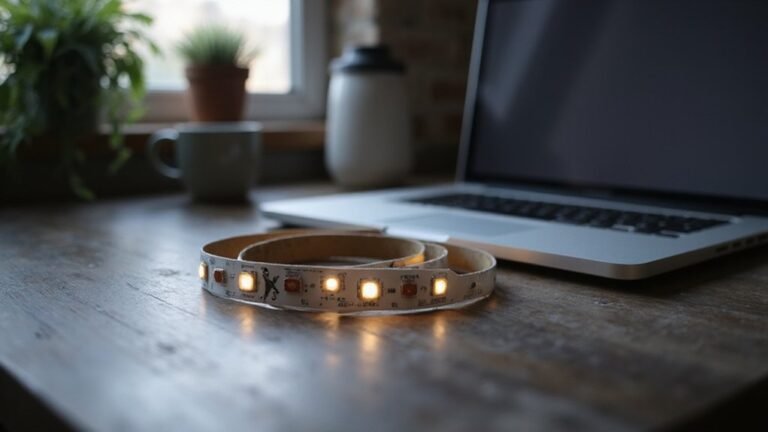
Only cut LED strip lights at the marked safe points, which are indicated by a scissor icon, a dashed line, or exposed copper pads. Cutting elsewhere can damage the circuit and cause part of the strip to stop working. To do it correctly, use sharp scissors and keep a steady hand, ensuring you cut precisely on the marked line. Before cutting, disconnect the power supply to protect yourself and the strip. The spacing between safe cut points varies with voltage: 12V strips usually allow cuts every three LEDs, while 24V strips typically permit cuts every six LEDs. Always consider your strip’s color temperature and waterproof rating before trimming. If the strip is waterproof and used outdoors, reseal the cut end properly to maintain its water resistance. Never force a measurement; instead, select the nearest safe cutting point to minimize waste. After cutting, the exposed end may need a connector or cap to suit your setup. For a secure fit, ensure the connector matches the strip’s wire gauge and polarity to avoid loose connections or reversed current flow. Following these safety limits and guidelines will prevent damage and ensure proper function. To avoid common errors, always measure twice before cutting to confirm placement against the wall layout.
Snap on Connectors for Smooth Corners and Turns
Snap-on connectors are essential for creating smooth corners and turns in your LED strip setup. For 90-degree bends, use L-shaped or right-angle connectors designed specifically for these angles. They provide clean, gapless transitions without the need for soldering, making installation faster and neater. Be sure to select the correct connector based on your strip’s specifications: 2-pin for single-color, 3-pin for RGB with three wires, or 4-pin for RGB with four conductors. Confirm that the width matches your strip, usually 8mm or 10mm, and verify compatibility with COB or SMD variants. For larger installations, a high-quality ceiling fan can help maintain consistent airflow and prevent heat buildup near the strips. Proper spacing during installation also helps reduce the risk of overheating in long runs. For outdoor stair applications, consider comparable weather-resistant designs to ensure long-term durability.
Ensure the voltage and current ratings align—most 10mm connectors support 12–24V DC up to 8A. Prepare your strip by cleaning the copper pads and removing any silicone protection on waterproof versions. When connecting, gently lift the connector tabs to guide the strip’s end in, ensuring the copper pads are properly aligned. Proper alignment prevents flickering and ensures continuous, reliable light output. Opt for snap-on connectors for quick, tidy installations—screw-based connectors are available when extra security is needed.
Peel, Press, and Hold Each Section for 15 Seconds
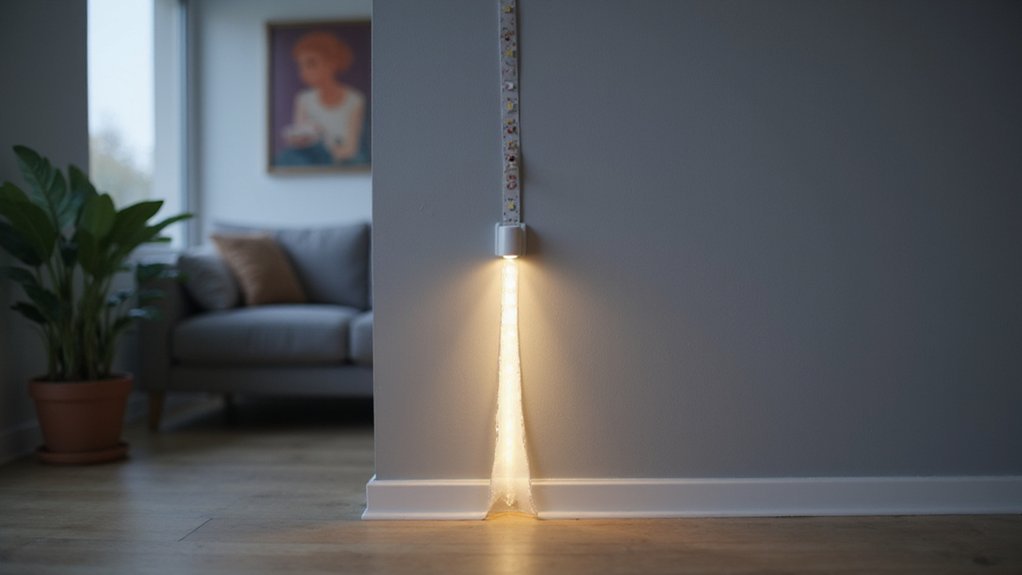
To ensure a straight, lasting installation, you should work in short sections and follow a specific process for each. First, peel only a few inches of the protective film from the adhesive surface, not the entire backing. This prevents the strip from drifting and helps you keep the line straight. Immediately press that section firmly onto the wall with steady, even pressure to activate the adhesive’s bond. For a professional-looking result, careful planning pre-installation helps prevent later issues like weak adhesion or misalignment from poor surface preparation. Hold each pressed section for exactly 15 seconds. Rushing this step can lead to weak spots or early lift-off. Repeat the peel, press, and hold process for each section until the entire run is installed. Using the right tools and products can further ensure the adhesive bonds effectively to the wall surface. Doing so guarantees that each part adheres properly, maintaining alignment and durability. Avoid pulling the entire backing off at once, as this can cause misalignment or weak spots. Working incrementally provides a secure, straight, and professional-looking finish.
Connect Power and Test the Lights Right Away
Connect the power supply and test the lights immediately. Ensure your power source provides exactly 12V or 24V, matching your LED strip’s specifications. Connect the positive (+) terminal on the power supply to the strip’s positive pad and the negative (-) terminal to the strip’s negative pad, paying close attention to polarity. Connecting with incorrect polarity will result in no lights. Before powering on, verify that the power supply’s wattage capacity can handle the strip’s total wattage by calculating the wattage per meter and adding about 20 percent for safety headroom. Use secure screw terminals or solder joints, ensuring wires are fully stripped before tightening. Once everything is connected, turn on the power and test the strip immediately. If the lights do not turn on, double-check the polarity and all terminal connections. Proper airflow testing can similarly confirm that your ceiling fan blades are correctly installed and balanced. Checking for secure electrical connections is also critical when replacing any household fixture to prevent shorts or failures. Quick testing helps identify issues early before you finalize mounting. For permanent outdoor installations, ensure all connections are placed inside a waterproof junction box to protect against moisture and debris.
Tidy Cables and Press Again for a Stronger Grip
To ensure cables stay tidy and secure, press each adhesive clip firmly for about 10 seconds after applying it. This step is crucial for the adhesive to firmly grip the surface and prevent slipping. After placement, re-press the strip itself on uneven surfaces to improve bonding. Full adhesive strength develops over 48 hours, so it’s best to leave the cables undisturbed during this period. If a clip or strip feels loose later, press it again to reinforce the grip. For a clean finish, use safe twisting techniques when joining wires at connection points. Routing cables along trim or furniture edges and securing them with clips along clean surfaces helps keep wiring neat, prevents snags, and reduces strain on connectors. For installations where space is tight, such as under cabinets with low clearance, using a vanity chair to access the area and repositioning connectors can ease the process of securing cable paths. Understanding how these components pair with smart home hubs can help buyers anticipate compatibility issues before powering the system. Choosing a kit with a matching power supply ensures the voltage and wattage ratings align with the strip’s demands for stable performance.
Fix Dim LED Strip Sections by Checking Polarity and Connectors
To fix a dim LED strip section, start by verifying the polarity at every connection point. LED strips are polarity-sensitive, meaning positive must match positive and negative must match negative. Check the (+) and (-) markings on the strip pads and connectors to confirm proper alignment. If you find the polarity reversed, simply flip the connector orientation to correct it. This issue can also cause one side to appear warm and the other cool when color temperature settings are applied.
Next, inspect the connectors for loose or misaligned clips. A loose clip can interrupt current flow, causing the section to appear dim. Ensure the clip is seated fully, covering the copper pads with the metal contacts touching the exposed copper. Gently wiggle the connector; if it flickers, it indicates poor contact. Reseat the connector or replace it if damaged. If the dim section is after a soldered joint, double-check that the polarity is correct and inspect for cold solder joints. For a more permanent fix, consider soldering the connections to ensure a stable electrical path. Conduct a continuity test to verify the electrical path remains intact. Correcting these issues usually restores the strip to full brightness.