Struggling to find the right recessed lighting that fits tight ceilings? Low-profile can lights are your answer, offering a sleek, flush mount that works where standard cans won’t.
They come in different styles and beam angles to suit your room’s size and look. Keep reading to discover how to choose the best fit for your space and needs.
What Are Low-Profile Recessed Can Lights?
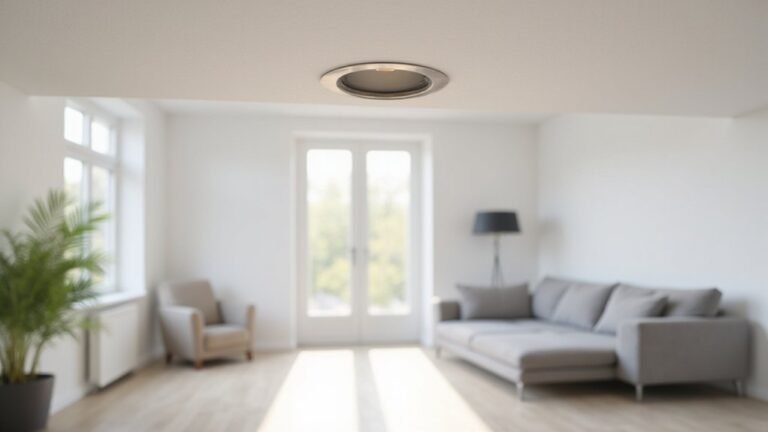
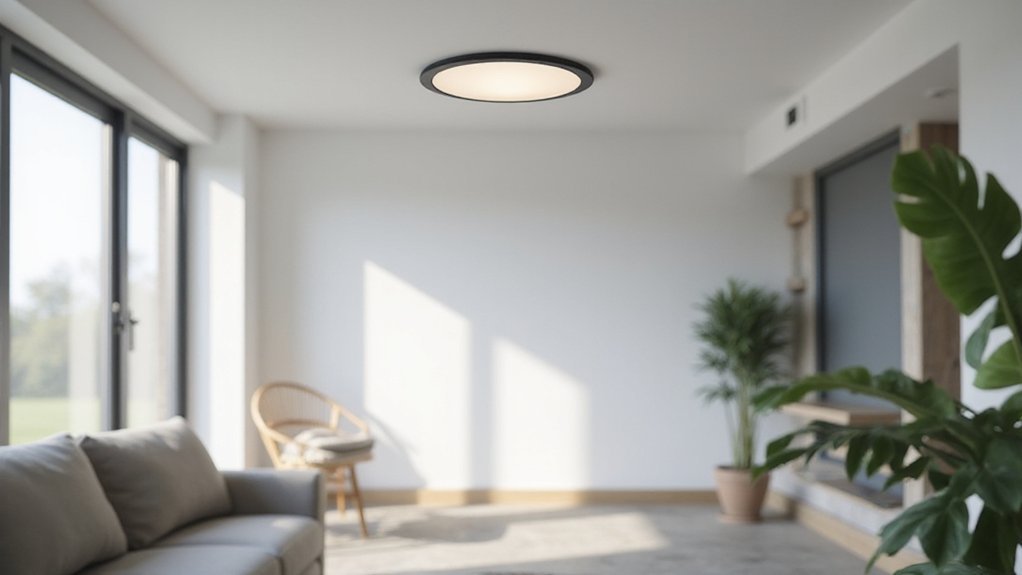
Low-profile recessed can lights sit flush with the ceiling, creating a sleek and unobtrusive look by hiding the housing and wiring above the surface. These fixtures use a compact housing or ultra-thin wafer-style design, which requires less vertical space than traditional can lights. This makes them ideal for low-clearance areas where a standard fixture might not fit or would disrupt the room’s aesthetics. When selecting low-profile can lights, it’s important to check for compatibility with dimmer switches, as not all models support dimming features. Additionally, choose the right color temperature—ranging from warm to cool tones—to match your desired ambiance. Just as ceiling fans require choosing the right direction for seasonal efficiency, these lights ensure proper air circulation is not obstructed by a bulky housing. To ensure a clean installation, always follow safe wiring tips for connecting the fixture to your home’s electrical system. Unlike directional accent lights, these fixtures can also serve as wall washer lights to evenly illuminate vertical surfaces, reducing shadows and enhancing the room’s spatial feel. Overall, these lights offer focused illumination while maintaining a minimalist ceiling profile, blending practical lighting with a clean, modern appearance.
Measure Your Cut-Out Diameter for Low-Profile Lights
To measure for a low-profile recessed light, start by finding the existing cut-out diameter in the ceiling, not the trim ring. Turn off power at the breaker before removing the old fixture to ensure safety. Remove the bulb and trim to reveal the drywall opening. Use a tape measure to determine the inside diameter edge to edge; take two measurements at different points to confirm accuracy. Keep in mind that standard sizes like 4, 5, or 6 inches usually require cutouts about 0.25 inch larger. Do not rely on the label or trim size—always verify the measurement against the manufacturer’s specifications. Accurate measurement prevents ordering the wrong size, ensuring a safe installation and a flush, gap-free finish. Only measure the raw ceiling opening; do not measure the decorative trim or the existing light fixture. This ensures compatibility with the housing dimensions required for a proper fit. For a custom look, you can also build your own wall sconce using similar measurement principles. Understanding what an uplight is and how it functions can help you decide if this style is right for your space.
Match Trim Style to Your Room’s Use: Gimbal vs. Wafer vs. Regressed
Gimbal trims are ideal for directing light precisely, making them perfect for accenting artwork or illuminating sloped ceilings. Their adjustable heads allow you to aim the light exactly where you want it. Just ensure that your dimmer switch is compatible, as some gimbal trims need specific drivers to work properly. For a uniform look, you might consider a ceiling fan with light to combine illumination and airflow in the same space. This design choice can complement the ambient lighting provided by wall sconce candle holders for a cohesive room aesthetic. For a clean installation, always follow safe wiring tips when connecting any new device to your home electrical system.
Choose Beam Angle and Lumens for Your Ceiling Height
Choosing the right beam angle and lumens for your ceiling height is essential for balanced lighting. For ceilings lower than 8 feet, a wider beam angle of 60° or more helps spread light evenly across the space, preventing harsh hot spots and ensuring consistent illumination. Higher ceilings, above 10 feet, benefit from narrower beams around 36°, which direct light downward with sufficient intensity to reach the floor. To maximize these benefits over time, adopt simple habits like cleaning fixtures and avoiding enclosed housings that trap heat. Waterproof recessed can lights are especially important in damp or wet locations to ensure safety and longevity. Beam angle controls how light is distributed across a room, while lumens determine the total brightness. Higher ceilings usually require more lumens to ensure the space is well-lit without creating dark areas. When selecting your lighting, also consider color temperature and dimming options early. These features influence the atmosphere and flexibility you have to adjust lighting levels over time.
In larger rooms, wider beam angles can help minimize dark gaps between fixtures, creating more uniform light coverage. Match your beam angle to your ceiling height first, then adjust lumens accordingly to achieve a comfortable, balanced environment. This approach ensures your lighting scheme is both functional and aesthetically pleasing. For optimal performance, ensure your connections are secure using wire connectors that match the gauge of your fixture’s wiring, preventing flickering or power loss.
IC-Rated vs Non-IC: Which Housing Do You Need?
Non-IC housings require at least three inches of clearance from insulation to prevent fire hazards. If the housing touches insulation, it can overheat and pose a serious fire risk. These housings are only suitable for uninsulated, ventilated ceilings where insulation isn’t a concern. For nearly all finished homes with ceiling insulation, IC-rated housings are the better choice. They allow for contact with insulation without safety issues, making installation easier and safer. Additionally, IC-rated housings improve lighting performance by enabling better dimming compatibility with modern LED trims, as their cooler operating temperature reduces stress on electronics. Choosing IC-rated fixtures ensures safety, compliance, and optimal performance in insulated spaces. For those comfortable with DIY electrical work, the installation process for IC-rated housings follows safe wiring tips similar to those used when mounting a ceiling fan.
Retrofit or New Construction: Pick the Right Installation
If your ceiling is already finished, retrofit is the best choice. These fixtures install using spring clips that lock into a pre-cut opening from below, so you won’t need attic access or risk drywall damage. This method is quicker, cleaner, and less disruptive—ideal for occupied homes or when you want minimal mess. To keep your space looking modern, opt for slim, canless designs that sit flush with the ceiling for a seamless appearance. When painting any fixture, always check the safety limits for heat tolerance to avoid fire hazards. Choosing between retrofit and new construction depends on your access to the ceiling and your priorities for aesthetics and convenience. Note that using compatible dimmers and avoiding overheating can extend your LED lifespan significantly, just as with LED strip lights. For a quieter and safer installation, ensure no loose wiring or dirt interferes with the fixture’s operation, as these issues can create subtle noise much like a ceiling fan.