If you’re wondering how to get your TP-Link smart plug working smoothly, you’re in the right place. Setting it up involves downloading the right app, connecting the device, and linking it to your Wi-Fi so you can control it remotely.
With these simple steps, you’ll have your smart plug ready in no time. Here’s the full process to make setup straightforward.
Download the App for Smart Plug Setup
After installing the app, sign in with your TP-Link account or create a new one within the app. Then, connect your phone exclusively to your home’s 2.4 GHz Wi-Fi network—your smart plug only works with this band. The app provides step-by-step guidance from here, making pairing straightforward. Be sure not to skip these steps, as they are essential for setting up and controlling your smart plug effectively. Ceiling fan direction should also be adjusted seasonally for optimal comfort and energy savings. Unlike traditional bulbs, LED retrofit kits often require specific trim and socket adapters for a secure fit. Before installing the new fixture, verify that the power is off at the breaker box to ensure safety.
Plug In Your Plug and Enter Pairing Mode
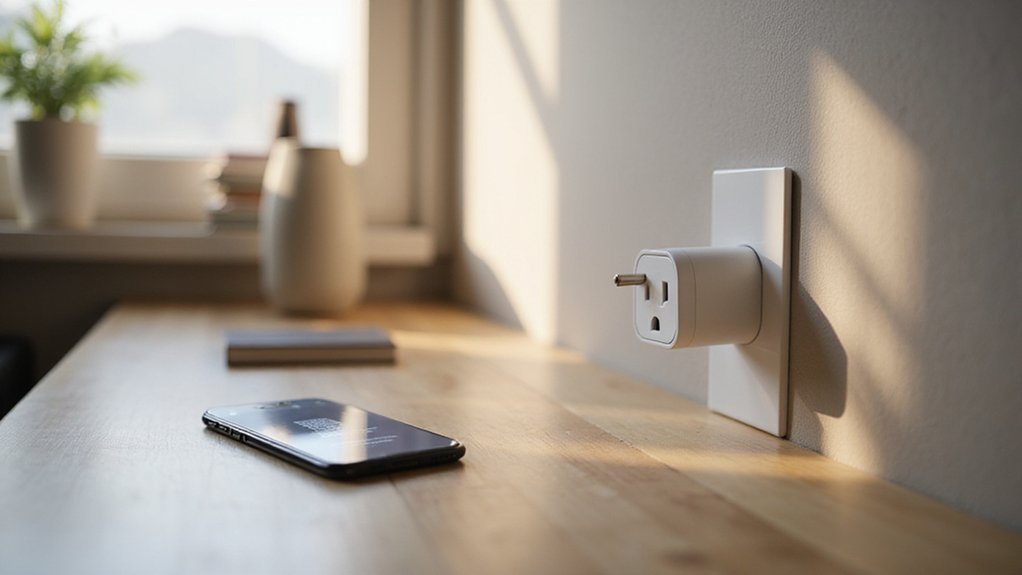
Once you plug the smart plug into a wall outlet—preferably away from power strips—wait for the status LED to start blinking. The LED indicator signals whether the device is in pairing mode; for most TP-Link Kasa models, look for orange and green blinking lights. Tapo models may blink white, amber, or blue and orange. If the LED doesn’t automatically start blinking, you need to manually enter pairing mode. Hold the power button for about 5 to 10 seconds until the light changes to the correct pairing color. Keep the plug close to your router or phone during setup for easier connection. During this process, your phone may need to connect to the plug’s temporary Wi‑Fi network, often named TP-LINK_Smart Plug_XXXX. If it doesn’t appear automatically, switch networks manually in your phone’s Wi‑Fi settings. Ensure the indicator light is amber and green before proceeding for iOS devices. For optimal signal strength, position the plug within your router’s coverage area to avoid interference from thick walls or metal fixtures, similar to how recessed lighting placement requires strategic spacing for even illumination. Always follow safe wiring tips to avoid electrical hazards when mounting the plug near outlets.
Tap the Plus Sign and Select Your Model
Tap the plus sign and select your model to ensure proper setup. The app displays icons for different Kasa plugs; match your plug’s model number to the correct one. Choosing the right model guarantees the app provides accurate hardware-specific instructions. Selecting the wrong model could lead to setup errors later on.
This step is essential for proper device recognition. Once you confirm the correct plug model, the app will automatically search for your device. Follow the on-screen prompts to complete the setup, all based on your correct model choice. Always turn off the power at the circuit breaker before working with any electrical connections.
Connect Your Phone to the Plug’s Temp Wi-Fi
To connect your phone to the plug’s temporary Wi-Fi, ensure your phone is connected to the correct access point during setup. The plug’s temporary Wi-Fi network is usually named TP-LINK_Smart Plug_XXXX. Your phone must stay connected to this network throughout the process; otherwise, the app cannot find the device. Make sure your home Wi-Fi operates on 2.4 GHz only, as 5 GHz networks are not supported during setup.
For optimal connection, keep your phone close to the plug—distance can weaken the signal and cause setup issues. On iPhone devices, disable Wi‑Fi Assist in settings to prevent your phone from switching back to cellular data, which interrupts the temporary Wi-Fi connection. If the app doesn’t detect the plug automatically, go into your Wi-Fi settings, select the plug’s SSID manually, then return to the app to continue.
If the network doesn’t appear, try resetting the plug and rebooting your phone to clear any connectivity problems. Confirm you’ve selected the correct model if multiple TP‑Link devices are nearby to avoid confusion during setup.
Connect the Plug to Your 2.4 GHz Home Network
Connect your phone to the 2.4 GHz band of your home Wi-Fi network first. This is essential because the smart plug does not recognize 5 GHz signals. Make sure your router’s Wi‑Fi security is set to WPA2+AES, as other encryption types can prevent successful pairing. Also, check for channel congestion; setting the channel to 1, 6, or 11 with a 20 MHz width helps avoid bandwidth issues that can cause setup failures.
If your router broadcasts both 2.4 GHz and 5 GHz bands, giving the 2.4 GHz network a distinct SSID improves the setup process. This prevents your phone from switching to 5 GHz during configuration, which can disrupt pairing. Launch the Kasa app, wait for it to scan your home network, then select your 2.4 GHz SSID. Enter the password, and wait until the plug’s LED turns solid green—that indicates a successful connection. During this step, keep your phone close to the plug to ensure a stable link. For a reliable electrical connection, ensure wire connectors are fully seated and tightened according to the manufacturer’s instructions.
Name Your Smart Plug and Set Its Location
Once the plug’s LED shows a solid green light, you need to name your smart plug and set its location. Start by providing a descriptive name, such as “Living Room Lamp,” instead of a generic label. This helps you quickly identify the device among others in your home. Since naming occurs after connecting to the network in TP-Link’s Kasa app, make sure the name is clear and specific. Next, choose a location or room for the plug, like “living room” or “kitchen.” The app usually offers preset options, but you can personalize this if needed. Assigning a specific name and location makes managing multiple smart plugs more straightforward. However, if you plan to use the smart plug outdoors, ensure it has an appropriate waterproof rating to avoid safety hazards. You can modify these details later through Device Settings or Device Info, but choosing wisely now will save time later. The device name updates automatically in associated voice assistant services. Don’t forget to save your changes to confirm. Proper placement of devices ensures consistent light coverage and avoids dead zones in a room. Unlike canless recessed lighting, which requires tight junction box connections to prevent fire risks, smart plugs simply plug into a standard wall outlet for easy installation.
Test Remote Control (No Wi-Fi Needed?)
To verify that remote control is disabled, look for a “Kasa Account Required” prompt during setup. If this prompt does not appear, you probably used guest access, which keeps the device limited to local control only. To conduct a thorough test, disconnect your router’s internet while keeping Wi‑Fi active. The app should still be able to control the plug. If you lose Wi‑Fi entirely, only the physical button on the device will work. This test demonstrates whether your plug can operate reliably via local area network (LAN) without relying on cloud connectivity. To ensure a stable local setup, follow spacing and placement rules similar to those used for smart home devices to avoid signal interference. The Kasa Smart Plug operates exclusively on a 2.4GHz Wi-Fi network, so ensure your router supports this band for proper local control. Understanding how smart Wi-Fi plugs work can help you choose fixtures that support local control without unnecessary cloud dependency. For a reliable local network, consider using a dedicated Wi-Fi access point to minimize interference from other household electronics.
Turn On Automatic Firmware Updates
Enable Auto Update using the Auto update scheduling feature to let the plug install new firmware automatically once the rollout reaches it. Keep in mind that Firmware compatibility varies, and not all devices support auto-updates as per TP-Link’s specifications. Firmware releases are rolled out gradually, so even identical models might receive updates at different times, with delays of up to a month. During updates, ensure the plug remains powered on and avoid operating it until the process completes. If updates do not appear right away, check the firmware page again later. For comparison, selecting a smart plug with reliable performance metrics can help you anticipate update timing, much like how top-rated string lights are judged on their consistency and brightness. Understanding the specific wire connector types used in your smart plug’s internal wiring can help you assess its build quality and durability. Similar to how choosing between different blade counts in a ceiling fan affects its performance and longevity, a smart plug’s update schedule can influence its overall reliability and lifespan.
Factory Reset the Plug When Pairing Fails
To factory reset your TP-Link smart plug when pairing fails, press and hold the reset button for about 10 seconds. You’ll know the reset is complete when the LED blinks amber rapidly. This process restores the device to its original settings and clears any wireless interference or stuck configurations. It’s especially useful when firmware updates don’t resolve the connection issues. A factory reset leaves the device with no retained configurations from any prior setup. Unlike Wemo plugs, which may require a specific button sequence to reset fully, TP-Link devices use a straightforward long press method. If persistent noise from the device is distracting, you can apply quiet ceiling fan tips to reduce hum from nearby electronics.
After the reset, the plug will automatically re-enter pairing mode. Remember, a soft reset—lasting about 5 seconds—only refreshes your connection without deleting settings, so use the full factory reset for persistent pairing problems. Once the reset is done, add the device again through the Kasa app by selecting “Add a Device.” If the plug appears offline, you can also perform the reset via the physical button to bypass wireless issues that might be causing connection problems. For a similar hands-on approach to wiring, follow safe wiring tips when connecting recessed lights to ensure a clean DIY finish.
Control Your Kasa Plug With Google Home
To control your Kasa Plug with Google Home, start by scanning the QR code on compatible plugs for faster setup. This quick link recognizes your device and connects it to your Google Home system seamlessly. Once linked, you can ask Google Assistant to manage your plug—turn it on or off, set schedules, or adjust settings—simply using your voice. You can also check the energy consumption of monitored plugs through voice queries, helping you keep track of your device’s power usage effortlessly. Authorizing Google in the Casa app then detects your available lights and plugs for room assignment. For a secure installation, always turn off the power at the breaker before handling any wiring connections.