If you’ve wondered how to make your everyday devices smarter without much fuss, a smart plug is a great place to start. It allows you to control appliances remotely, set schedules, and even add voice commands with just a few simple steps.
Once you get the hang of setup, automating your home becomes easier and more affordable.
The following tips will guide you through the process.
Know What a Smart Plug Can Automate
Smart plugs excel at automating simple tasks such as controlling lamps and small appliances remotely. They allow you to monitor the power consumption of plugged-in devices, helping you identify energy waste like standby power. By setting automations, you can schedule or trigger devices to turn off automatically, for example, shutting off a heater or a coffee maker after a certain time. This focus on straightforward control and automation makes smart plugs a cost-effective solution for reducing energy use and increasing convenience. For instance, you can set thresholds (e.g., below 5 Watts) to automatically turn off devices when charging completes. Understanding the correct ceiling fan direction for each season can further optimize your home’s energy efficiency by improving air circulation and reducing reliance on heating or cooling systems. However, it is important to note that safe load limits must be observed to prevent overheating when using smart plugs with high-power appliances. A proper grounding connection is essential for both smart plugs and ceiling fans to prevent electrical shock and ensure safe operation.
Check Smart Plug Compatibility: Wi-Fi, App, and 2.4 GHz
Before making a purchase, visit the device’s support page or product specifications to confirm compatibility. This step helps avoid frustration during setup and ensures your smart plug will work smoothly within your existing smart home system. For certain brands like Kasa, a dedicated setup process is required to enable voice control via Alexa. Proper placement of your smart plug can prevent issues similar to misplaced outdoor lights that fail to cover key areas. Following a mini chandelier wiring guide can help you visualize how to neatly route and conceal cords for a polished installation.
Step-by-Step Setup: Plug In, Pair, and Connect
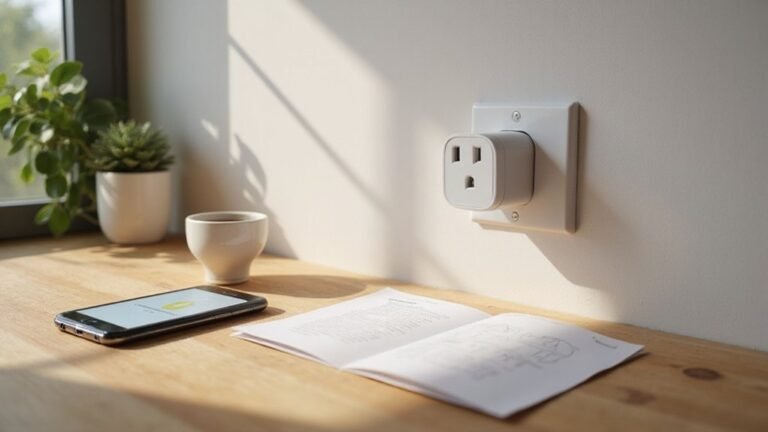
To set up your smart plug, start by plugging it directly into a wall outlet, but do not connect your appliance yet. You should see a blinking LED, indicating that the plug is in pairing mode. If it doesn’t blink, press and hold the reset button until it starts blinking. A blinking orange and blue LED is typical for the recommended TP-Link Casa model.
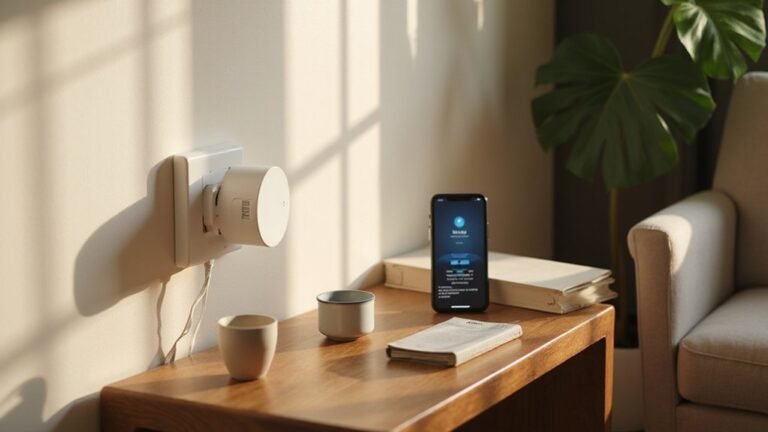
Next, open the companion app on your phone and follow the instructions to add the device. The app will ask you to connect temporarily to the plug’s own Wi-Fi network. After successfully connecting, switch back to your home Wi-Fi and enter your 2.4 GHz Wi-Fi credentials when prompted. A stable LED or confirmation message indicates that the device is connected.
The app may then suggest updating the firmware—these updates enhance device performance and improve power monitoring features. Once the setup completes, you can assign a name to your smart plug and run a test to ensure it works properly.
Name Your Smart Plug and Test On-Off Control
Once your smart plug is connected to Wi-Fi and linked to your app, give it a distinctive name for easy voice and app control. Use clear, descriptive labels like “Kitchen Lamp” instead of generic ones like “Plug 1.” This helps improve voice command accuracy, especially when managing multiple devices. To rename the plug, open your manufacturer’s app, select the device, find the edit or settings option, and enter a short, memorable name—such as “Candle Plug” or “Desk Lamp.” Consistent naming across your smart devices reduces confusion during control. For garden lights, consider using a name inspired by top solar power solutions to reflect their energy source. If a ceiling fan is connected to a smart plug, applying quiet operation tips can help reduce disruptive humming or buzzing noise. Choosing a push-in connector for the fan’s wiring may also improve the stability of the connection and reduce noise.
After renaming, test the on-off function directly within your app. Confirm that the new name appears correctly, then toggle the device on and off to ensure it responds properly. Next, give a voice command to verify your assistant recognizes the new name. If a different device responds or there’s confusion, make your naming more specific. If control doesn’t work as expected, double-check that your voice assistant account is linked and synced correctly.
Access the Alexa app to verify the name change appears in your device list.
Control Your Smart Plug With the App
After confirming voice control works with your renamed plug, you can manage it in detail using the manufacturer’s app, such as Smart Life or Kasa. Open the app and tap the icon of your plug on the home screen. A large power button will appear; tap it to turn the plug on or off remotely. For more advanced adjustments, access device settings by tapping the gear icon. Here, you can perform firmware updates to keep your plug’s software current and adjust privacy settings to control data sharing. Ensure your plug is online in the app, which indicates it is paired correctly. For initial setup, note that holding the power button for at least 10 seconds resets the plug and enters discovery mode for app pairing. Once verified, you can control and monitor your smart plug directly from your phone. You can also schedule the plug to turn on or off based on your daily routine. Similarly, this hands-on control mirrors the process of verifying that your recessed lights are wired safely before completing the installation. To extend the life of the fan, first confirm the blades are not warped by checking for bent metal brackets.
Set Schedules and Timers for Automation
Automated routines reduce the need for daily manual operation, and they also help save energy by ensuring dimmable LED downlights are off when not needed. For a safe installation, use the Gosund app to verify your home’s wiring is compatible before plugging in the smart device. A smart Wi-Fi plug works by connecting to your home network, allowing you to control appliances remotely via a smartphone app.
Add Voice Control With Alexa, Google Assistant, or Siri
To add voice control, you need to set up your smart plug with Alexa, Google Assistant, or Siri. For Alexa, open the Alexa app, go to Devices, and add your plug. Make sure your Wi‑Fi connection is strong and your Alexa account is signed in. Name the plug clearly, like “lamp” or “fan,” to make voice commands more natural. Saying “Alexa, turn on the lamp” becomes simple with consistent naming. Using device groups within the app can also let you control multiple plugs at once. For Amazon smart plugs, the setup involves scanning the barcode directly within the Alexa app for a quick integration. A similar principle of consistent naming helps organize smart home lighting accessories. For example, placing smart plugs in recessed can lights allows you to control overhead fixtures with the same voice commands used for lamps.
For Google Assistant, set up the plug in the manufacturer’s app first, then link it to Google Home. For Siri, you need a plug that is compatible with HomeKit or a compatible bridge device. Keeping the naming consistent across all assistants helps keep commands predictable. Remember, not every plug supports all voice assistants, so check compatibility before purchasing.
Troubleshoot Common Smart Plug Issues
Begin troubleshooting common smart plug issues by checking the basics: ensure the wall outlet is active by plugging in another device, and verify that your smart plug is securely seated with the appliance fully inserted. Use the physical button on the plug to test local control and determine if the issue stems from the app or the device itself. Power cycle both the smart plug and your router to clear potential network glitches that could affect connectivity. For a clean DIY finish, always follow safe wiring tips to avoid electrical hazards during installation. Additionally, always check that the fan blades are securely fastened to prevent wobbling, as a similar principle applies to tightening ceiling fan blades for stable operation. As with outdoor lighting, choosing dusk-to-dawn sensors can help automate your schedule efficiently.
If pairing the device fails, perform a factory reset by holding the button for 5 to 10 seconds until the reset occurs. During setup, keep the smart plug close to your router and connect using a 2.4 GHz Wi-Fi band, which offers better compatibility and range for most smart devices. Make sure your app is up to date, as firmware updates often fix bugs and improve stability. Also, verify that your time zone settings are correct in the app to ensure scheduled automations function properly. As a helpful step, you can restart network devices by unplugging both the router and modem, waiting a few minutes, and reconnecting them to clear temporary issues that affect connection.
Persistent connectivity problems may be caused by overloaded power strips or using the plug in a socket that’s far from the Wi-Fi source. Moving the smart plug to a different outlet or reducing load on the power strip can help. If none of these steps solve the issue, contact the vendor’s support team and provide device logs to assist with further diagnosis.