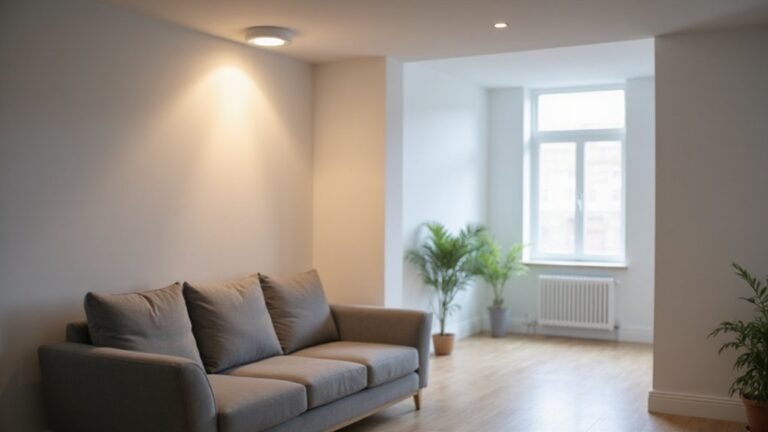
Ever wonder how to achieve a sleek, modern look that seamlessly illuminates your space? Recessed can lighting is a popular choice because it fits inside your ceiling, leaving just a clean trim visible.
This setup offers a subtle, space-savvy way to provide ambient, task, or accent lighting.
Keep reading to discover how this smart lighting option works and how to choose the right style for your home.
What Is a Recessed Can Light? Breaking Down the Basics
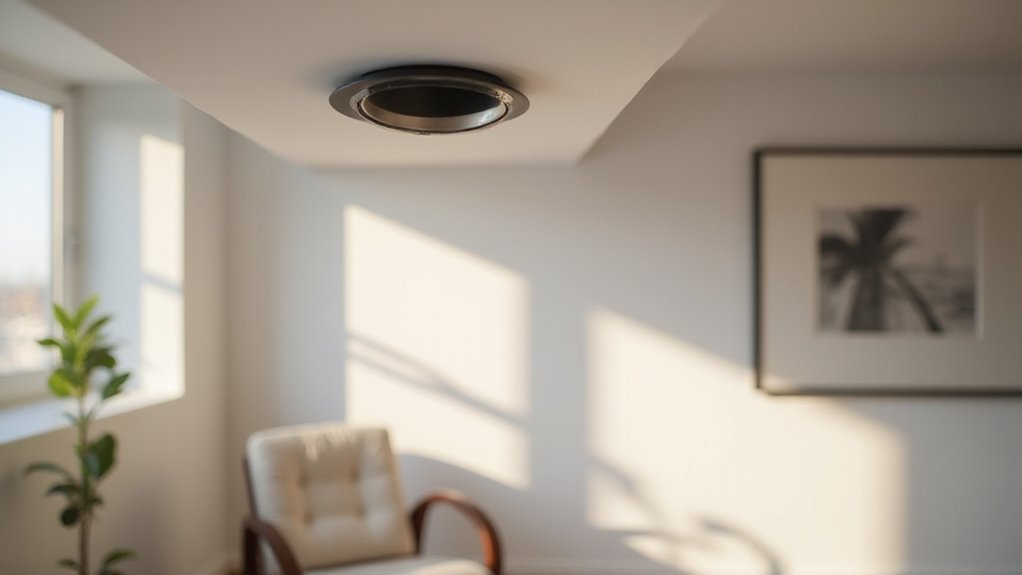
A recessed can light is a fixture installed into a hollow ceiling opening, with only the trim visible at the surface. The main housing, shaped like a canister, remains concealed above the ceiling. This setup results in a sleek, flush appearance that enhances the room’s openness and modern vibe. Because the fixture is embedded within the ceiling, it retains a clean look without any protruding elements. You can install multiple can lights to achieve even illumination, and their unobtrusive design makes them suitable for a variety of interior styles. When installing recessed can lights, it is important to use wire connectors safely to ensure all electrical connections are secure and reliable. Additionally, when wiring the fixture, always turn off the power at the breaker before handling any electrical connections.
Recessed can lights offer flexibility in lighting design because they direct light downward, making them ideal for ambient, task, or accent purposes. They are energy-efficient when paired with LED or other modern lamp types, which consume less power while providing bright, focused light. Additionally, since they do not hang below the ceiling, recessed can lights work particularly well in spaces with low ceilings where hanging fixtures like chandeliers or pendants might be impractical. Their hidden housing system also makes them a popular choice for maintaining a minimalist, clutter-free look. For optimal performance, always verify that the fixture is compatible with insulation contact ratings before installation.
How a Recessed Can Light Is Built: Housing, Trim, and Bulb
A recessed can light is built from three main parts: the housing, trim, and bulb. The housing is the concealed metal can installed in your ceiling that contains the socket and wiring. It’s important to select a housing that matches your ceiling’s depth and insulation, as it regulates heat and airflow to ensure safety and proper function. The trim is the visible ring from below, sitting inside the housing to finish the opening. Trim styles vary, offering options like baffles that reduce glare or reflectors that focus beams, allowing you to customize the room’s ambiance. While recessed lighting focuses on ceiling fixtures, you can achieve a similar ambient effect on walls using wall sconce candle holders for a more decorative look. The bulb screws or pin into the socket inside the housing and shines through the trim. Typically, each component is chosen separately, but you must ensure they match in size and base type for a secure, snug fit. For outdated fixtures, the trim ring (which holds the bulb) can be removed by gripping and pulling it down, often held by springs that provide flexibility. For a clean installation, wiring the housing requires following a step-by-step method similar to wiring LED strip lights.
Can Lights vs. Canless: What’s the Difference?
Can lights versus canless fixtures differ mainly in their housing and installation requirements. Can lights use a separate metal can installed above your ceiling, requiring about 5 to 7 inches of vertical clearance. Canless fixtures, on the other hand, eliminate the housing entirely and are designed as slim, all-in-one LED units that mount directly into the ceiling opening, needing less than 2 inches of clearance. This compact design makes canless fixtures ideal for tight spaces like basements or soffits.
Energy efficiency also varies between the two. Canless lights typically feature integrated LEDs that do not require bulb replacements, providing a boost in energy efficiency and reducing maintenance over time. Their low-profile design not only saves space but also creates a sleek, flush aesthetic that enhances the overall look of your ceiling. Additionally, many canless models include built-in dimming capabilities that allow for adjustable brightness levels without needing a separate dimmer switch.
Installation differences are notable too. Canless fixtures can be mounted quickly using spring clips, making them a convenient choice for DIY projects or areas with limited access. Can lights demand more ceiling access due to their deeper housing and often involve more complex installation steps. If you prioritize ease of installation and a clean appearance, canless fixtures are the better option; if you prefer ease of bulb replacement, traditional can lights are preferable. For those who also want air circulation, a ceiling fan with light can be a valuable alternative to consider. Properly setting the fan to rotate clockwise in winter helps redistribute warm air trapped near the ceiling.
Why Choose Recessed Can Lights Over Surface-Mounted Fixtures?
Recessed can lights are preferred over surface-mounted fixtures primarily because of their sleek, unobtrusive appearance. The flush-ceiling design hides the housing, leaving only the trim visible for a clean and minimalist look. This creates a low-profile ceiling that makes your room feel more spacious and less cluttered, enhancing a high-end, built-in aesthetic.
Space savings is another major advantage. Without a hanging fixture body, recessed lights preserve headroom in rooms with low ceilings and eliminate bulky protrusions. Their ceiling-integrated design is ideal for tight spaces or areas where a clean ceiling line is essential, especially during renovations or updates.
While surface-mounted fixtures may be easier to install, recessed can lights provide more even illumination with better glare control. They reduce shadows and distribute light uniformly, contributing to a comfortable and inviting ambiance without the overhead hardware drawing attention.
Where Recessed Can Lights Work Best in Your Home
Recessed can lights work best in spaces where you need focused task lighting without clutter, thanks to their seamless integration into the ceiling. In the kitchen, place them over countertops, sinks, and islands to eliminate shadows during food preparation. Bathrooms benefit from moisture-resistant, IP44-rated units installed above the shower and near mirrors for safe, controlled illumination. In the living room, use perimeter placement or aim fixtures at artwork for decorative accentuation. Distributing them evenly helps avoid dark zones and maintains consistent ambient light. Hallways gain from regularly spaced cans, which improve nighttime navigation without glare. In bedrooms, warm, dimmable lights placed near the bed create a calming atmosphere. For energy efficiency, recessed lights reduce overall wattage while providing precise illumination in key areas. Unlike flush mount ceiling fans, recessed lights occupy no vertical space below the ceiling, making them ideal for low-clearance rooms. To achieve a clean finish after installation, you should seal recessed can lights around the trim to prevent air leaks and improve energy efficiency.
What You Need to Know Before Installing Recessed Can Lights
Before installing recessed can lights, ensure your ceiling cavity has at least 8 inches of clearance. If space is tight, opt for a low-clearance canister. Use a stud finder to locate joists and avoid drilling into them. Drill a small test hole to check for hidden wires or pipes behind the ceiling surface. For safety, choose IC-rated housings if insulation can contact the fixture, and select trims that complement your room’s style. Always turn off power at the breaker before working on electrical connections, confirm power is off with a voltage tester, and keep at least 16 inches of extra cable per opening to facilitate wiring. If you are not comfortable working with electrical wires, hiring a licensed electrician is recommended. To ensure proper placement, measure spacing based on half your ceiling height—such as 4 feet for an 8-foot ceiling—and verify that your circuit can support the total wattage of the lights before cutting into the ceiling. For optimal layout, recessed cans should be spaced approximately six feet apart to achieve balanced illumination.
Common Mistakes to Avoid With Recessed Can Lights
Even with careful planning, several common mistakes can undermine your recessed can lighting project, so it’s smart to watch for them before you cut. Not all trims and housings are compatible—using mismatched fixtures can lead to insecure mounting and inconsistent appearance. Reusing old dimmers is also risky; standard switches often cause flickering with LEDs, so choose CL-rated dimmers designed for LED compatibility. For the best results, select top track lighting LEDs designed with high CRI (Color Rendering Index) to ensure accurate color representation. If your smart plug loses connection, a factory reset procedure can resolve pairing issues by restoring the device to its default settings.
Spacing is crucial for effective lighting. Placing cans too far apart creates uneven dark spots, while locating fixtures too close to walls causes harsh glares. Aim for approximately four feet between each can for uniform coverage. Additionally, avoid mixing different color temperatures—pairing 3000K and 5000K LEDs results in a disjointed look. Over-lighting a room can flatten its depth and reduce ambient appeal, and keep in mind that wall colors can be distorted by the bulb’s hue, as 3000K bulbs once made brown walls appear pink. Match your fixtures, maintain proper spacing, and select compatible dimmers to achieve a professional, cohesive result. Understanding how uplight fixtures distribute light upward can also help you decide whether recessed cans or alternative mounting angles better suit your ceiling height and desired ambiance.