Choosing the right recessed lighting depends on your ceiling type and how you want to use the space.
Fixed lights provide a straightforward, downward beam, while adjustable options give you control to highlight specific areas.
Selecting the right trim, shape, and even IP rating can make a big difference in both style and safety.
Keep reading to find out how to make the best choices for your room.
New Construction vs. Remodel: Which Recessed Light Housing Fits?
The appropriate recessed lighting housing depends on your ceiling’s current condition. If your ceiling has open framing or exposed joists, then new construction housing is your best choice. You install it before drywall, attaching it directly to the joists for solid support. This approach makes wiring easier to access and simplifies installation since the ceiling is open, making it ideal for new builds or major remodels. It also allows for better integration of energy-efficient features, like airtight seals. On the other hand, for finished ceilings, remodel housing is necessary. You cut a small hole and secure it with clips that grip the drywall. This method avoids extensive demolition, which significantly eases installation. When wiring these fixtures, follow safe wiring tips to prevent electrical hazards, as outlined in the ceiling fan guide. While you can choose energy-efficient trims for both housing types, the housing itself does not determine energy performance; your ceiling condition is the main factor in selecting the correct housing. However, regardless of which housing you choose, the pendant light shade you pair with it should also be chosen for its aesthetic and functional qualities, as reviewed in top guides.
Fixed vs. Adjustable Recessed Lights: What’s the Difference?
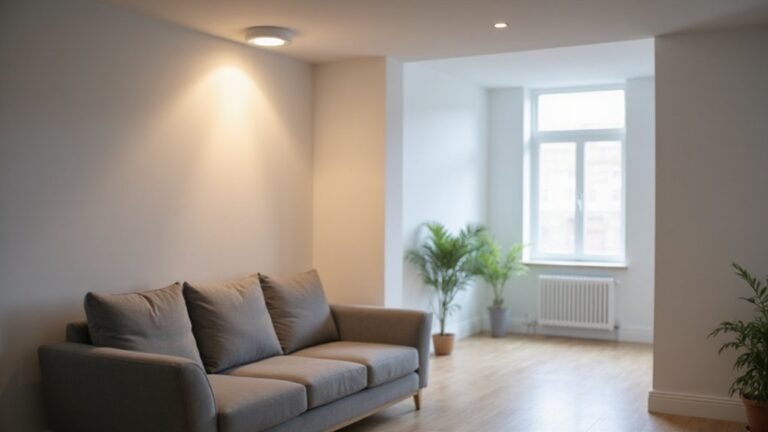
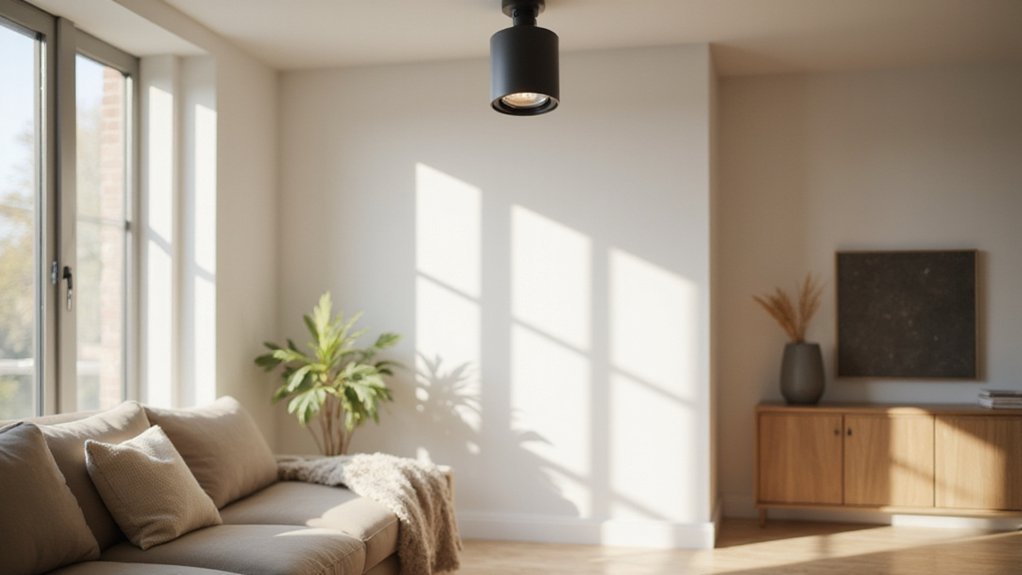
Fixed recessed lights provide a constant, downward-focused beam that remains in a fixed position, making them ideal for general ambient lighting. Adjustable recessed lights, on the other hand, allow you to tilt or swivel the light, giving you precise control over where the light is directed. This flexibility is especially useful when highlighting artwork, accenting specific areas, or creating layered lighting design.
Adjustable fixtures tend to be more expensive and require careful installation, particularly on sloped ceilings, to ensure proper aiming and stability. Fixed trims offer a sleek, flush appearance that simplifies installation and maintenance, as they don’t require repositioning once installed. This also makes fixed options more compatible with lighting automation systems, since their position remains constant.
If your aim is uniform, broad illumination across a space, fixed recessed lights are the best choice. For targeted lighting that can be directed where needed, adjustable recessed lights give you the control to enhance your space’s versatility and ambiance.
How Different Recessed Light Trims Control Glare and Beam Spread
The trim you select for your recessed lights plays a crucial role in controlling glare and managing beam spread. Baffle trims feature ribbed, dark interiors that absorb stray light, resulting in a softer, diffused appearance. This makes them ideal for living rooms or spaces where comfort is key, as they reduce ceiling brightness and hide the bulb from view. Reflector trims, in contrast, have smooth, reflective surfaces that direct light downward, creating a wider and brighter beam suited for task lighting or areas requiring more illumination. For instance, the TORCHSTAR 6-Pack 6″ Recessed Can Light Trims also feature an anti-glare cone baffle design to reduce glare and flickering. For a similar clean finish, always use a step-by-step method to connect wire connectors safely during installation.
For enhanced glare control, deep-regression trims are designed to hide the LED source deep inside the fixture, minimizing direct sightlines to the bulb. Louver trims incorporate internal cells that block direct view and further reduce glare, making them a good choice for environments where light comfort is essential. Diffuser trims soften the light beam, dispersing it evenly across the space for a gentle, ambient glow. Taking inspiration from a handmade aesthetic, you could even build a custom tripod floor lamp to complement these lighting choices in a corner that needs a sculptural accent.
Pairing the right trim type with your chosen color temperature and focusing on energy efficiency can improve both your comfort and lighting performance. Properly selected trims not only direct light effectively but also contribute significantly to the room’s overall ambiance and visual ease.
Round, Square, or Rectangular Recessed Trims: Which Shape Works Best?
Round trims generally provide the most versatile and subtle fit for most interior designs. They seamlessly blend into various spaces, offering a clean and unobtrusive appearance. The even light distribution with round trims also minimizes shadows and glare, making them a practical choice for general lighting needs.
Square trims introduce a sharper, more architectural aesthetic, especially suitable for rooms with straight lines or grid ceiling designs. They create a modern, deliberate look that can emphasize clean architectural features. Rectangular trims, on the other hand, deliver a linear accent that works well in hallways or above kitchen counters, adding a structured feel.
Choosing between these shapes does not impact lighting performance; it’s purely about style. Round trims tend to be the most universally compatible and minimally impactful visually, making them ideal for a broad range of applications. Square and rectangular trims make a more defined statement with angular lines, perfect for contemporary or more structured spaces.
Safe Recessed Lighting for Bathrooms: What You Need to Know About IP Ratings
Each bathroom zone requires a specific IP rating to ensure safety and moisture protection. For zone 0, inside the bath or shower itself, IP67 is essential because it offers immersion resistance, meaning the light can withstand being fully submerged in water. Zone 1, directly above the shower, should have IP65, providing strong protection against water jets and splashes. For zone 2, near sinks and toilets, IP44 is suitable as it handles splashes but is not designed for direct water jets. Dry zones, further away from water sources, only require IP20, which offers basic protection against dust and accidental contact. Following landscape wiring methods, like using GFCI protection and weatherproof connections, can further enhance safety when running low-voltage lighting near wet areas. Choosing fixtures that are low profile helps maintain a clean ceiling appearance while still meeting zone requirements. Installing these fixtures with proper thermal management ensures the LED drivers operate safely in insulated ceilings.
Matching your recessed lighting’s IP rating to its specific zone prevents moisture damage and potential electrical hazards. Using a higher-rated fixture than necessary can add unnecessary cost, but undershooting the rating risks short circuits or water ingress. For areas exposed to jets or immersion, never settle for IP44 or lower. Always select fixtures with the appropriate IP rating for their location to keep both your lighting and your safety intact.