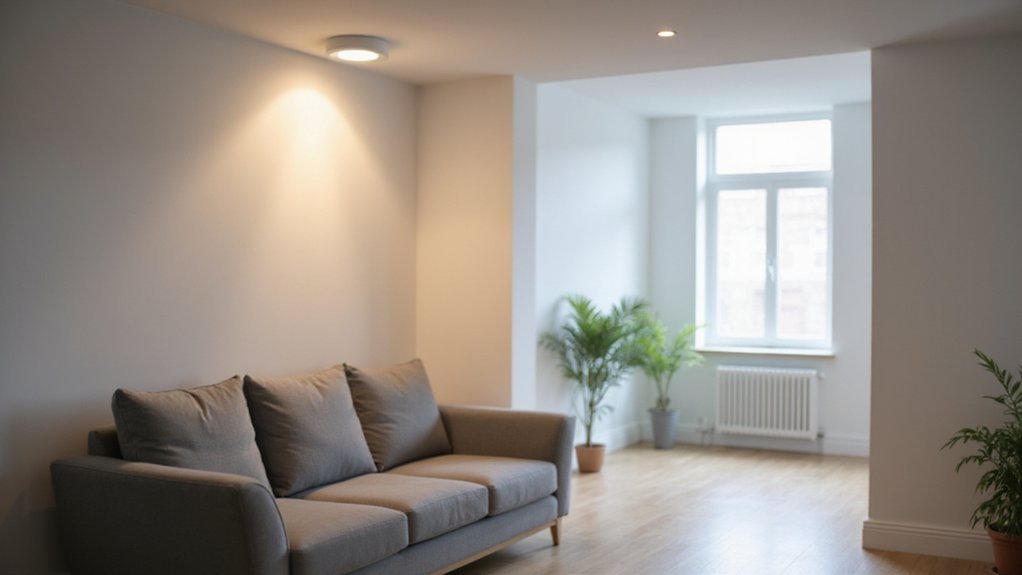
Figuring out how many recessed lights you need can feel tricky, but it’s really about balancing function and style.
A good starting point is to consider the size of your room—generally, 25 to 50 square feet per light works well. With some simple adjustments for ceiling height and layout, you’ll be able to create a bright, inviting space.
The details come next.
Start With the Square-Footage Rule
To start with the square-footage rule, measure your room’s length and width in feet and multiply these numbers to find the total square footage. For example, a 15-by-20-foot room totals 300 square feet. This number serves as a baseline for determining how many light fixtures you might need.
Next, divide the total square footage by your chosen coverage rate, which typically ranges from one light per 25 to 50 square feet for ambient lighting. For a 300-square-foot room, this calculation suggests you might need between 6 and 12 lights. Be sure to adjust the number based on ceiling height: divide the ceiling height by 2 to determine appropriate spacing between fixtures. An 8-foot ceiling, for instance, would mean placing lights approximately 4 feet apart. Keep in mind that decorative fixtures can require fewer or more lights, and dimming options can help you fine-tune brightness levels. Remember, this rule provides a starting point, not a fixed number. If you are also installing a ceiling fan in the room, follow safe wiring tips to ensure a clean and secure electrical connection. For greater control, consider smart bulbs that connect to your home’s Wi-Fi network and adjust brightness or color directly from your phone. To secure these connections properly, always match the wire connector type to the gauge and number of wires you are joining, as mismatched connectors can lead to loose fit and overheating.
Recessed Light Cheat Sheet for Common Room Sizes
For common room sizes, this cheat sheet provides a quick estimate of the number of recessed lights you’ll need. For a 10×10 room, plan for 4 to 6 fixtures spaced roughly 4 feet apart. In a 12×12 space, the same range applies, with fixtures also about 4 feet apart. Moving to a 12×18 rectangular room, aim for 6 to 8 fixtures, spacing them 4 to 6 feet apart to prevent dark spots. A 14×20 room requires 8 to 10 fixtures, placed roughly 5 feet apart for even illumination. For a 20×20 area, expect 12 to 14 fixtures, spaced about 6 feet apart to ensure uniform coverage. Remember to choose your color temperature and incorporation of dimming options based on the desired ambiance. Consider pairing your recessed lights with track lighting types for accent or task lighting in larger spaces. Adjust fixture spacing according to your ceiling height, but this guide offers a practical starting point without complex calculations. For seasonal energy efficiency, you can also apply the ceiling fan direction rules to your room’s airflow strategy. To avoid flickering issues later, ensure your remote uses a compatible frequency with the receiver installed in the fixture.
Adjust Recessed Light Count by Room Type
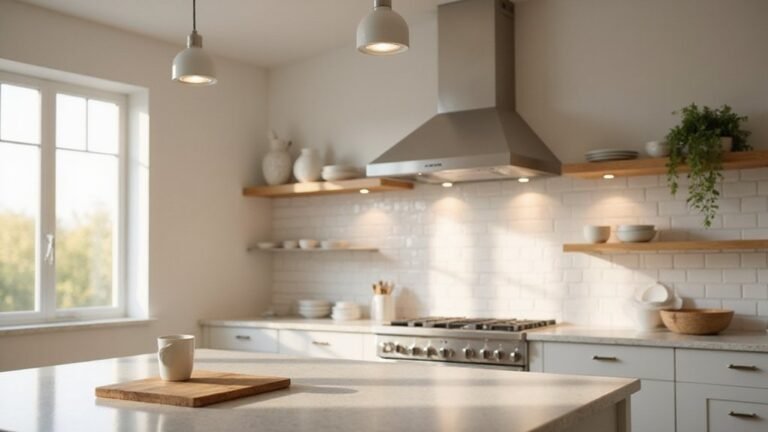
Recessed lighting counts vary by room type to achieve optimal illumination. For living rooms and bedrooms, typically 4 to 6 fixtures are enough for a 200–300 square foot area, providing a balanced ambient glow without overwhelming the space. Kitchens require more, often between 6 and 10 fixtures, because of higher light levels needed for task zones like counters and prep areas. In these spaces, adding under-cabinet fixtures beyond the main grid helps illuminate work surfaces effectively. For a more decorative touch, you can incorporate a mini chandelier above a kitchen island to add focused accent lighting without relying solely on recessed cans. Bathrooms generally need 4 to 6 recessed lights, complemented by a separate vanity strip to prevent face shadows—treat mirrors as their own lighting zone. Hallways and closets demand only about 2 to 3 fixtures since their primary purpose is navigation rather than detailed work. Keep in mind, energy efficiency is key: using fewer high-lumen fixtures with dimmers can reduce wattage and enhance control, while decorative fixtures can fill visual gaps without adding energy consumption. For a drop ceiling installation, careful planning of fixture placement ensures even coverage and avoids structural obstructions. Additionally, if you notice any wobbling in the fixtures, it is important to balance the blades to ensure safe and quiet operation.
Space Recessed Lights by Ceiling Height (Divide by 2)
Always position the first row of lights about half the spacing distance from the wall—so, for a 9-foot ceiling, place the initial light roughly 3 to 4 feet from the wall. This prevents harsh shadows and uneven illumination near the edges. Keep in mind that lower ceilings benefit from tighter spacing to avoid a confined feeling, while higher ceilings allow wider gaps since light spreads farther before reaching the floor. Adjust spacing as needed to match your room’s specific layout and lighting goals, and consider that sunset lamps can add a warm, decorative glow instead of purely functional downlighting.
How Layout, Walls, and Ceiling Shape Change Your Count
Ceiling irregularities such as alcoves or jogs require separate layout calculations for each section. You cannot apply a single room-wide grid; instead, treat each shape individually. Corner placements may force diagonal positions, which will change your overall fixture count. For hallways, space lights about 6 to 8 feet apart, reducing the number of fixtures needed per linear foot. Keep in mind that fewer general lights might be sufficient if task lighting is used to handle part of the illumination. To ensure a safe installation, always check the wiring for compatibility and use a secure connection method before mounting any new fixture. Before finalizing your count, check whether your existing units are removable housings that allow for straightforward replacement without altering the ceiling. Consider waterproof recessed can lights for spaces prone to moisture or splashes.
How to Use Lumens to Fine-Tune Your Fixture Count
To use lumens to fine-tune your fixture count, start by multiplying your room’s area by your target footcandles. This calculation gives you the total lumens needed for proper lighting. For example, in a 100 square foot kitchen at 40 footcandles, you need 4,000 lumens. Next, divide this total by each fixture’s lumen output. Using 800-lumen fixtures, you’d initially need five to reach 4,000 lumens. However, it’s important to adjust for fixture efficiency. Check the fixture’s spec sheet for the actual delivered lumens, not just the nominal number. If your fixture only delivers 700 lumens after accounting for losses, you’ll need six fixtures instead of five. Additionally, consider a coefficient of utilization around 0.70 for standard ceiling heights. This factor effectively raises your total lumen requirement, helping you avoid dim spots. Always verify the lumen output of your fixtures before finalizing your layout. Proper recalibration ensures your lighting is both effective and efficient, preventing underlit areas or overbuying. For tighter layouts, choosing the right connector type can also help secure wiring in junction boxes without bulky interference. Before you begin any wiring, turn off the power at the breaker to safely inspect the existing junction box and confirm it can support the new fixture’s weight.