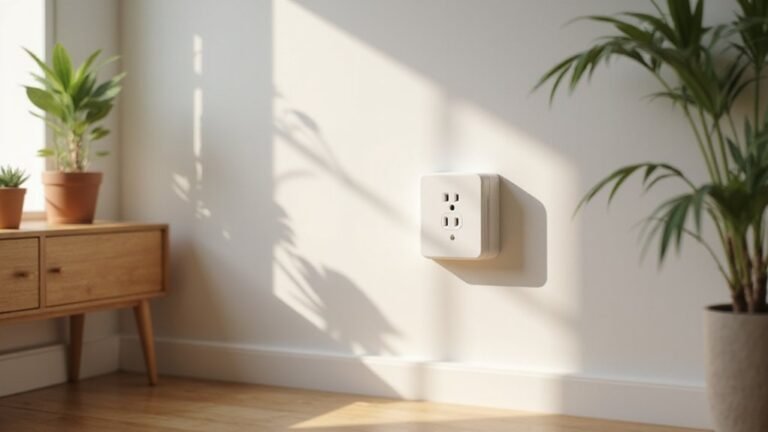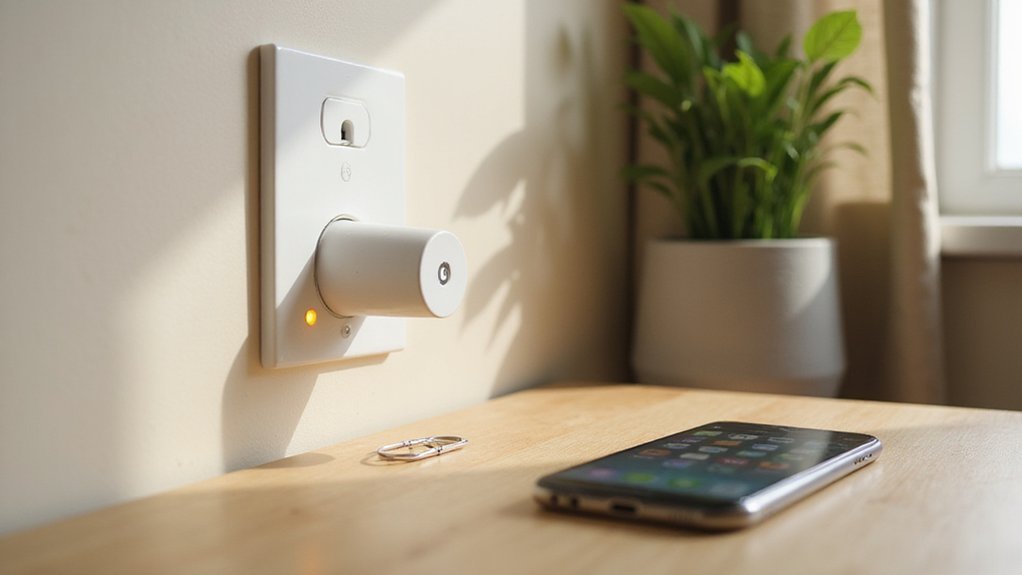
If your Kasa smart plug isn’t working right or won’t connect, you might need to reset it.
Resetting can fix stubborn glitches and restore proper functioning.
Depending on your issue, a quick soft reset or a full restore might do the trick.
Keep reading to find out which method suits your problem best.
What Is a Soft Reset vs a Factory Reset on a Kasa Smart Plug?
A soft reset on a Kasa smart plug involves holding the button for about 5 seconds until the LED blinks amber and green (or amber and blue on some models). This process re-enters setup mode without erasing your existing schedules, device names, or other settings. It’s useful for fixing minor connectivity issues or reconnecting the plug to a new Wi‑Fi network. It’s also recommended after firmware updates to ensure the device functions smoothly. This soft reset is initiated with a 5-second button hold. You can perform this reset using the Kasa app without needing physical access to the plug. This is different from changing the ceiling fan direction each season, which requires a manual switch on the motor housing. For buyers comparing smart home accessories, this reset method works alongside any floor lamp with shelves to maintain automated lighting schedules.
A factory reset, by contrast, is more thorough. Hold the button for 10 seconds until the LED blinks amber rapidly. This action wipes all custom configurations, including schedules and device names, returning the smart plug to its original factory defaults. Use this reset method if persistent problems remain after a soft reset or if you want to start fresh with the device.
No Reset Button? Here’s How to Reset Your Kasa Smart Plug
Some Kasa smart plugs, such as the HS300 power strip and KP303 models, lack a dedicated reset button. Instead, you will use the control button as a dual-purpose reset control. First, verify your model number on TP-Link’s support page or consult the user guide for precise instructions. To reset, press and hold the control button. For a soft reset, hold it for 5 seconds until the LED blinks amber and green, which puts the device back into setup mode. For a factory reset, hold the button for 10 seconds until the LED blinks rapidly amber, erasing all previous settings. This process is essential for firmware updates and ensuring device compatibility. If the control button is hidden or unclear, printed instructions included with the device can guide you. If the plug remains unresponsive, refer to the Meross smart plug reset guide for similar troubleshooting techniques. A hard reset is performed by holding the button for 10 seconds and erases all data to restore factory defaults. When selecting a replacement fixture, consider the globe for pendant light as optimal illumination relies on the correct bulb shape and size. For those also upgrading their lighting, reviewing top-rated recessed lighting with covers can improve overall room brightness and fixture longevity. If these steps do not work, contact TP-Link’s technical support for assistance.
Soft Reset Your Kasa Smart Plug: Hold 5 Seconds
To soft reset your Kasa smart plug, press and hold the control button for five seconds until the LED blinks amber and green. This action puts the device into setup mode without erasing your saved settings. It simply restarts the plug, making it useful for resolving minor connectivity issues or software glitches after firmware updates. Your Wi-Fi credentials and device name remain unchanged, so no re-pairing is necessary. The soft reset resolves most connectivity problems and takes only seconds to complete. For a clean DIY finish, ensure the plug is firmly seated in the outlet before testing. The same process applies when you need to splice low voltage connections for outdoor lighting, as a secure fit prevents intermittent power loss. For permanent installations, lever nuts provide a reliable tool-free connection that holds wires securely.
On HS300 or KP303 power strips, the control button also functions as the reset button. For HS105 models, look for amber and blue blinking lights instead. After releasing the button, re-enter the app setup only if prompted. This process is ideal for troubleshooting network problems caused by changes or router updates without performing a full reset.
Factory Reset Your Kasa Smart Plug: Hold 10 Seconds
To perform a factory reset on your Kasa smart plug, hold the reset or power button for approximately 10 seconds after plugging it into a power outlet. You’ll recognize that the reset was successful when the Wi-Fi LED begins blinking rapidly in amber. The device has no dedicated reset button, so this button serves that function. This indicates the device has returned to its original factory settings, erasing all previous configurations and saved credentials. Use this reset when troubleshooting persistent connectivity issues or switching to a new network, such as after a router change. If the reset fails, try plugging into a different outlet to rule out power issues. Keep in mind, after the reset, you will need to set up the device again in the Kasa app and manually recreate any custom device names or automations you previously used. A factory reset is often necessary when reconnecting the device to a different Wi-Fi network.
Amber + Green vs Rapid Amber: What Each Blink Confirms
Alternating amber and green lights indicate your Kasa smart plug is in setup mode, ready to be paired with the app. This pattern allows you to add the device without losing your existing settings, such as custom schedules or device compatibility, making it ideal during a soft reset or initial setup. In contrast, rapid amber blinking signifies a factory reset is underway, erasing all stored data, including network credentials. You typically trigger this through a button press lasting about 10 seconds, which causes the rapid amber blink. A shorter, approximately 5-second press results in the amber and green blinking pattern. After a factory reset, you need to reconfigure the device from scratch, including checking for and installing firmware updates. Recognizing these signals helps you avoid unnecessary re-setup steps: amber and green confirms a simple re-adding process, while rapid amber signifies a full reset and fresh setup. For a clean installation, always mind your wiring and avoid loose connections, since proper electrical safety prevents shorts that could disrupt your smart plug’s power cycle. This is especially important when installing devices near damp areas, as using outdoor-rated wiring reduces the risk of moisture-related shorts. If pairing continues to fail, try power cycling the plug by unplugging it for 10 seconds before initiating setup again.
How to Reset Kasa Power Strips (HS300, KP303)
To perform a factory reset on your Kasa Power Strip, hold down the reset button for ten seconds. The LED will blink amber, and you might hear a clicking sound—this indicates all custom settings have been wiped clean. Once complete, you will need to re-add the strip in the Kasa app. Keep in mind, the back-panel switch only controls power and does not reset the device. The setup process is described as straightforward and user-friendly. Unlike ceiling fans that require low-profile installations, a power strip’s reset process focuses on electronic connectivity instead of flush mount fixtures. Watch the LED pattern carefully to confirm that the reset has successfully been triggered. For comparison, choosing the right fan involves understanding flush mount and downrod options for optimal performance. Similar to how heat buildup can shorten the lifespan of LED downlights, excessive heat inside a power strip can degrade internal components over time.
Reset an Online Kasa Plug Using the App (No Button Needed)
If your Kasa smart plug is online and still appears in the app, you can reset it without pressing a physical button. Begin by long-tapping the device card on the app’s Home page, then tap the minus icon to remove it. Alternatively, select the plug’s card, open Device Settings through the gear icon, and tap Remove at the bottom. Both options perform a factory reset that disassociates the device from your account. Keep in mind, this method only works if the plug is currently online. Verify device compatibility; this app-based reset applies only to standard Kasa plugs and not to older models that may require a physical button press. Also, ensure your app is up to date, as outdated versions might hide the removal option. Resetting this way prepares your plug for new setup without needing to physically interact with it. Similarly, for other smart home devices like ceiling fans, you should consider best remote options to ensure smooth re-pairing and control. A flickering bulb on a connected plug may actually indicate loose electrical connections rather than a device error. For long-term performance when selecting a new ceiling fan, the number of blades can affect both running cost and lifespan.
Re-Adding Your Kasa Plug to the App After a Reset
After resetting your Kasa smart plug, it behaves as a new device, so you need to set it up again through the Kasa app. Start by tapping the plus icon and selecting Smart Plug from the list of device types. Ensure the plug is plugged into an outlet and powered on before proceeding. The app will then prompt you to connect to the plug’s temporary Wi‑Fi network. Once connected, re-enter your home Wi‑Fi credentials, sticking to the 2.4 GHz band, as the device does not support 5 GHz networks. Note that the temporary Wi-Fi network created during reset will appear in your phone’s Wi-Fi settings as part of the device’s reset process.
Next, complete the registration by giving your plug a name and assigning it to a room within the app. If a firmware update prompt appears, let it finish before troubleshooting or attempting to use the device. Failed updates can interfere with proper pairing and setup. If the plug does not show up in the app after following these steps, remove it from the device list and restart the setup process from scratch.
When to Soft Reset vs Factory Reset (Plus What Each Erases)
A factory reset erases everything—schedules, automations, and all custom settings—restoring the plug to its original default state. You will need to set it up again in the Kasa app afterward. Use a factory reset if you’re experiencing persistent issues that a soft reset can’t resolve, or if you’re moving the plug to a new home or user. It provides a complete wipe, offering a fresh start free of previous configurations.
Reset Not Working? Troubleshoot Your Kasa Smart Plug
If your Kasa smart plug isn’t resetting, start by confirming the outlet works. Plug in another device to see if it powers on and check if the LED indicator lights up. If you’re using a power strip model, make sure you’re pressing the correct reset button.
For a soft reset, hold down the reset button continuously for 5 seconds. For a factory reset, hold it for 10 seconds. Watch for blinking patterns like amber and green or a rapid amber blink, which indicate the reset sequence is in progress. If there is no LED change, the reset command didn’t register.
Check the LED color after attempting to reset. A blue flash indicates the device is stuck in Wi-Fi mode, not in reset mode. After resetting, verify that your phone is connected to the 2.4 GHz Wi-Fi band, not the 5 GHz band, because the Kasa device only works on 2.4 GHz networks. If your router uses band steering, disable it to prevent automatic switching. After reset completion, the indicator LED blinking orange and blue signifies the device has entered pairing mode.
Reboot your router and the smart plug if necessary. Also, ensure your Kasa app is updated and look for any firmware updates for the device. Installing these updates can fix connectivity issues and improve the reset process.