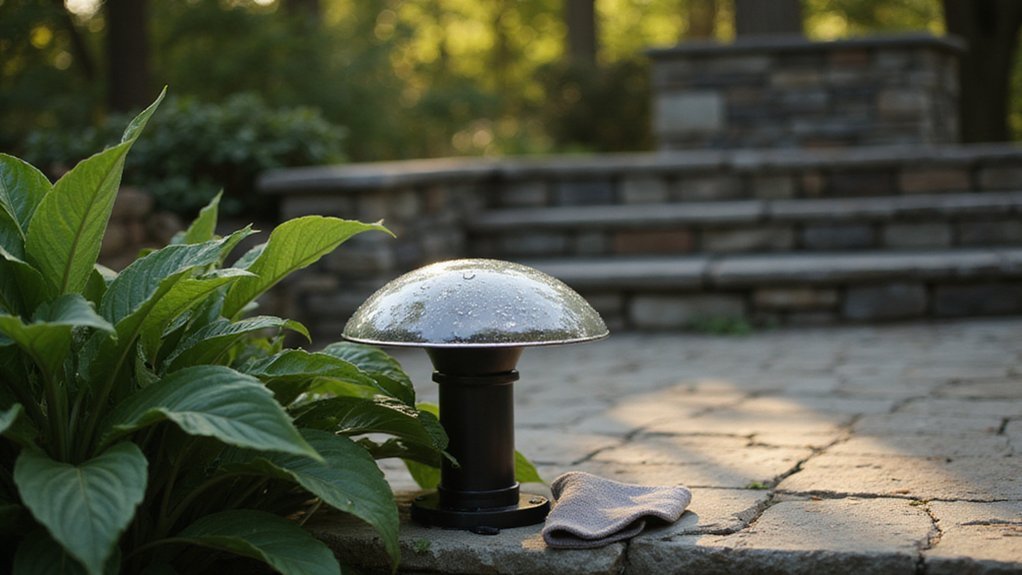
If your garden lights aren’t shining as brightly as they used to, a thorough cleaning of the solar panels might do the trick.
Over time, dust, dirt, and grime can block sunlight and reduce their efficiency.
You’ll learn simple steps to safely clean your solar-powered garden lights and keep them working at their best.
With just a few household supplies, you can restore their brightness and enjoy the glow all season long.
Gather Your Supplies and Prep the Light Safely
To clean the solar panel safely, start by gathering the necessary supplies and preparing the light. You’ll need microfiber cloths, a soft sponge, mild dish soap, and distilled or deionized water to avoid scratching or damaging the surface. Avoid using harsh chemicals like bleach or ammonia, as these can degrade the panel’s protective coating. Wear protective gear such as safety gloves and goggles, especially if corrosion or debris is present. For mounted lights, position a step stool or ladder to reach the panel comfortably and securely.
Before cleaning, power down the light completely and remove the battery to prevent electrical hazards. Inspect the seams for cracks and check for signs of corrosion; addressing any issues before cleaning helps prevent further damage. Keep your workspace organized by placing small parts and tools within easy reach to avoid misplacing them. Use only soft tools like microfiber cloths and gentle sponges, and steer clear of paper towels or abrasive pads that can scratch the glass surface. When working near any wiring, follow safe wiring tips to ensure the ground wire is connected properly and no bare wires are exposed. Using safe wiring tips from a guide on connecting LED strip lights can also help you avoid short circuits when handling exposed contacts. A correct ceiling fan direction can improve airflow and energy efficiency year-round by adjusting the rotation seasonally. With everything prepared, you can now proceed to clean the solar panel safely and effectively.
Wipe Away Dust and Loose Debris First
To effectively remove dust and loose debris from a glass panel, start with a dry microfiber cloth. Gently sweep across the surface using either a straight or circular motion, being careful not to press hard. This first dry pass lifts dirt, pollen, leaves, and spiderwebs, preventing scratches during subsequent cleaning. Pay close attention to the frame and bezel, where debris tends to accumulate most. Solar cells develop a cloudy film over time, so removing dust and debris first helps expose the true condition of the panel. Similar to converting a recessed fixture, ensuring the glass panel’s surface is clean and unobstructed is critical for optimal light transmission. Adopting a safe wiring approach prevents damage to the panel’s electrical components during cleaning. Consult a step-by-step method from a reliable guide to ensure no electrical connections are stressed during the cleaning process.
Use the soft fibers of the microfiber cloth to trap particles efficiently without spreading dirt around. For corners and tight seams that the cloth can’t reach, switch to a soft toothbrush or small paintbrush to flick out trapped soil and webs. This initial dry removal step is vital, as it exposes stubborn residue and reduces the risk of micro-scratches when you clean deeper later. After heavy rain or in highly dusty environments, recheck the surface, since outdoor dust can settle quickly.
Remove Stubborn Grime Without Damaging the Panel
To remove stubborn grime that dry wiping won’t budge, use gentle, non-abrasive cleaning methods. First, wear protective gear like gloves to keep your skin safe. Pre-soak caked-on bird droppings or sap with water for 5 to 10 minutes to soften them. Then, prepare a mild cleaning solution by mixing one teaspoon of dish soap per gallon of water. Use a soft-bristle brush or microfiber cloth to gently scrub the area with light motions—avoid applying force to prevent scratching the glass. After cleaning, rinse thoroughly with a low-pressure hose to lift away all residues. Never use abrasive pads or pressure washers, as they can damage the panel. If the remote for a ceiling fan stops working, it often indicates a dead battery or loose wiring that requires quick diagnosis. Stick to soft tools and gentle techniques to keep your solar panel looking and functioning its best. Avoid using any chemical cleaning agents, as they can cause deterioration of panel components.
Dry the Panel and Test for Peak Performance
Dry the panel completely by air-drying all detached components in a warm, dust-free spot. Make sure everything is fully dry before turning the light back on to prevent electrical issues. Once dry, test for peak performance by checking the daytime charging behavior and nighttime brightness. If the panel still looks hazy, give it a final buff with a dry cloth to remove any residual droplets. A lower output after cleaning might indicate leftover residue or moisture, so inspect for cracks or signs of moisture intrusion before considering the cleaning complete. Similar to how unbalanced fan blades can cause wobble and noise, uneven residue on a solar panel can reduce its charging efficiency, so ensure the surface is uniformly spotless.
Why Regular Cleaning Boosts Your Solar Garden Light Performance
Regular cleaning is essential to maintaining optimal performance of your solar garden lights. Dust and grime accumulation on the panels can block sunlight and reduce energy absorption by up to 50%. Cleaning these surfaces allows more sunlight to reach the solar cells, resulting in fuller battery charges. This translates to brighter illumination at night and longer runtime, so your lights stay bright for longer periods. Establishing a consistent cleaning schedule prevents gradual performance decline caused by dirt buildup. Additionally, routine maintenance helps extend the lifespan of components by reducing battery stress and preventing corrosion. Just as blade count influences ceiling fan efficiency and longevity, regular cleaning directly impacts your solar lights’ energy capture. Keeping your lights clean also helps them look their best, maintaining curb appeal without streaky or cloudy lenses. For a professional touch, you can apply guide wire techniques to secure and angle your solar lights for optimal sun exposure. For indoor fixtures, similar principles apply when choosing top chandelier picks with lampshades for elegant lighting. Regular care ensures your solar garden lights stay efficient and attractive year-round.