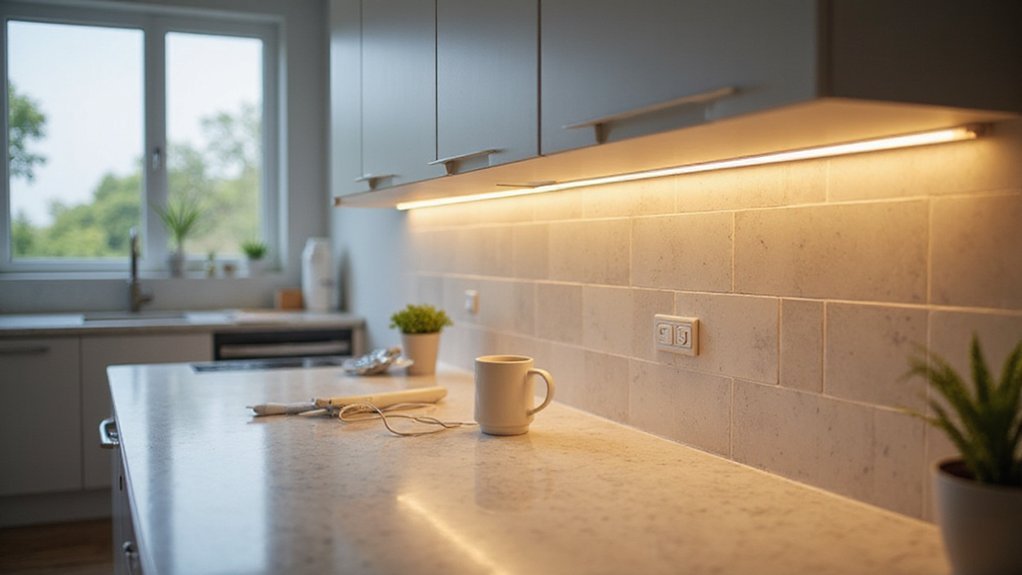
Installing under cabinet lights can brighten up your space and add a warm glow to your kitchen or workspace.
The key is finding the right spots, choosing secure mounting options, and handling wiring safely—all while keeping the process straightforward.
By the end of this guide, you’ll know exactly how to measure, position, and secure your lights for a professional-looking finish.
Let’s get started with the steps to bring your project to life.
Kill the Power Before You Plan Your Under-Cabinet Layout
Before you begin sketching your under-cabinet layout, turn off the power at the breaker panel. Don’t rely solely on the breaker’s position—use a non-contact electrical tester on every wire you plan to work near to verify it’s de-energized. Electrical safety requires treating the kitchen circuit as live until you confirm it’s dead. This step helps prevent accidental damage to wiring or connected devices during planning. Since you’re mapping out your layout and not installing wiring yet, keep the power off to avoid live receptacles or junction points. Hardwired lighting wiring is easier to handle during rough-in, so always verify zero voltage before marking outlet locations or appliance zones. Turning off the power early ensures your electrical safety checklist remains a top priority for a smooth and safe planning process. Also, account for modular track sections in 12″, 18″, and 27″ lengths when measuring each cabinet run, since these standardized segments simplify fitting your layout to the available power points. Consider how choosing the right ceiling fan direction can improve energy efficiency year-round. Always install a dedicated circuit for under-cabinet lights to prevent overloading existing lines. Check that the breaker box is clearly labeled for the specific circuit you are working on.
Measure and Map Your Under-Cabinet Light Positions
Measure each cabinet section separately, especially in L-shaped or U-shaped kitchens, to account for corners and irregular shapes. Use a tape measure to record the full width of each run, including recessed areas and the space from the counter to the bottom of the cabinet. Document these measurements carefully to ensure accurate placement of your lighting.
Next, map your lighting zones over the countertop. Identify the primary work areas such as prep zones, the sink, and serving spots. Center lights beneath cabinet doors as a general guide, but focus on directing illumination toward the work surface rather than the cabinet face itself. Mark these target positions with a pencil line to serve as a visual guide during installation.
Follow spacing rules to achieve even lighting. Place one puck light every 6 to 10 inches along the cabinet run. For runs between 11 and 18 inches, use two to three puck lights for better coverage. Linear strip lights are ideal for longer cabinet spans, providing a continuous light source. Position fixtures about 2 inches back from the front edge of the cabinet to minimize glare and enhance task lighting. Temporarily tape each light in its planned position, turn on the power, and evaluate coverage at key points such as the front, center, and backsplash of the counter. Aim for a brightness level of 30 to 50 foot-candles for optimal visibility. This approach mirrors recessed can light guidelines that recommend avoiding glare by positioning fixtures away from direct line of sight.
Screw or Stick: How to Mount Under-Cabinet Lights Safely
Screws generally provide a more secure, long-lasting mount compared to adhesive strips. They are ideal for heavier fixtures or high-traffic kitchens where stability is crucial. To ensure safety and prevent damage, use included brackets or drill directly through fixture holes, but always double-check that your screws don’t extend into the cabinet interior, which could cause damage or be a fire hazard.
Adhesive mounting works well for lightweight fixtures and renter-friendly setups. To get the best results, thoroughly clean the mounting surface with isopropyl alcohol, making sure it is smooth, dry, and at a temperature above 60°F. Applying firm, even pressure during installation helps create a strong bond. For added security, many products support a hybrid approach—use adhesive for initial placement, then reinforce with screws if needed. Always follow your product’s specific instructions to maximize safety and effectiveness. For hidden wiring, run wires inside walls or behind cabinets to prevent visible cords and maintain a professional-looking installation.
Drill Holes and Use Clips to Route Cords Out of Sight
Drill small pass-through holes to route power cords out of sight through your cabinet framework. Position these holes at the rear lower corner of each cabinet bay for consistency. Drill side-to-side between adjacent units to keep the wiring path continuous and neat. Match the hole size to your cable—use a 3/8-inch bit for slim LED wires, or a 1/2-inch paddle bit for thicker cords. To prevent visible surface damage, mark the desired depth on the drill bit with tape. Clamp scrap plywood inside the cabinet to avoid tear-out during drilling. For a secure electrical connection, ensure all terminals on the receiver are tightened to prevent resistance and heat issues. Feed the cable through the hole, then insert plastic bushings to protect the insulation from sharp edges. Secure any excess wire length with P-clips and self-drilling screws, minimizing slack and keeping the cords tight against the cabinet floor. Repeat the process for each run to create a fully concealed wiring system that’s neat and safe. Consider using baffle trim to maintain a clean aesthetic above your fixtures. For a more decorative touch, some homeowners choose to pair the lighting with wall sconce candle holders to create a cohesive ambient look.
Flip the Breaker On and Test Every Under-Cabinet Light
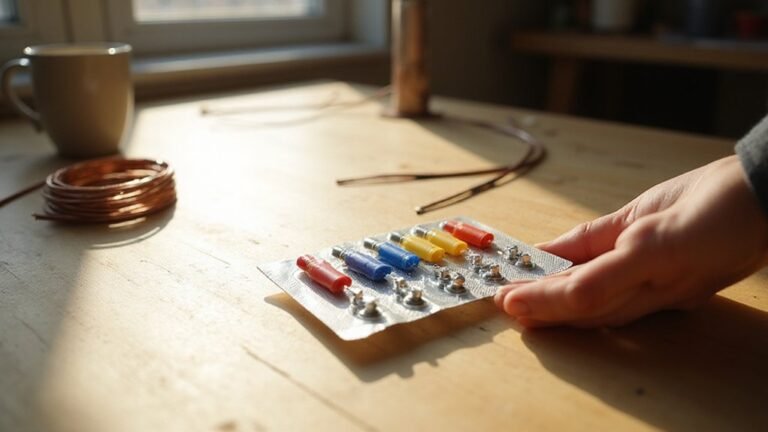
Flip the breaker back on and test every under-cabinet light to ensure power is restored. Then, move on to fixture verification. Never assume that one working light indicates all are fine—use a multimeter to verify voltage at each fixture. Turn on each switch and dimmer one at a time, and observe whether each light reaches its normal brightness. A fixture that is dim or completely dead could be due to a burnt bulb, a cracked lens, or a loose connection. Tug test wires to confirm tight fits before closing the installation. For a reliable connection at each fixture, consider using push-in wire connectors for quick and secure terminations. If some lights work while others don’t, the issue is likely isolated to that particular fixture. For safe troubleshooting, always follow procedures to turn off the circuit before handling any wiring. Only when every under-cabinet light operates consistently and at full brightness can you consider the installation complete. Consider also reviewing the best lamp shade options for pendant lights to ensure consistent aesthetic quality across your kitchen lighting.