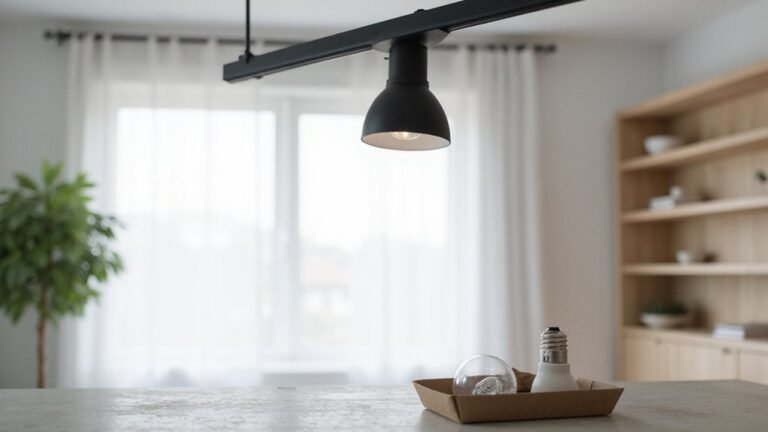
If you’re wondering how to safely remove bulbs from track lighting without risking a shock or damage, you’re in the right place. The key is turning off the power and taking some simple precautions to protect yourself while removing the bulbs.
Once you know the basics, you’ll be able to swap out or inspect your fixtures with confidence. Here’s how to do it right.
Prepare Safely Before Removing Track Light Bulbs
To prepare safely before removing track light bulbs, you should gather a stable ladder, a voltage tester, and clean gloves. A screwdriver might be needed depending on the fixture design. Keep a replacement bulb nearby that matches the wattage to ensure proper fit and brightness. Inform everyone in your home to avoid restoring power while you’re working on the fixture. Taking photos of the wiring before disconnecting makes reassembly easier, as it provides a clear reference for reconnecting the components correctly. Ensure the breaker is turned off to prevent electrical hazards before starting work. Always verify the power is off using a voltage tester before touching any metal parts or wires. By contrast, when working with a ceiling fan, you must adjust its blade rotation direction for summer and winter to improve energy efficiency.
Remove Track Light Bulbs Without Breaking Them
To remove track light bulbs without breaking them, grip the bulb base rather than the glass to maintain control and reduce the risk of slipping. Supporting the fixture with your other hand provides stability and prevents unnecessary movement. Match your removal motion to the socket: some bulbs pull straight down, while others require a slight turn counterclockwise. Avoid using excessive force; if resistance is encountered, check for locking rings or clips instead of yanking. Using a soft cloth or rubber grip tool can improve traction on slippery bulbs and protect both the bulb and the fixture. Stop applying pressure at the point of resistance to prevent cracking the glass or damaging the socket. Gentle, controlled motions are more effective than hard twisting. Ensure the removal path is clear so the bulb does not hit nearby surfaces, and if it sticks, realign your grip rather than prying. Understanding how puck lights work can help you avoid confusion, as they often use low-voltage connections that require a different removal technique than standard track lighting. For fixtures that are hard to reach, consider that wall sconce candle holders often provide a more stable and accessible mounting point for ambient lighting, which can reduce the need for frequent bulb changes.
Removing Track Light Bulbs by Type (GU10, LED, CFL)
To remove track light bulbs by type, understanding the base design is essential because GU10, LED, and CFL fixtures each require different removal techniques. For a GU10 bulb, begin by turning off the power and letting the fixture cool. Then, push the bulb slightly upward and rotate it counterclockwise a quarter turn. This is a push-and-twist lock mechanism, not a direct pull. Most LED track bulbs use the same GU10 base, so they follow the same removal process, but always ensure the bulb is cool first and avoid prying the lens. Knowing how track lighting heads attach can help when handling the fixture during removal. CFL bulbs are less common and have different bases. For screw-base CFLs, turn counterclockwise to unscrew. Pin-style CFLs may need a twist-lock removal method. Always verify the fixture’s compatibility before removing any bulbs. Use safety gear such as soft gloves or a suction cup to grip the bulb securely, especially in tight spots. Confirm the circuit breaker is turned off to prevent electrical shocks, and let the bulb cool completely before handling to avoid burns. Attempting to pull or pry the bulb directly risks damage to the fixture and potential injury. For a cleaner and safer DIY process, you can also integrate smart home setup steps to control your track lighting remotely after reinstalling bulbs. Similar precautions apply when crafting your own lighting fixtures, such as homemade ceiling fan blades, which require careful handling of components during assembly.
What to Do If a Bulb Gets Stuck or Breaks?
If a bulb gets stuck or breaks, your first priority is safety. Turn off the wall switch and circuit breaker, then verify the power is truly off before proceeding. For a stuck bulb, avoid forcing it, as this can damage the fixture or strip the socket. Instead, wear rubber gloves or wrap duct tape around the bulb for a better grip. Gently twist counterclockwise, applying a slight back-and-forth motion if needed. If it still doesn’t budge, do not increase force, as this risks breaking the bulb or damaging the socket. As a last resort if the bulb cannot be removed manually, use an unpeeled potato to unscrew the broken bulb from the socket. For a broken bulb, carefully put on gloves and eye protection before handling. Cover the area with a heavy plastic bag to contain glass shards. Remove loose pieces carefully, then use pliers to grip the metal base or remaining fragments. In cases where the metal base is seized, try using a potato to turn it out—simply press the cut potato onto the base and turn counterclockwise. Dispose of all glass and debris safely, and check the socket for damage before installing a new bulb. To reduce the risk of future breakage, ensure your fixture is properly rated for the bulb wattage and that all connections are secure, similar to how wire placement rules prevent shorts in outdoor lighting systems. Choosing a bulb type with lower long-term running costs can also help reduce fixture stress and improve overall safety. Ensuring that you use the correct wire connector types can further secure the electrical connections and prevent overheating in the fixture.
Inspect the Socket and Choose the Right Replacement Bulb
Examine the socket’s brass tab and threaded shell for damage before replacing the bulb. The bulb must make contact with both components to complete the circuit properly. If either the brass tab or the threaded shell appears worn, corroded, or broken, you will need to replace the entire socket, not just the bulb. Check the voltage at the socket—typically around 120V AC—to ensure it’s within the correct range. Measuring voltage prevents wasting time on a fixture that’s dead due to electrical issues rather than a faulty bulb. Ensuring the socket and bulb make proper contact is similar to verifying syncing signals when pairing lights to a music controller. A DIY approach to repairing a light fixture follows the same principle as building custom LED strips where clean electrical connections are critical for reliable performance. Before working on any fixture, always shut off power at the circuit breaker and confirm the power is off using a voltage tester to prevent electric shock.