Are you wondering how to make quick, secure electrical connections without the hassle of twisting wires or taping?
Push-in wire connectors are a simple option that can save you time and ensure a reliable fit. Once you master the technique, you’ll be able to create consistent, code-compliant connections with less effort.
Keep reading for the full step-by-step guide.
How to Insert Wires Into Push-In Connectors and Check the Grip
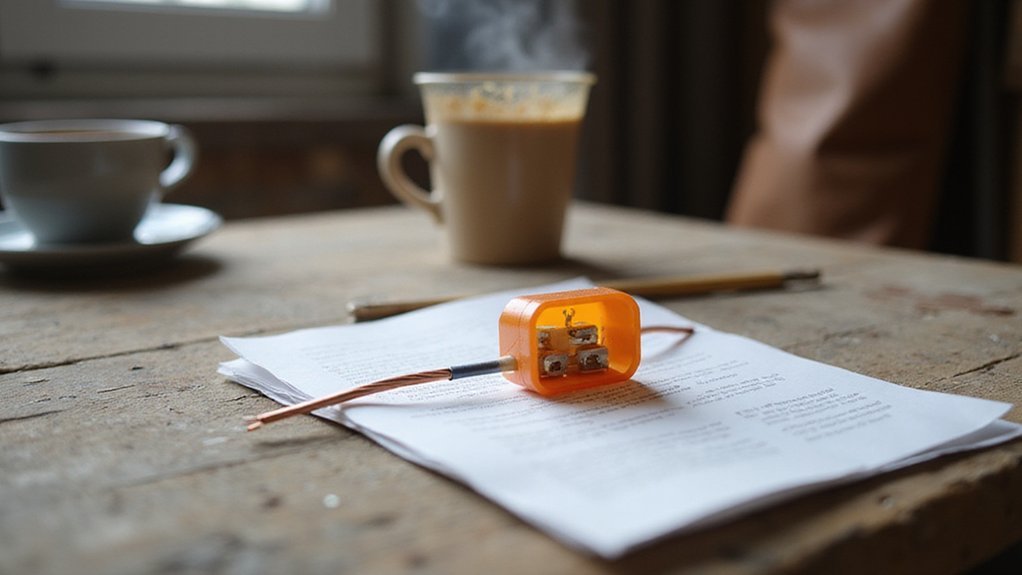
To insert a wire into a push-in connector, push the stripped conductor straight into the correct port until it hits the internal backstop—no twisting needed. You’ll feel slight resistance as the spring clamp engages, ensuring a secure connection. Confirm proper wire length by following the connector’s strip gauge, typically 9 to 14 millimeters, to avoid exposing too much copper. Check if your wire is solid or stranded, as connector compatibility varies; solid core wires usually fit different ports than stranded ones. Don’t force a wire outside the approved gauge range; using an incorrect size can compromise the connection. After inserting each conductor individually, inspect the connection through the transparent housing window to verify proper seating. Finally, perform a firm tug test on each wire; if it slips or pulls out easily, it needs to be reinserted with a fresh end or moved to a different port. A proper grip ensures safe, reliable electrical contact, so rework any connection that feels loosened. These connectors are UL listed to meet the National Electrical Code, ensuring safety standards are met. Before beginning any wiring work, turn off power at the circuit breaker and verify it with a voltage tester to prevent electric shock. Similar to how ceiling fan direction reverses for seasonal efficiency, selecting the correct wire type and gauge ensures optimal performance. For outdoor string light installations, using battery-operated string lights avoids the need for nearby outlets and simplifies temporary setups.
How to Strip and Prep Wires for Push-In Connectors
Before stripping any wire, turn off the power to the circuit and verify it is de-energized using a voltage tester. Treat the circuit as live until you confirm it is safe. For insulation removal, strip exactly 11 to 14 millimeters—about half an inch—using the correct gauge notch on your stripper. Typically, 12 or 14 AWG notches are used for residential wiring. Ensure you do not nick the copper conductor, as a clean cut prevents weak points that can cause issues later. After stripping, straighten any kinks or curves to maximize contact within the push-in connector’s spring clamp. Bends in the wire reduce the surface area for contact, which can increase resistance and generate heat. Since the connector’s four holes all lead to the same electrical pathway, you can focus solely on preparing the wire without worrying about choosing a specific port. This design offers the benefits of a secure, tool-free connection that simplifies installation compared to traditional twist-on wire connectors.
Inspect the stripped end carefully for nicks, frayed strands, or debris. If you find any damage, cut back to clean copper and re-strip. Never pre-twist conductors or leave insulation fragments attached. Keep the prepared end straight and uniform in length so that the push-in mechanism grips securely. Avoid applying excessive force during insertion, which can damage the strands. Precision and care here ensure a reliable, low-resistance connection that maintains electrical safety and performance.
How to Remove a Wire From a Push-In Connector
To safely remove a wire from a push-in connector, you need to first disconnect the power by turning off the breaker and then verify the absence of voltage with an electrical tester. Treat every connector as if it is live until it is confirmed to be de-energized. Always follow safe wiring tips for a clean DIY finish.
For connectors with a release slot, insert a small flathead screwdriver into the slot and push straight in or give it a slight twist to depress the spring tab. If the connector does not have a release slot, try the twist-and-pull method: grip the wire with needle-nose pliers, twist back and forth, and pull steadily to free the wire. Short wires require careful handling during this process to avoid deformation.
Once the wire is removed, inspect it for any nicks or damaged insulation. Trim the wire if necessary to ensure a clean connection when reusing or reworking it. Keep in mind that many push-in connectors are designed for single use, so check the manufacturer’s instructions before attempting to reuse the connector. Ensure your work area is well-lit and organized, as this reduces the risk of mistakes during the removal process. If the wire stubbornly refuses to come free, consider cutting off the connector and reworking the wire end for reinstallation.
Avoid These Common Push-In Connector Mistakes
After removing a wire from a push-in connector, avoid common mistakes to ensure safety and reliability. Keep the insulation stripped to about 1/2 inch, but always verify your connector’s specifications. Using a proper wire stripper prevents damage or nicks that can decrease conductivity. Never overcrowd the connector—exceeding its wire capacity can overload the spring, leading to resistance and heat buildup. Make sure the wire is fully inserted until it clicks into place; partial seating can cause arcing and loose connections. Confirm that the connector matches your wire gauge and type, as mismatches hinder proper clamping and create hazards. Always consider proper fixture placement to avoid moisture intrusion that can compromise connection integrity. For outdoor or damp locations, select connectors designed with a higher IP rating to ensure long-term protection against water ingress. Before starting any wiring task, turn off the power at the circuit breaker to prevent electric shock. Lastly, always perform a visual inspection and gently tug on each wire to verify secure seating. Additionally, ensure wires are twisted together before insertion to maximize mechanical strength and avoid relying solely on the connector’s grip. Regularly checking these points helps keep your splices safe and reduces the risk of failure down the line.
Why Push-In Connectors Beat Twisting and Taping
Push-in connectors outperform twisting and taping in three key ways: speed, consistency, and ease of installation. You can reduce wiring time by up to 80 percent because there’s no need to twist wires or apply tape—just strip the wire and push it into the connector. This rapid process is especially important on large projects, where manual twisting can slow down progress significantly. For homeowners familiar with ceiling fans, this same principle of quick, tool-free connection applies when you need to bypass a missing remote or chain.
Consistency improves because internal springs apply uniform pressure with every connection, eliminating variability caused by twisting wires tightly or loosely. This ensures each termination is secure, reliable, and meets code standards, providing peace of mind that your wiring will be uniform across multiple boxes or shifts.
In tight spaces, push-in connectors make installation simpler. Without the need to reposition or twist wires in cramped junction boxes, you can work more freely. Clear housings allow you to visually verify that wires are seated correctly, reducing guesswork and increasing confidence during installation. Before beginning, test compatibility between your wire gauge and connector model to prevent surprises. If issues arise during installation, checking the strip length and fully reinserting the wire usually resolves the problem efficiently. To remove a wire when needed, simply press the release slot with a small screwdriver while pulling the wire straight out. For additional planning guidance, consult recessed light placement rules when positioning connectors near ceiling fixtures.
Wire Types, Gauges, and Tools for Push-In Connectors
Choose copper wire for push-in connectors unless you find a model specifically rated for aluminum/copper (Al/Cu). Push-in connectors work best with solid wire; stranded wire isn’t reusable and can cause connector migration if strands lodge inside. Check the connector’s gauge range—most accept 12 to 22 AWG—while device-level terminals may only handle 14-gauge solid wire. Always use only one conductor per port to prevent overcrowding. For safety, avoid cutting an LED light strip at the wrong location, as cutting mistakes can damage the circuit and render the strip unusable. Unlike traditional bulbs, smart bulbs consume a small standby power even when turned off, increasing overall electricity usage compared to standard LEDs. A clean DIY finish depends on fully inserting the stripped wire until it seats securely.
You’ll need a wire stripper to remove exactly 1/2 inch of insulation from the wire end. A clear shell on the connector helps confirm full insertion. To avoid connector migration, verify your strip length and gauge limits on the packaging before making the connection. Pulling and twisting the wire out removes it cleanly, but reuse is only possible with solid wire and under model-specific limits.