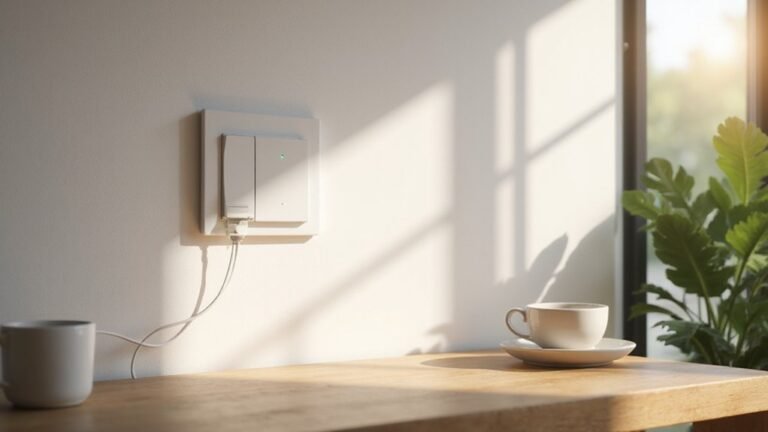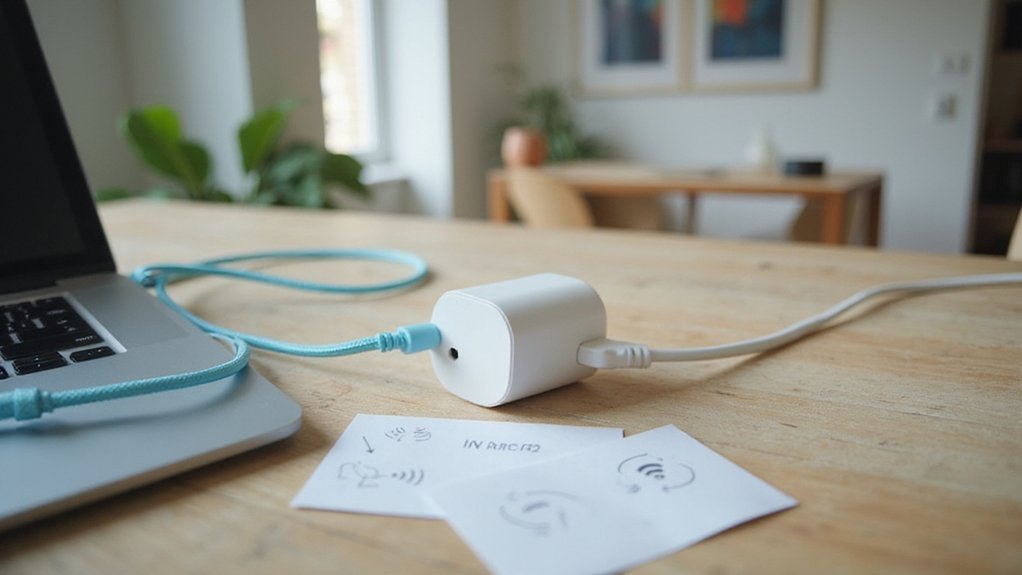
Getting your Kasa smart plug connected to Wi-Fi might seem tricky at first, but it’s straightforward once you know the steps. In just a few minutes, you can set it up so you can control your devices remotely.
We’ll walk through the simple process of pairing your plug with your home network and getting it ready to use.
Keep reading for all the easy tips and tricks to get your smart plug up and running smoothly.
Essential Items for Kasa Smart Plug Setup
Insert the smart plug into a wall outlet. Wait for the LED indicator to display a steady orange and green light. Once the pattern stabilizes, you can proceed with the setup. Ensure the lights are steady before moving forward to prevent any connectivity issues later on. This step confirms that the device is powered and ready to connect to your Wi-Fi network. If you continue to experience problems, performing a full reset can often resolve persistent pairing failures. If the indicator is blinking orange and blue instead, press the side button to resend the signal for a successful pairing. For a safe and reliable installation, always verify the power source is turned off before handling any electrical connections. Just as a ceiling fan’s direction setting must be adjusted for seasonal efficiency, your smart plug may require a seasonal reset if Wi-Fi interference changes.
Put Your Kasa Plug Into Setup Mode
To put your Kasa plug into setup mode, follow these steps: power it on and wait until the LED indicator starts blinking rapidly, signaling it’s ready to connect. Your phone then needs to join the plug’s temporary hotspot, often named TP-LINK_Smart Plug_XXXX, during the handoff process. Keep in mind that device compatibility can matter—some older models may require you to manually select the network on iOS or Android devices. Also, ensure the plug stays directly in a wall outlet, not on a power strip, to maintain a stable signal during setup. This helps ensure a smooth connection process and proper functionality. A soft reset can also be initiated by holding the button for five seconds to retain current configurations. For a cleaner and safer installation, follow safe wiring tips such as avoiding loose connections that could cause intermittent power loss. Before handling any wiring, ensure the plug is unplugged from the outlet to prevent electrical hazards and protect both you and the device.
Download the Kasa App and Create Your Account
Completing this step connects your phone to your device ecosystem. It’s essential to fully finish setting up your account before moving on, as this step is required to proceed with device management and control through the app. Make sure you download the Kasa App from official app stores—Google Play or the Apple App Store—to ensure you get the correct, secure version. Once you’ve downloaded and installed the app, follow the prompts to create your account, which usually involves verifying your email or phone number. Skipping or rushing through this can cause issues later, so take your time to ensure everything is set up correctly. For a similar home accent, you might later explore top wall sconce options for ambient lighting.
Connect Your Phone to the Kasa Plug’s Temporary Network
Once you have the Kasa app and your account set up, the plug creates its own temporary Wi‑Fi network, usually named TP-LINK_Smart Plug_XXXX. This allows your phone to connect directly to the plug during setup. If the network doesn’t appear, the plug probably isn’t in setup mode. Look for a blinking amber or green light; if it stays solid, perform a reset by holding the button until the light flashes. This should force the plug to broadcast its hotspot again, and if issues persist, it is helpful to check for common causes like interference or power loss. On iOS, manually connect by going to Settings > Wi‑Fi and selecting the network. Android devices might try to auto-join. It’s important to connect to the plug’s network first before returning to the Kasa app to finish pairing. Keep in mind that this temporary network only remains active for setup, so you need to act quickly. To avoid confusion, ensure your phone is within close proximity to the plug to maintain a stable connection during this step. After that, you can switch back to the Casa app and connect to your home Wi-Fi network to finalize the device configuration.
Choose Your Home Wi‑Fi and Enter the Password
After your plug creates its temporary hotspot, the Kasa app will display a list of available Wi‑Fi networks. You need to select a 2.4 GHz home network because 5 GHz networks are not supported during setup. If your network doesn’t appear, tap “Join Other Network” to manually enter the SSID. Then, input your Wi‑Fi password—the plug needs this to connect to your internet. The setup process requires you to connect to the plug’s temporary Wi-Fi for linking. For a clean installation, use twisted connectors to secure each wire connection before inserting the plug into the outlet. Ensure the connected lighting fixture does not have incompatible dimmer switches, as these can cause flickering in LED downlights.
Choose a stable network to prevent signal interference, which can cause the switch from hotspot mode to fail. Use your main SSID, not a guest network, as the home network handles the Wi-Fi security. Double-check your entry before proceeding; the app will automatically attempt to connect the plug. A brief wait will follow while the plug switches to online mode. If successful, you’re ready for the next step. Avoid exceeding the plug’s rated amperage to prevent overheating, just as you would respect the wattage limits of any connected lighting fixture.
Confirm Your Kasa Plug Is Connected
To confirm your Kasa smart plug is online, start by checking the LED indicator. A blinking orange and green light means it’s still in setup mode. A solid blue or green light indicates it has successfully connected to your network. If the LED is rapidly blinking blue, the plug is still trying to establish a connection.
Next, open the Kasa app. If the device has connected properly, it will skip the device-discovery screen and show your plug as ready for control. During setup, you’ll see a “choose a network” screen after the plug creates its temporary hotspot. Once you enter your Wi-Fi password, the plug disconnects from that hotspot and joins your home network. Unlike a recessed light that requires a stable junction box for safe installation, the smart plug only needs a reliable Wi-Fi signal, though accessing the internal circuit board for repairs requires a different approach. For a clean DIY finish, ensure the power is off before handling any live wire connections during installation.
Keep your app updated to ensure smooth firmware updates and review your security settings after setup. When the LED stays solid, it confirms the plug is online and ready for control through the app.
Fix Kasa Smart Plug Setup Failures
If your Kasa plug’s LED stays dark or blinks in a pattern other than solid blue or green, you’re facing a setup failure. Start troubleshooting by resetting the device. Press and hold the reset button for 5 to 15 seconds until the LED flashes, then restart the setup process in the Kasa app. Performing a hard reset is often more effective at clearing stuck pairing states than repeatedly trying to connect through the app. If the device still fails to pair, try performing a Wemo smart plug reset to rule out similar interference issues from nearby electronics.
Next, ensure your phone is connected to a 2.4 GHz Wi‑Fi network, not mobile data or a VPN. Confirm that the Kasa app has local network permissions enabled on iOS devices. Check your router settings: use WPA2 with AES encryption, select channel 1, 6, or 11, and set the Wi‑Fi channel bandwidth to 20 MHz. If your Wi‑Fi network is hidden, manually enter the network details within the app to initiate setup. For a noisy fan, small imbalances or loose mounting screws often cause the sound, and tightening these can resolve the issue without professional help. For a more permanent fixture, consider following a DIY wall sconce build to mount your smart plug securely and avoid vibration issues.
Finally, force-close the app and reopen it. If setup continues to fail, uninstall and reinstall the app. Restart your phone to resolve any lingering connectivity issues. During setup, carefully enter your home Wi‑Fi password and remain connected to the plug’s temporary Wi‑Fi network until the installation completes successfully. Ensure the reset button is accessible prior to beginning, as this location varies by model.
How Long Does Kasa Smart Plug Setup Take?
The Kasa smart plug setup generally takes between three and ten minutes. However, if your Wi‑Fi is stable and your phone quickly detects the device, you can often complete the process in under five minutes. The initial step involves putting the plug in pairing mode, then connecting your phone to its temporary network. The Kasa app will automatically search for the device, which takes about a minute.
It’s crucial to select your 2.4 GHz home Wi‑Fi network and enter the password accurately. Device compatibility matters—if your phone’s permissions block detection, setup may take longer or fail. A useful tip is to check for firmware updates after the first connection, as this can add a minute or two. If you miss the password or experience slow Wi‑Fi, you’ll need to repeat the steps. Under ideal conditions, the first-time setup can be completed in less than a minute, but more commonly, it takes around five minutes. After setup, you can monitor runtime usage to adjust schedules for energy efficiency. Just like when removing old fixtures, it is important to isolate power at the circuit breaker before handling any electrical device.
Test Your Kasa Plug and Automate It
Testing the plug immediately after setup is essential to catch any connection or pairing issues while the details are still fresh. Plug in a lamp or a fan, then use the Kasa app to turn the device on and off. Verify that the physical button on the plug also functions correctly. If it doesn’t respond, check that your device is connected to a 2.4 GHz Wi-Fi network and that the indicator light blinks orange and green; these are signs of proper connectivity. For a more decorative lighting element, consider how adding crystal accents can enhance your chandelier’s aesthetic appeal. Following safe wiring tips ensures a clean DIY finish and prevents electrical hazards.
Once the plug reliably responds to app commands and the physical button works, create an On/Off schedule within the app. Assign a clear name and location to the plug for easy identification. After saving the schedule, monitor it to confirm the device switches states at the designated times. For voice control setup, link your Kasa account to Alexa or Google Assistant and verify the plug appears in the device list of your chosen assistant. If automation fails to trigger as intended, reset the plug, check your Wi-Fi signal strength, and recreate the automation rule.