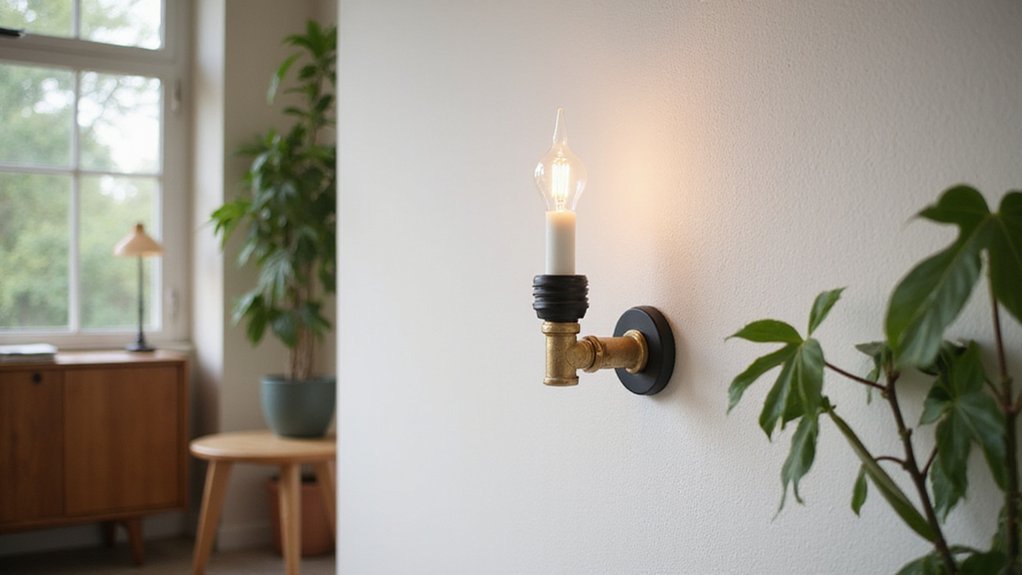
Thinking of creating a custom wall sconce to add lighting and style to your space? Whether you want a sleek modern look or a vintage vibe, building your own can be straightforward.
By choosing the right style, gathering your materials, and following a simple process, you can craft a fixture that fits perfectly in your room.
The full guide below walks you through each step.
Choose Your Wall Sconce Style and Scope
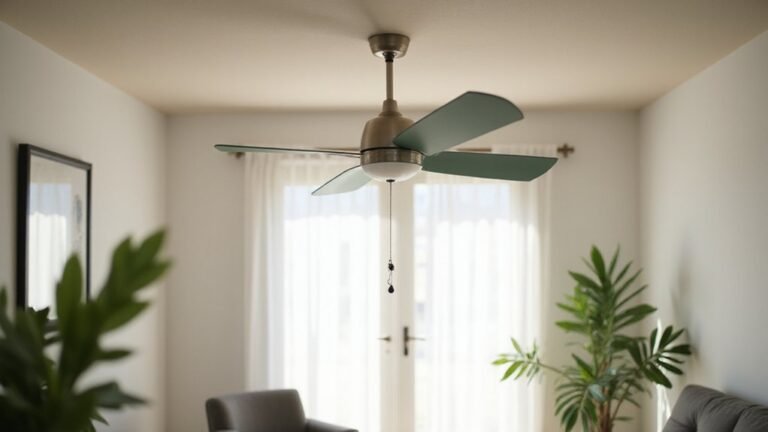
Choose your wall sconce style based on the function and ambiance you want to create. For reading nooks or task areas, pick a swing-arm sconce that can be adjusted for direct light. Hallways benefit from up-light sconces that cast light upward, making the space appear larger and more open. In contrast, down-light styles are ideal beside bathroom mirrors, providing focused illumination for grooming. A versatile design that blends elegance with simplicity suits homes with varied decor styles. Always match the direction of the light to the room’s purpose—focused for tasks, ambient for general lighting—rather than just aesthetics. A faulty light fixture can sometimes stem from loose wire connections, similar to common ceiling fan light issues. For any hardwired installation, follow safe wiring tips to ensure a clean and secure connection.
DIY Wall Sconce: Materials and Tools Checklist
To build your wall sconce safely and effectively, gather these essential materials and tools. For the electrical connections, you’ll need your fixture body, a junction box, 14/2 branch-circuit wire, along with connectors and cable staples to secure the wiring. Basic hand tools such as a screwdriver, tape measure, pencil, small level, and a non-contact voltage tester are crucial for safe setup and precise placement. For cutting and drilling, use a stud finder, drywall saw, drill equipped with a spade bit, and an oscillating tool to handle various materials. Wire handling also requires fish tape, wire strippers, and connectors. In terms of build materials, stock wood or dowels, plus adhesives, finish nails, paint or stain, and mounting options like keyhole hangers or drywall anchors will help you create a sturdy and attractive fixture. If your setup involves electrical cords, choose between plug-in cord kits or candelabra kits based on your installation needs. If existing wires are brittle, they will require replacement to meet safety standards. For general fan wiring, be aware of the correct ceiling fan direction to maximize seasonal energy efficiency. To ensure your new sconce provides proper trim spacing, match it to the clearance requirements of your junction box. Additionally, if you are mounting the sconce over an existing recessed can light, consider using a converter kit to safely adapt the electrical box for a permanent fixture.
How to Build a Wood or Metal Wall Sconce Frame
To build your wall sconce frame, start by selecting your material—wood or metal—based on the desired look and weight. For wood frames, choose plywood, pine, or reclaimed boards for a simple boxed or decorative sconce body. Solid wood works well for rustic, shelf-style designs. Measure around the light fixture first to ensure the frame covers the hardware and provides sufficient bulb clearance. For a box-style sconce, cut two side pieces and one front piece. Use a miter saw for straight cuts or a jigsaw for curved edges. Create 45-degree bevels on the edges for cleaner joints. Smooth sharp corners with sandpaper or a router.
Assemble the frame using wood glue and clamps for alignment. For added strength, attach brad nails, predrilling holes to prevent splitting. Once assembled, sand all surfaces smoothly to eliminate rough edges. Finish the frame with stain or paint to match your decor. Decorative accents like trim can be added after assembly for extra detail, but remember to plan your lighting placement early to avoid hindering bulb or fixture access.
Wall Sconce Mounting: Hardwire vs. Plug-In Installation
The choice between hardwire and plug-in installation depends on your needs and preferences. Hardwiring connects your sconce directly to your home’s electrical system through the junction box. It creates a sleek, cord-free look and is ideal for permanent fixtures. However, it requires electrical access, often a professional installer, and costs between $150 and $400 per fixture. Proper wire management, a suitable electrical box, and compliance with electrical codes are essential for safety. For a safe hardwire job, ensure you use weatherproof wire connectors rated for outdoor use if the fixture is exposed to moisture.
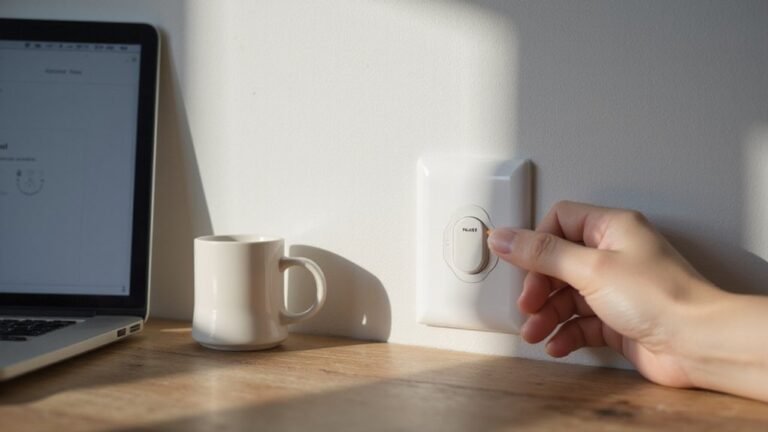
Plug-in sconces are easier and more flexible. You mount the bracket, hang the fixture, and plug into a nearby outlet. This method is perfect for rentals, quick setups, or those who prefer a less invasive approach. Costs typically range from $0 to $50, mainly for the fixture and accessories. The main drawback is a visible cord, which you’ll need to tidy for a clean appearance. While wiring safety is simpler—no in-wall wiring is involved—be cautious not to overload the outlet. Overall, if you prioritize a clean, permanent look, hardwiring is best. For flexibility and convenience, especially in temporary or rental spaces, plug-in installation is the way to go. If you want to make a plug-in sconce smarter, you can reset the Kasa Smart Plug to reconnect it after troubleshooting connection issues.
Apply a Clean Finish and Test Your Wall Sconce Safely
To ensure your wall sconce looks polished and works safely, follow these finishing and testing steps. First, clean the surface with a soft cloth dampened with a mild soap-and-water solution. Dry it completely to prevent streaks or water spots. Apply thin coats of finish in the same direction, allowing 10 to 15 minutes between each layer. Use 2 to 3 coats to achieve a streak-free, durable finish. For maximum safety, always turn off power at the breaker before beginning any electrical work.
Protect sockets and wiring by covering them with painter’s tape, and avoid using steel wool or harsh chemicals that could scratch or damage the metal surface. For electrical safety, always turn off the power before handling or reassembling the fixture. Confirm that your voltage tester works correctly before checking the circuit.
Wait until the finish is fully cured—meaning no tackiness remains—before reassembling the fixture. Only then should you install the bulbs and shades. After everything is reassembled, briefly test the sconce to verify that the light functions properly and that the finish remains clean and flawless.