Struggling to get reliable, waterproof connections with heat shrink wire connectors? If you want secure, professional-looking splices that last, knowing the right process makes all the difference.
By mastering proper wire preparation, correct connector sizing, and careful heat application, you’ll ensure strength and sealing for your connections. Keep reading to learn the step-by-step method that will make your wiring projects cleaner and safer.
Strip and Prep Wires for a Clean Splice
To ensure a proper splice, you must first prepare the wires with clean, precise insulation removal. Use a wire stripper with notches matched to the wire gauge; do not cut into the copper strands. Hold the wire perpendicular to the tool, gently close the stripper just enough to grip the jacket, and pull smoothly to strip the insulation. Repeat on both ends, keeping the stripped length between ½ to 1 inch, depending on the connector’s requirements.
Inspect the bare conductor for damage such as cuts, nicks, or broken strands. If damage is present, trim back a small section and strip again to ensure clean metal. Keep the strands intact and evenly bundled to maintain optimal current flow. Lightly twist the wires to hold the strands together without spreading them apart. Remove all jacket debris and oxidation to promote solid contact and reduce connection issues. When preparing wires for lever connectors, twist the stranded wire strands tightly before insertion to ensure firm contact. Before joining the wires, slide a piece of heat shrink tubing onto one wire to make installation easier later. Proper wire prep now prevents rework and ensures a reliable splice later. This concept is similar to choosing the right ceiling fan direction to optimize performance based on the season. Choosing the right type of wire connector ensures the connection matches the specific electrical demands of your project. For added protection against moisture and abrasion, always select a heat shrink size that tightly conforms to the wire gauge.
Choose the Right Heat Shrink Connector for Your Wire Gauge
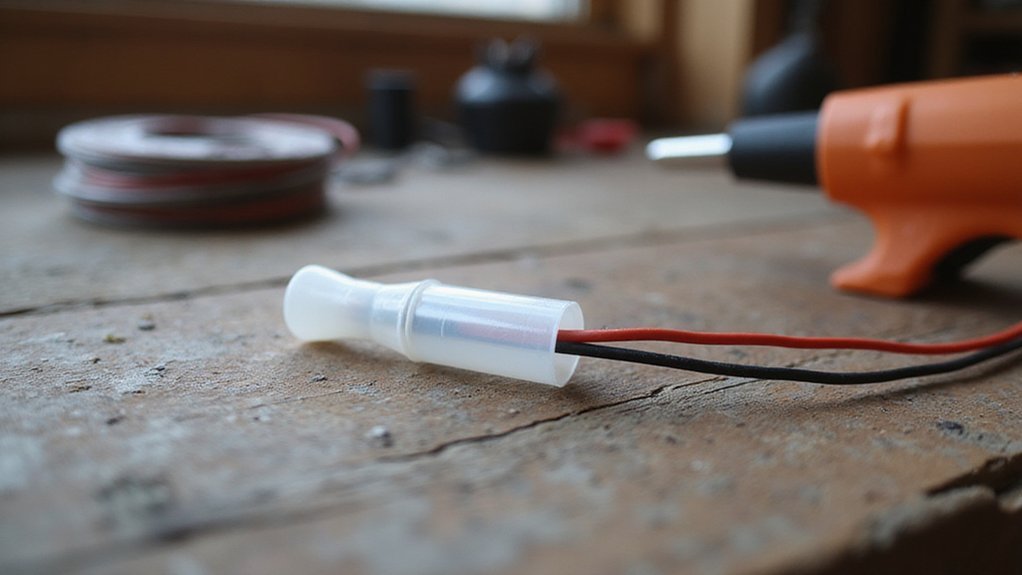
To ensure a secure connection, match the heat shrink connector to your wire gauge precisely. Use the wire’s AWG size as your primary reference—guesswork can lead to poor sealing or damage. Check the connector’s size band, which is typically color-coded by the manufacturer: red for 22–18 AWG, blue for 16–14 AWG, and so on. Matching these ranges guarantees compatibility for optimal conductivity and sealing. Remember to also consider voltage and temperature ratings; a connector rated for 600V is useless if your application’s insulation can’t handle that voltage. Always measure your wire’s diameter with calipers if you’re unsure about the gauge to prevent mismatched fittings. Before crimping, confirm power is off at the circuit breaker as you would when removing recessed light housings. For a safe DIY finish, use a heat gun to shrink the tubing fully around the wire and connector. If your connection fails after shrinking, you may need to reset the device by holding its button for five seconds, similar to troubleshooting a smart plug.
Insert and Align Wires in the Butt Splice Barrel
Insert the wire into the butt splice barrel until it fully seats against the internal stop. You’ll feel or see it set securely in place. Proper wire stripping is essential; strip only about 1/4 inch of insulation—the length needed to fit inside the barrel. Nicking or cutting the strands weakens the connection and should be avoided. For stranded wire, lightly twist the exposed strands to prevent fraying during insertion. Keep the conductor straight as you push it into the barrel; angling the wire can prevent it from seating properly. The stripped conductor must sit completely inside the metal barrel with the insulation flush against the connector’s entrance. No bare copper should be visible once inserted. Verify both conductors are centered and do not overlap in the middle of the splice. If the connector is transparent, use it to confirm full seating. Before proceeding, ensure all strands are enclosed within the barrel to ensure a reliable connection. To safely remove a misaligned wire, you can wiggle and pull the conductor straight out without twisting the connector. These connectors are specifically designed for connecting dissimilar size wires on boats. This process is similar to ensuring secure wire connections when installing a ceiling fan light kit, as both require full conductor seating for safety. For outdoor installations, using waterproof heat shrink is recommended to protect the splice from moisture and corrosion.
Crimp the Heat Shrink Connector for a Perfect Grip
After the wires are fully seated inside the barrel, you’ll need to crimp the connection properly. Ensure your crimping tool is calibrated to match the connector’s color code, which indicates the correct size. Use a ratcheting crimping tool designed for insulated terminals to apply consistent pressure and achieve a secure grip. Position the metal barrel in the die with the seam sideways to prevent splitting. Apply firm, steady pressure until the ratchet releases, signaling that the correct force has been applied. Avoid partial compression, as it reduces the pull-out strength of the connection. Crimping is performed behind the pivot point to ensure stable and durable cable connections. Excessive heat from poor connections can shorten LED lifespan, so a secure crimp is critical for long-term reliability. Just as choosing the right ceiling fan direction for each season ensures efficient airflow, a proper crimp ensures efficient electrical flow. Before crimping, ensure the wires are stripped to the correct length as specified by the connector’s color code to maintain full contact inside the barrel.
Once crimped, perform a tug test by gently pulling the wire to verify it won’t come loose. A good crimp feels tight and stable, with no shifting. Inspect the barrel for uniform deformation; it should look evenly compressed without cutting through strands. If the crimp slips or shows uneven compression, rework it before continuing with the wiring process.
Seal the Splice With Controlled Heat Application
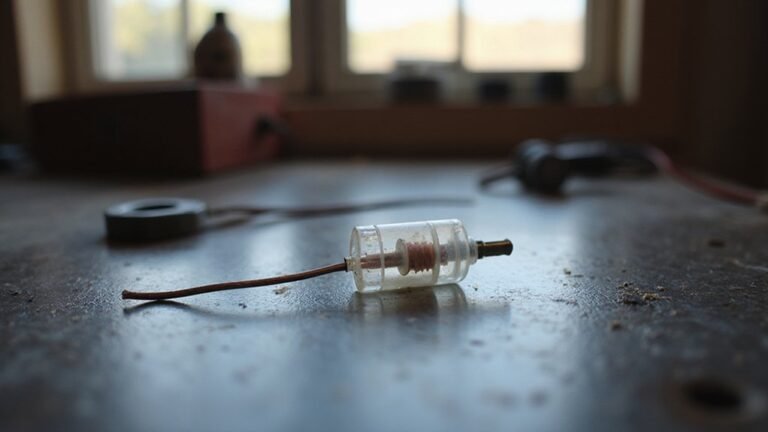
To seal the splice, use a heat gun set to a controlled, moderate temperature rather than an open flame. An adjustable heat gun provides even distribution of heat, reducing the risk of burning the tubing. When operating, keep the gun at a safe distance—about 1 to 2 inches from the splice—to prevent scorching. Move the heat gun in slow, sweeping motions along the connector, avoiding stationary heating that can cause damage. This method is effective because the connector contains a ring of solder that melts and flows through the twisted wire connection to create a secure joint. Cutting the strip at a designated cut point ensures the connection aligns with the circuit. For a clean DIY finish, always verify that the circuit power is off before starting any wiring work.
On a high setting, around 1,000°F, monitor the tubing for discoloration, which indicates it is getting too hot. If discoloration occurs, back the gun away slightly until the color stabilizes. Continue applying heat until the tubing contracts tightly around the splice and a small amount of adhesive oozes at each end. This signifies that the seal is complete and watertight. Once the seal forms, allow the splice to cool for a few seconds before handling to avoid breaking the bond.
Test Your Heat Shrink Splice for Continuity and Strength
Before trusting a heat shrink splice in any live circuit, you must verify both its electrical and mechanical integrity. First, disconnect power to prevent accidents. Use a multimeter set to continuity or the lowest resistance range, then probe both ends of the splice. A near-zero resistance or a tone indicates a proper electrical connection. Next, check insulation integrity by probing between the splice and adjacent conductors or ground; any beep signals a potential fault and must be addressed. Don’t forget to conduct a pull test: gently tug the splice. Any movement or wire slippage means the connection is inadequate and must be redone. Confirm that the sleeve has fully recovered, the adhesive has flowed properly, and no exposed strands are visible. Remember, matching the wire gauge ensures correct crimp depth and strength, while environmental conditions such as moisture require additional testing—for example, saltwater immersion tests lasting 24 hours followed by verification of resistance above 5 megaohms at 500 volts DC. Only when the splice maintains continuity, insulates properly, and remains mechanically secure should it be considered reliable. When selecting your setup, consider that battery-operated string lights offer a flexible power option for testing without mains voltage. Shrink tube with embedded solder offers a dual-function solution that simplifies this entire verification process. Keep in mind that the overall cost of your materials may influence whether you choose simpler splices or advanced options. When installing a new light kit, ensure you check the mounting bracket for proper alignment and secure fastening as described in the ceiling fan guide.