Thinking about adding LED strip lights but unsure where to start? A smooth setup involves measuring carefully, cutting only where marked, and connecting segments securely.
By following a few simple steps, you’ll avoid common pitfalls and enjoy a clean, professional-looking result. Keep reading to learn how to make your LED project easy and frustration-free.
Why Measuring Your LED Strip Area Matters First
Measuring your LED strip area accurately ensures you get the right length for your space. This precision impacts installation, cost, electrical safety, and lighting quality. Correct measurements help you avoid buying too much or too little, saving money and preventing delays caused by ordering additional strips. It also simplifies electrical planning by allowing you to calculate total wattage and ensure your power supply can handle the load. Additionally, an exact measurement guarantees even light distribution, preventing dim spots and shadows for a professional and balanced appearance. When troubleshooting installation issues, knowing how to check a ceiling fan capacitor can help you identify similar electrical faults in older fixtures. For visible installations where the light source is displayed, choosing COB strips ensures a seamless, single-source look that enhances aesthetic outcomes. The same principle of setting the correct fan direction for each season ensures efficient airflow, just as precise measurement ensures uniform lighting performance. Measure carefully to install your LED strips effectively. Always check your power supply’s wattage rating to avoid overloading the circuit.
The 5 Tools That Make LED Strip Installation Easy
Before you start installing your LED strip lights, gathering the right tools can make the process much smoother and faster. A cleaning cloth and alcohol are essential for prepping non-porous surfaces, ensuring the adhesive bonds well and the lights stay securely in place. Measuring tape and a ruler are crucial for planning your layout accurately, helping you cut and place the strips precisely and avoiding rework. Use sharp scissors or a utility knife at the designated cut points to get clean edges; only cut at marked spots to prevent damaging the strip. Knowing the specific removal steps for the old fixture can help you anticipate what wiring connections you will encounter, including the need to identify the existing power source safely. Wire strippers and a small flat-head screwdriver are necessary for connecting the controller and wiring components, making it easier to handle connectors and terminals. Solderless connectors simplify wire joins, especially helpful if you want a quick, no-solder setup. Mounting clips and double-sided tape provide extra security for the strips, preventing sagging or accidental detachment. Aluminum channels with diffusers not only secure your LED strips but also give the installation a polished, professional look by diffusing the light evenly. For a similar high-end aesthetic, consider how an arc lamp uses a curved design to cast a wide, even glow over a room. Having these tools on hand ensures your installation is efficient, neat, and lasting.
How to Cut and Connect Strips Without Soldering
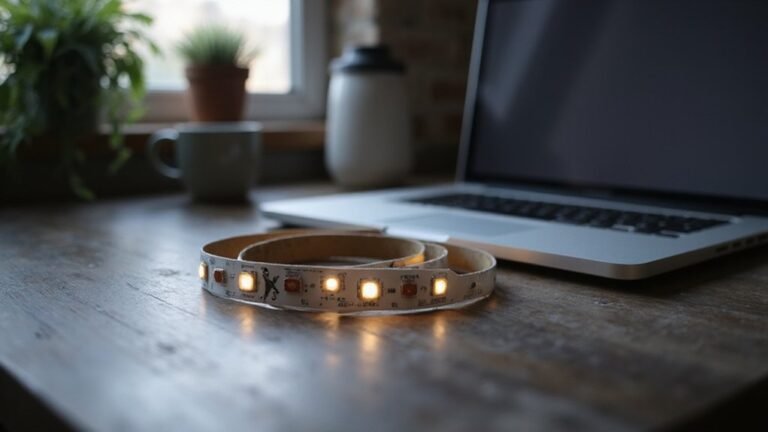
To cut and connect LED strips without soldering, always cut only at the marked cut line, which is centered through the copper pads. Use sharp scissors to make clean, straight cuts that keep the pads intact for reconnection. Before attaching connectors, power off the strip and verify that the copper pads are clean and exposed; trim away any silicone coating if necessary. When connecting, slide the strip end into the clip-on connector, align the metal pins directly over the copper pads, and clamp the connector shut securely. Test the connection immediately by powering up the strip; if it doesn’t light, adjust the alignment or reverse the strip. Avoid cutting outside the marked areas, as this can damage the circuit and prevent proper connection. For added stability, secure the joined segments with sticky support clips placed a finger’s width apart, which hold the connection under consistent pressure to ensure reliable electrical contact. Before finalizing any connection, check for secure wiring and alignment to prevent shorts, a technique borrowed from safe wiring practices used when installing hardwired fixtures.
Match Wires When Colors Differ (Polarity Guide)
If you connect a red wire to a blue pad, you may end up with incorrect colors or no lights at all. To confirm the correct wiring, swap the leads one pair at a time, especially if you suspect reversed polarity or channel mixing. Always prioritize the markings on the PCB over the insulation color to ensure reliable and safe connections. For choosing the right lighting for your project, remember that flood lights provide wide illumination while spot lights focus a narrow beam. Following a smart plug wiring guide can help you verify proper polarity before finalizing your connections. For safety, always cut only at the designated cut lines to avoid damaging the circuit.
The 80% Rule for LED Strip Power Supplies
You should select a power supply that can handle at least 125% of your total LED load, which means dividing your total wattage by 0.8. For example, a 44W LED strip needs a minimum of a 55W power supply (44 ÷ 0.8), while a 100W load requires approximately a 125W unit. Operating below the maximum capacity—known as derating—reduces heat buildup, extends the lifespan of your power supply, and minimizes the risk of failure. Although some high-performance supplies can run at 90% load, sticking to the 80% rule ensures longer operation and greater reliability. Always check the power ratings carefully to match your LED load with the right capacity, and consider selecting a power supply with 20% extra headroom for frequent DIY setups. This derating principle similarly protects the internal driver circuitry found in smart bulbs, which also regulates voltage and current to prevent overheating and premature failure. For connecting your LED strip to the power supply, using wire splice connectors provides a secure, solder-free joint that maintains consistent current flow and reduces the risk of loose connections. When shopping for a complete lighting solution, keep in mind that top floor lamps with LED lights often integrate similar derating principles to improve their overall reliability and performance.
Avoiding Voltage Drop in Long LED Strip Runs
To avoid voltage drop in long LED strip runs, you need to implement proper power planning. Using higher-voltage strips like 24V or 48V significantly reduces current, which in turn minimizes voltage loss along the length of the strip. Additionally, splitting your run into parallel sections and feeding each segment separately helps maintain consistent brightness. You can also feed power from the middle or both ends of the strip, effectively halving the distance electricity travels to each point. Using thicker wire—such as 12 or 14 AWG—lowers resistance and supports better voltage delivery, especially when the driver is located farther away. For very long runs, choosing a 24V LED strip over a 12V version cuts current draw in half, further reducing voltage drop and improving overall efficiency. To ensure a reliable connection when using thicker wire, disconnect push wire connectors safely by pressing the release slot with a small flathead screwdriver while pulling the wire out. Lastly, adding power injection points every 5 to 10 meters in 24V systems ensures voltage stays stable throughout the entire length, and using push connectors with thicker gauge wire provides a secure, low-resistance connection that minimizes voltage drop at each junction. These techniques collectively help keep your LED strips evenly bright, no matter how long they are.
Test Your LED Strip Before Mounting It
Before mounting your LED strip, thoroughly test it to identify defects early and prevent rework. Start with power supply testing by matching the strip’s rated voltage—either 12V or 24V—to your power source. Use a multimeter set to DC voltage mode to confirm the output before connecting. Ensure your power supply can deliver enough current, especially on longer runs, to prevent voltage drops or potential damage. Conduct initial testing before full installation by temporarily connecting the strip to a battery to verify it illuminates correctly. Unlike standard recessed can lights, LED strips require a flat, unobstructed surface during testing to allow proper heat dissipation. If the strip fails to power on, check for loose wiring connections at the driver or terminal block, as these are common failure points. Always verify that the wire gauge matches the current draw to avoid overheating, a principle shared with household ceiling fan wiring.
Keep the LED strip uncoiled during testing. Coiling it while powered can trap heat, risking permanent damage. Lay it flat on a non-conductive surface and then apply power. Carefully inspect for dead spots, flickering, or uneven color across the entire length because this is a crucial calibration step. A sudden loss of power mid-test may also signal a short circuit, so re-verify your polarity before proceeding.
For addressable or RGB LED strips, test with the correct controller, not just power supply. Confirm the data-in orientation matches the instructions and check each color channel for proper function. Loose connectors or cold solder joints will become evident now rather than after mounting, saving you time and trouble later. Fix any issues before permanently mounting the strip.
5 Easy LED Strip Projects for Beginners This Weekend
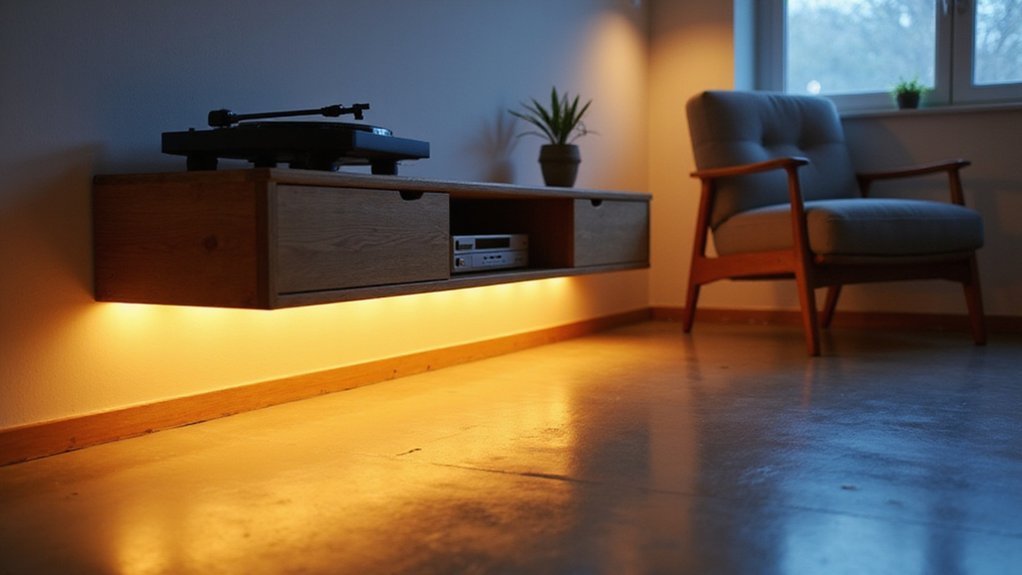
Installing LED strip lighting under cabinets is an easy way to enhance your kitchen’s functionality and ambiance. Use a warm white 12V LED strip, which costs under $20 and provides a soft, inviting glow. To install, measure the length of your cabinet base and cut the strip accordingly, making sure to follow the manufacturer’s cutting points to avoid damaging the lights or voiding the warranty. Connect the strip to a compatible power supply and adhesive backing, then attach it under the cabinet using the sticky side. Keep in mind that cutting the strip improperly can disable sections or cause uneven lighting, so double-check the instructions before trimming. This project typically takes about 30 minutes and transforms your cooking space with minimal effort. For longevity, keeping the power supply cool helps prevent overheating that shortens lifespan. For bathrooms, replacing inferior strips resolved color accuracy issues just like the initial comparison with Philips Hue strips revealed poor whites.
Troubleshoot a Dead LED Strip Section (Quick Fixes)
If you encounter a dead section in your LED strip after installation, quick troubleshooting can often fix the problem. Start by verifying the power source, as a faulty adapter can cause the section to turn off even when the strip itself is fine. Inspect the copper pads at connection points for corrosion or looseness, which disrupts electrical continuity. Ensure the polarity is correct when reconnecting—positive-to-positive and negative-to-negative—to prevent malfunction.
Color coordination is important here: a dead section not only affects function but also ruins your overall aesthetics. To fix it, cut out the faulty segment at the designated cut marks, then reconnect the working ends with a solderless LED strip connector. If the strip runs long distances, voltage drops can cause failure toward the far end. To address this, add power injection at multiple points or split the strip into shorter sections to maintain consistent brightness and performance. If your controller seems unresponsive or flickers, temporarily bypass it to test if it’s the source of the issue. Because these quick fixes can restore your lighting without replacing the entire strip, they are cost-effective solutions for a seamless look. A missing resistor is the most common cause when a specific color fails to light, so inspect the PCB for any tiny burnt or absent components.