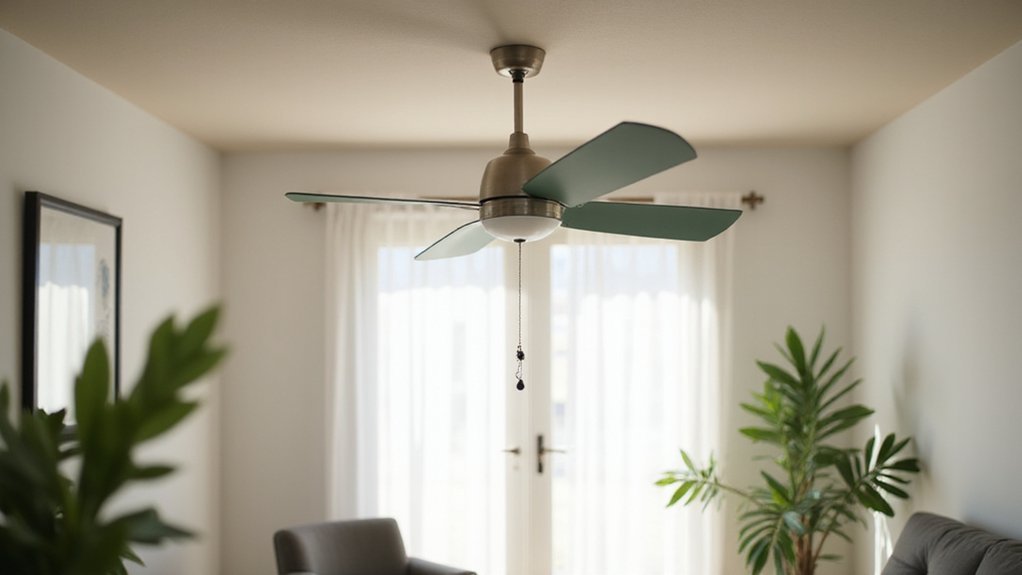
Thinking about giving your ceiling fan blades a fresh look? Painting them can be a great way to update your space, but it’s important to get it right so the fan remains stable and functional.
When done carefully—using the right materials and proper prep—you’ll end up with a smooth, lasting finish. Keep reading to learn how to successfully paint your fan blades and avoid common pitfalls.
Determine If Your Ceiling Fan Blades Can Be Painted
You can paint ceiling fan blades only if the existing surface is in good condition. Start by inspecting the blades for peeling or chipping paint, as this indicates poor adhesion and requires the old coating to be completely removed before repainting. Additionally, check the blade curvature for warping or deformities. Any shape issues won’t be fixed with paint and can cause imbalance, so it’s best to address these problems before proceeding with any finish application. Paint must be evenly applied to prevent wobbling, as uniform weight on blades is critical for proper operation. Before painting, always turn off the power at the circuit breaker to ensure safety while handling the fan components. You should also consider the blade material to select the right primer and paint for lasting results. Before beginning, also evaluate your existing lighting setup to ensure the painted blades will not create unwanted shadows or uneven illumination in the room.
Identify Your Ceiling Fan Blade Material Before Painting
To identify your ceiling fan blade material before painting, look closely at the blades’ surface and edges. If they have smooth, molded edges and a uniform thickness, they are likely made of ABS plastic or other similar polymers, which resist moisture and are ideal for humid spaces. A metallic sheen indicates they could be aluminum or steel, but powder coatings often mask the base material. If you see a natural wood grain pattern, the blades are probably solid wood or plywood, suitable for low-humidity interiors. Additionally, the design shape can provide clues: metal blades typically push more airflow and are usually thinner and flatter, whereas wood blades tend to be quieter and may have a more substantial, curved profile. Accurately identifying the material ensures you choose the right primer and paint, promoting proper adhesion and a durable finish that resists peeling or bubbling over time. Always examine your blades carefully before starting any painting project. For example, understanding cutting limits can help you avoid damaging integrated electrical components during modifications. Furthermore, selecting a durable finish depends on using the correct wire connectors to ensure secure reattachment of any wiring after the project. A sunset lamp uses a focused beam to project a warm gradient of colors onto walls, mimicking the ambient glow of a natural sunset to create a calming atmosphere.
How to Prep Ceiling Fan Blades for Painting
To prep ceiling fan blades for painting, start by disconnecting the power at the breaker. Use a step ladder to carefully remove the blades from the motor assembly. Keep all screws together in labeled baggies to avoid mix-ups, especially if you plan to add decorative accents or replace the blades later. Clean the blades with mild soap and a degreaser to remove any built-up grime and dirt. Lightly sand the surface using 120 to 220 grit sandpaper, paying special attention to the edges to ensure the paint adheres well. Afterwards, wipe away all dust and debris with a damp cloth. Lay the blades face-down on a drop cloth, masking any sockets or electrical components to prevent overspray. During painting, use a side-to-side motion to avoid streaks, ensuring even coverage. Allow everything to dry completely before applying primer and paint, ensuring a smooth and durable finish. For a professional look, consider using under cabinet lighting techniques to highlight the finished blades. Keep in mind that consistent lighting from low profile recessed can lights can help you spot uneven paint layers. Remember that the correct ceiling fan direction changes between summer and winter for optimal air circulation.
Choose the Right Primer and Paint for Ceiling Fan Blades
For ceiling fan blades, choosing the right primer and paint depends on the material. Use a bonding primer for plastic blades to ensure adhesion on slick surfaces and prevent peeling. For wood blades, opt for a stain-blocking primer to stop tannin bleed-through, which can cause unsightly discoloration. Apply the primer in a thin, even layer, paying special attention to the edges to ensure full coverage. If your fan fails to work after painting, you may need to perform a remote reset to re-establish the connection.
For the topcoat, interior latex paint in satin or semi-gloss finishes offers durability and ease of cleaning, making them ideal for ceiling fan blades. Alternatively, a flat or satin enamel spray paint that includes primer can provide heat resistance, which is beneficial for ceiling fans. For island lighting, the pendant height above the island should typically be 30 to 36 inches from the countertop to the fixture’s bottom. Apply at least two coats, allowing each to dry completely between applications, to achieve a smooth, long-lasting finish. Always match your chosen primer and paint to the material of the blades—whether wood, metal, or plastic—to ensure the best adhesion and durability. If your fan continues to malfunction after painting, you may need to follow a factory reset procedure to restore its default settings.
Spray vs. Brush: Which Gives a Smoother Finish on Blades?
Spray paint provides the smoothest finish on ceiling fan blades compared to brushing. Spray application atomizes paint into a fine mist that spreads evenly over large, flat surfaces, resulting in a more professional-looking, uniform surface with fewer visible tool marks. It also minimizes the appearance of brush streaks and texture. This technique is especially effective because it mirrors the principles used in achieving a flawless finish on wall sconce candle holders, where even coverage on flat surfaces is critical. Before starting any painting project, always ensure the work area is properly prepped and that you have the right tools on hand, just as you would when removing old fixtures to avoid damage. For consistent results, using a quality power supply ensures the spray equipment operates at the correct pressure for an even coat.
Brush techniques can be useful for detailed areas like fan bodies or screws but often leave visible brush marks on blade faces. If you prefer brushing, use a soft synthetic brush with light, even strokes to reduce marks, though expect a less consistent finish. Regardless of your chosen method, applying 2–3 light coats is best, with 20–30 minutes of drying time between each coat to ensure a smooth surface.
When spraying, maintain a steady distance of 6–12 inches from the surface and use smooth side-to-side motions. This helps control texture and creates a cleaner, more even finish. Spray painting is preferred for achieving a sleek, smooth surface, while brushing is ideal for small touch-ups after the initial spray coat.
How to Paint Evenly So Your Fan Doesn’t Wobble
To paint your fan blades evenly, start with thorough surface preparation. Remove each blade and clean them with mild soap and water to eliminate dust and residue, which can create bumps and cause imbalance. Lightly sand the blades with 120-grit paper, then wipe away all dust before painting. Work over a drop cloth to keep the blades level and prevent drips. When applying paint, use thin coats held 6 to 8 inches from the surface, and employ long, side-to-side sweeps to ensure uniform coverage. Pay extra attention to edges, as they tend to overload easily. Allow each coat to dry completely before applying the next, typically two to three coats. Check for thin spots and touch up only where necessary. To maintain balance and avoid wobbling, do not overload one side. If you want to add decorative motifs or color coordination, keep layers light to prevent uneven weight distribution, just as excessive heat buildup can shorten the lifespan of LED downlights by degrading internal components. Before reattaching the blades, make sure they are fully dry to preserve the fan’s balance. Smart bulbs often generate less heat than traditional ones, which reduces the risk of overheating issues during extended use. For a similar principle of even distribution, always space string lights uniformly around each blade to avoid adding localized weight that can throw off the fan’s rotation.
Reassemble and Test Your Fan for Smooth Operation
After the blades are dry and reattached, carefully reassemble the fan by securing all hardware—tighten the mounting plate, downrod, set screw, and each blade screw snugly. Avoid over-tightening; just ensure nothing is loose to prevent damage or wobbling. Next, check blade alignment by standing on a ladder and looking down each blade edge toward the motor. Look for warping or curvature. Measure the distance from a fixed ceiling point to each blade tip, aiming for a tolerance of 1/8 inch. Adjust any blades that sit higher or lower to ensure evenness. Ensure proper clearance and secure mounting to avoid vibration issues, just as you would with any ceiling-mounted fixture. Be mindful that the blade’s pitch and material can also affect overall performance, so confirm your painted blades still match the original specifications.
Restore power and test the fan gradually. Start on low speed to listen for unusual noise and observe for wobbling. Then increase to medium and high speeds, continuing to watch for vibrations or instability. If the fan wobbles, use a balancing kit by attaching the clip to each blade, finding the smoothest position, and installing the adhesive weight. Retest at high speed to confirm that the wobble has been corrected. This thorough testing helps guarantee smooth and safe operation, and it helps you verify that your chosen blade design remains balanced and effective after the paint job.