Thinking about installing LED strip lights and feeling unsure where to start? You’ll learn how to plan your setup, pick the right starting point, and prepare the surface to ensure a smooth installation.
Mastering these initial steps can save you from common frustrations and help your lights look sleek and professional. Keep reading for all the tips you need to get started confidently.
Gather Your Tools and Components First
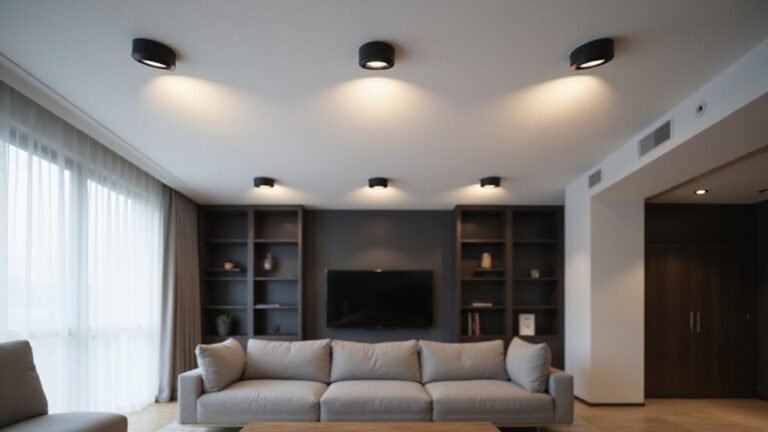
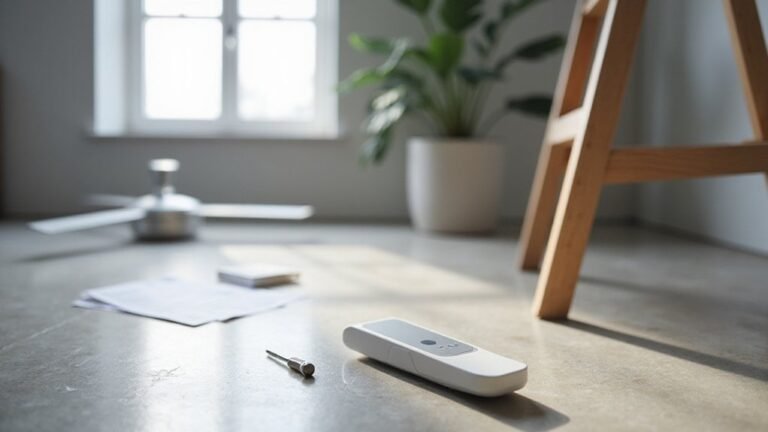
First, gather your essential hand tools: a wire stripper designed for 16 to 22 AWG wire, which ensures clean, precise removal of insulation without damaging the wire. A pair of scissors is useful for making straight cuts at specific points, particularly when trimming wires or insulation. A small Phillips or flat-head screwdriver will come in handy for tightening terminal screws and securing connections. For a more professional finish, consider using a dedicated wire stripper that matches the gauge of your LED strip wires. Before working on any wiring, it is important to turn off the power at the circuit breaker to prevent electrical shock. Understanding how different lighting fixtures distribute light, such as a wall washer that spreads a broad, even wash across a surface, can help you plan the overall room illumination.
Next, prepare connectors suitable for your project. Use solderless connectors or connector kits to make quick, reliable joins without soldering. Keep electrical tape or heat shrink tubing nearby to insulate and protect your connections from shorts or corrosion. Solderless clamps also securely hold LED light strips and wires when you press them down firmly.
Finally, have cleaning supplies ready. A soft cloth and a small amount of dish soap are sufficient to clean surfaces before applying adhesive, ensuring it sticks firmly and securely to a flat, clean area. Proper preparation with these tools and materials will make your setup neater and more reliable.
Measure Your Space and Choose a Starting Point
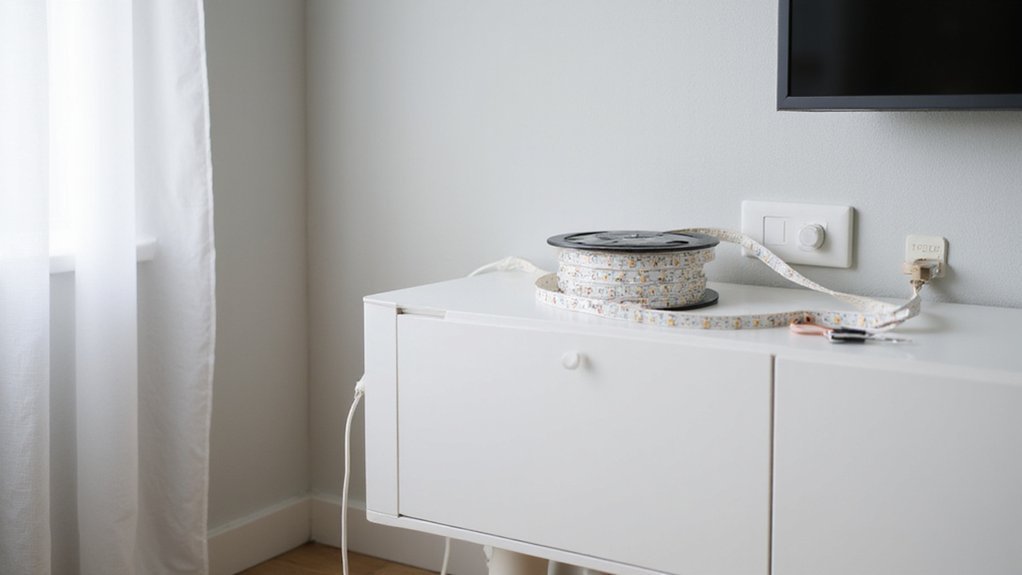
Start by measuring your space carefully. Sketch your room layout, labeling each wall, alcove, or obstacle that might affect the strip’s placement. Mark the locations of fixtures, doors, or cabinets that could interrupt the strip path. Select a starting point based on the power source location, ideally near the area that needs the most light, such as a countertop’s front edge. For perimeter or continuous runs, begin at a corner hidden from view to keep the installation tidy. Align your starting point with the strip’s cut intervals to prevent awkward, partial sections. For visible installations where the source is exposed, a COB strip provides a seamless, single-source look that avoids harsh individual points. Measure the total length end-to-end, then compare this measurement to common roll sizes—16 feet, 32 feet, or 50 feet—before purchasing to ensure you get the correct length. Understanding the difference between constant current and constant voltage strips will help you select the right power supply type for your project. Just as ceiling fans use seasonal direction to improve air circulation efficiency, your LED strip placement should also account for how the airflow will interact with the lighting. To achieve a balanced glow, consider how the mounting height and angle will affect light distribution, much like choosing a wall sconce for its upward or downward wash pattern.
Clean the Surface for a Strong LED Strip Bond
To ensure a strong LED strip bond, start by cleaning the surface with a lint-free cloth dampened with 70% isopropyl alcohol. This degreases the area effectively without leaving residue. Avoid using water-heavy cleaners or harsh chemicals like acetone, as these can damage the surface or leave behind residue that weakens the adhesion. After cleaning, allow the surface to dry completely for 1-2 minutes. Make sure the surface temperature is above 15°C because cold surfaces can reduce tack. Once dry and at the proper temperature, press the strip firmly and evenly onto the surface to achieve a durable, long-lasting bond. If you are working near an existing electrical box, check for an available neutral wire to ensure safe installation if you plan to connect the lights permanently. For additional stability, consider securing the wire with small clips or adhesive cable ties. Always turn off power at the breaker before handling any wiring to prevent electrical shock.
Where to Cut Your LED Strip (and How to Do It Safely)
To cut your LED strip safely, follow these key steps. First, ensure the strip is disconnected from power entirely to prevent sparks or damage. Locate the designated cut points, which are always marked between copper pads, often with a scissor icon or dashed line. Never cut anywhere else on the strip, as doing so can damage the circuit and render the strip unusable. Measure your desired length and find the nearest safe cut point accordingly. Always follow practical placement rules to ensure you measure the correct area for your layout.
Use sharp scissors to make a clean, straight cut along the marked line. A precise cut keeps the copper pads aligned, which is essential if you plan to reconnect the strip later. Always cut only at these designated points to avoid damaging the circuit. After cutting, verify the copper pads are intact and aligned if you want to add connectors or rejoin the strip.
If the cut end is exposed to moisture, seal it with a suitable waterproof cover or tape to prevent corrosion. Before final installation, test the segment by connecting it to power to ensure it lights correctly. This step prevents wasting time on faulty segments and helps confirm your cut was accurate.
Match Your Power Supply and Wire Everything Correctly
Ensure your LED strip and power supply have matching voltages, typically printed near the copper pads on the strip—most commonly 12V or 24V. Confirm this first, because using a mismatched voltage can prevent the strip from functioning properly or cause damage to the components.
Calculate the total wattage your setup needs by multiplying the wattage per meter by the total length of the strip. Choose a power supply rated at least 20% higher than this calculated wattage. This additional headroom helps prevent overheating and extends the lifespan of your power supply. For a safe and clean installation, consider drilling through concrete to route wires neatly underneath the driveway surface. When wiring in new construction, you can follow a recessed can light installation sequence to plan your power supply placement and cable routing.
For connecting multiple LED strips, wire them in parallel rather than in series. Parallel wiring ensures each strip receives a constant, stable voltage. Always match the connector polarity correctly and keep the total load under 80% of the power supply’s maximum output capacity. Proper wiring practices safeguard your setup from shorts, voltage drops, and ensure long-term reliability, and when using an ESP32-based controller, you can set brightness limiters to manage power constraints and prevent heat buildup. Sealing any exposed joints with a vapor barrier helps maintain a clean finish and protects against moisture intrusion behind your fixtures.
Test the Strip Before You Stick It Down
Testing the strip before sticking it down involves several critical checks. First, verify the voltage with a multimeter to ensure your power supply matches the strip’s rated voltage. An incorrect voltage can damage the LEDs or cause inconsistent brightness over longer runs. Next, inspect the connections carefully; confirm that positive-to-positive and negative-to-negative wiring is correct, as polarity errors are a common failure point. Power up the strip and look for full brightness across all segments, checking for dead spots or dim areas. Avoid overheating by unrolling the strip fully before powering it—coiling it up can trap heat and cause damage during testing. Also, test each channel on RGBW strips to ensure they respond correctly. Performing these checks upfront guarantees you won’t need to rework after the adhesive has been applied. Additionally, you should verify that your power supply output is around 24V using a multimeter in DC voltage mode before connecting the strip.
Apply the Adhesive Backing Section by Section
To apply the adhesive backing section by section, start at one end and peel back only small segments of the liner—about 6 to 18 inches at a time. This approach keeps the adhesive clean and free from dust, which could compromise adhesion. Begin at the power source end to make cable management easier and ensure the cable stays neat. Carefully align each section before pressing it down; this prevents crooked runs and ensures a professional finish. For a safe wiring connection, always verify that the polarity of the power supply matches the strip before soldering or using connectors. Similar preparation steps require turning off the power at the breaker before handling any electrical components.
Press each exposed section firmly for 10 to 15 seconds to smooth out any trapped air bubbles. Wait to peel the next section until the current section is securely attached. This gradual process makes following corners and turns simpler and helps you maintain control. For best results, mount the tape on smooth, clean surfaces at room temperature, ideally between 60°F and 75°F. Continue peeling and pressing until the entire length is flat and free from tension, which ensures reliable adhesion without stressing the power cable. Unlike a sunset lamp, which uses a focused projection to mimic a glowing horizon, LED strip lights rely on a continuous adhesive backing for direct surface mounting.
Common LED Strip Mistakes and How to Fix Them
Even after carefully applying the adhesive backing section by section, you may still encounter issues with your LED strip installation. Exposed strips can cause harsh glare and an unfinished look. Recessing the strip into a channel or adding a diffuser reduces glare and creates a cleaner, more integrated appearance. To prevent hot spots caused by uneven spacing or drooping, use mounting clips and ensure consistent spacing along the entire length. For example, offsetting the seams of the aluminum channels and covers ensures clean, straight lines for a professional finish.
Choosing the correct voltage is critical—match it exactly to your LED strip specifications and add a 20-30% surplus wattage capacity to avoid dimming or power failure. Only cut the strip at marked designated pads, and avoid sharp bends or poorly connected segments to maintain electrical integrity. Proper heat management is also essential: clean and degrease the mounting surface to improve adhesion, then reinforce the strip with mechanical supports like clips or screws. Always leave space around the LEDs for heat dissipation, as overheating significantly shortens their lifespan. Similarly, checking for loose or faulty bulbs can resolve intermittent connection issues that cause entire sections to fail.