Trouble removing wire connectors? Whether you’re dealing with wire nuts, push-in connectors, or lever-style clips, knowing how to safely disconnect them is key to avoiding shocks or damage.
Each type requires a different approach, and using the right tools can make the job easier and safer. Keep reading to learn step-by-step methods for safe removal of all common connectors.
How to Remove a Wire Nut Without Damaging the Splice
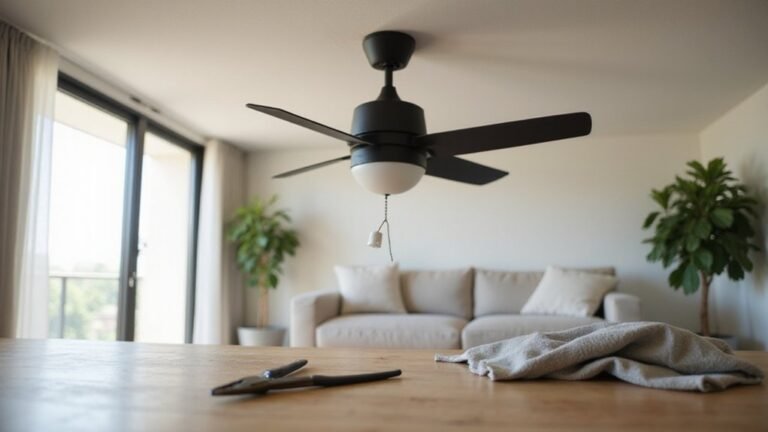
To remove a wire nut without damaging the splice, first ensure the circuit is de-energized by turning off the breaker and verifying there is no voltage with a tester. Use pliers to grip the wire nut—preferably not the wires themselves—and hold it as close to the conductors as possible. Turn the nut counterclockwise with steady, controlled force; avoid yanking, as this could damage the insulation. Once the nut begins to loosen, pull it straight off, taking care not to crush the plastic housing. If the splice resists removal because of paint or corrosion, gently rock the nut while twisting to break any friction. After removing the wire nut, carefully untwist the conductors and inspect the wires for nicks or heat damage. Trim any damaged ends before re-splicing to ensure a safe and reliable connection. Always maintain a secure grip on the nut while using the other hand to apply counterclockwise pressure, ensuring the twist does not slip mid-removal. For added safety, consult a guide on how to wire a ceiling fan when working near fixtures that combine lighting and fan functions. Additionally, before reinstalling any ceiling-mounted device, check the fan’s seasonal rotation to confirm proper airflow for the current weather conditions, just as you would verify the wiring polarity in a DIY under cabinet lighting project to avoid shorts.
Removing Push-In Wire Connectors Cleanly
To remove a push-in wire connector cleanly, start by isolating power at the breaker or fuse panel and verifying the circuit is dead with a tester. Grip the wire close to the connector body, then twist and pull with a steady jiggle. This method is typically the least destructive for most standard connectors. Always verify the connection is secure and properly aligned before attempting any removal to avoid damaging the wire. For angled mount installations, consider the correct ceiling fan direction to ensure proper airflow in the room.
If the wire doesn’t come out easily, look for a small rectangular release slot. Use a flathead screwdriver to insert into the slot, depress the internal spring tab, hold it down, and pull the wire straight out. For stubborn conductors, push the wire inward slightly before pulling to unhook the spring teeth—just don’t force it, as that can damage the connector or wire.
Once removed, inspect the conductor end for deformity or lost strands. If the wire is damaged, trim and re-strip it before reuse, making sure the cable insulation is clean and intact. Before reusing the connector, check that it’s compatible with your wire’s gauge and type, especially if it feels weak or loose after multiple attempts. For installations on angled ceilings, consider compatible junction box types to ensure a secure fit within the sloped space.
Disconnecting Lever and Tab-Release Connectors
To disconnect lever and tab-release connectors, follow these steps carefully to avoid damage. For lever connectors, lift the lever fully to disengage the spring clamp, then pull the wire straight out. If the wire snags, gently wiggle it back and forth to realign before pulling. It’s important to open the lever completely; forcing it can damage the connector or the wire. For tab-release connectors, locate the release feature, usually a push-tab or a slot. Depress the tab with your finger or a small flathead screwdriver to unlock the latch. Then, hold the release open and pull the wire straight out. If resistance is felt, gently push inward on the wire to help it slip free. Safe removal starts with turning off power at the breaker to prevent shock, a critical step in any electrical project. For outdoor applications, such as deck lighting, solar lights offer a wire-free alternative that avoids the need for connectors entirely.
Always ensure power is turned off at the breaker before disconnecting any connectors to prevent electrical shock. After removal, inspect the wire ends for fraying or damage. Lever connectors are designed for repeated use, making them easier for maintenance or reinstallation, as they typically require less force than push-in styles. Proper technique helps preserve the connector’s integrity and ensures safety during disconnection. This lever mechanism, while not intended for constant modification, allows for occasional wire adjustment and reinsertion to maintain circuit integrity. For a streamlined installation, these connectors are ideal for low profile recessed can lights where space is limited.
De-Pinning Terminals From Connector Housings
To de-pin terminals from connector housings, you must first de-energize the circuit and verify zero voltage with a multimeter—this is essential for safety. Next, identify the connector’s pin orientation to determine which cavity holds the terminal you want to remove. Locking mechanisms differ; you need to release any secondary lock or terminal position assurance (TPA) before extraction. Examine the retention architecture, as some terminals use internal lances, while others require front- or rear-access tools. For housing mounted in a ceiling, ensure you have adequate clearance for workspace and safe access to the fixture. A well-chosen wall sconce candle holder can provide reliable lighting while you work, but verify it is also de-energized. Align your terminal extractor with the cavity’s axis and gently depress the lance until you hear or feel a click. Apply steady, gentle tension on the wire, pulling straight out. Keep the tool engaged until the terminal releases smoothly. If resistance is felt, stop and reassess; never force the terminal to prevent damage to the housing or the terminal itself. Always use a pick or small screwdriver to lift the locking mechanism before attempting extraction, as pressing down on the hammer or tab is the key to freeing the terminal. Frequent handling of these connectors can reduce overall lifespan if improper force is applied.
Wire Connector Removal Tools You Actually Need
The right tool for removing wire connectors is essential for efficiency and preventing damage. Fine-tip pliers are useful for gripping lock tabs in tight spaces, providing better control than bulky tools. A small flathead screwdriver can assist with gentle prying when connectors are stubborn but not overly tough. For more delicate tasks, specialized disconnect pliers with 60° angled or straight blades are ideal—they release lock tabs on sensors and coils without cracking housings. Even with track lighting, ensuring connections are safe and trendy involves using compatible removal methods to avoid damaging modern fixtures. When dealing with automotive connectors that have stubborn lock tabs, a dedicated electrical disconnect tool makes the job easier and safer. For extracting pins from connectors, universal kits come with multiple sizes and shapes, designed to remove round, flat, and ABS terminals cleanly without damaging them. Always verify that the power is off using a non-contact voltage tester before starting, to avoid electrical hazards. Matching the tool to the connector type saves time and reduces the risk of breaking or damaging connectors during removal. Before fitting a new flood light unit, also inspect the existing wiring for wear using a non-contact voltage tester to confirm the circuit is dead. As emphasized in wiring landscape lighting guides, always work with properly insulated tools to maintain safety during any removal process.
When to Cut a Wire vs. Releasing a Stuck Connector
You should cut a wire when the connector isn’t designed for disassembly, such as a permanent crimp-style connection. These connections are meant to stay intact and cannot be unplugged without damage, so cutting becomes your only option. Before resorting to snips, try gentle removal techniques: a slight back-and-forth motion, mild twisting, or careful prying can sometimes loosen the connector. Be cautious—brittle tabs may snap easily under excessive force.
If corrosion, dirt, or grime is causing difficulty, applying penetrating oil or WD-40 can help free the connection. Only cut as a last resort when the connector remains fused, the wire is damaged, or corrosion is severe enough to compromise the connection. When you do cut, make sure to do so as close to the connector as possible, leaving enough wire for making a proper splice later. Always disconnect power before working on electrical connections, and pay attention to color coding to avoid confusion. Release any locking tabs or screw terminals when possible—resorting to cutting should be the final step. Following safe wiring tips from a proper installation guide can help prevent damaged connectors from the start, and referencing a clean DIY finish ensures your final splice is well-protected and professional-looking.