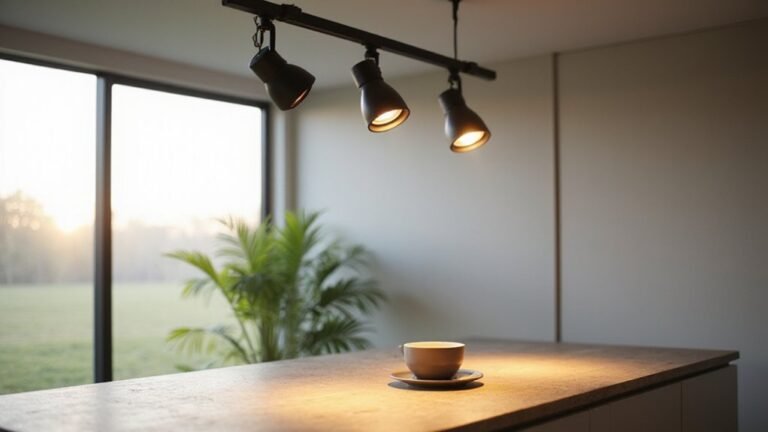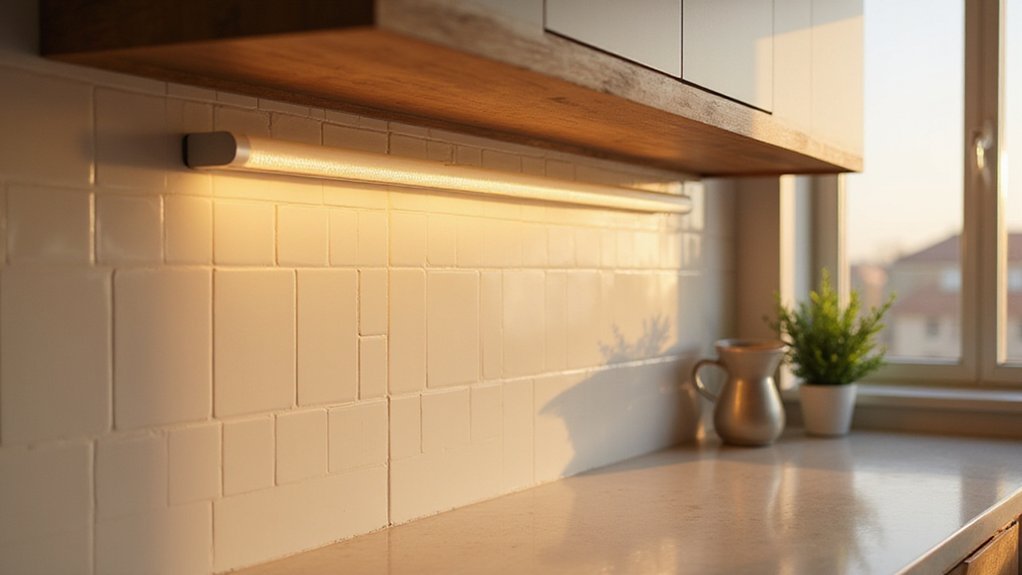
Struggling to add under cabinet lighting that looks professional and is easy to install? You can do it yourself with a little planning and the right materials.
By measuring carefully and choosing the right lights, you’ll transform your space with a clean, customized look.
Keep reading to see how to plan, wire, and mount your new lights step by step.
Measure Your Cabinet Space First
Measuring your cabinet space precisely is essential to ensure your lights fit correctly. Start by recording the cabinet dimensions, focusing on the underside cavity length rather than just the overall width. For L- or U-shaped layouts, measure each run separately to avoid sizing errors. Be sure to note the exact mounting zone, including recesses, corners, and irregular shapes that can reduce usable space. Also, check the distance from the countertop to the cabinet bottom and the recess depth to confirm the fixture’s profile will fit comfortably. If you later decide to adapt the look, consider using a glass pendant light to add a decorative focal point above an open section of counter. Understanding how to adjust airflow for comfort is similar to ensuring your lighting placement works, as both rely on the correct ceiling fan direction to optimize the space.
Once you have your cabinet measurements, compare them to your fixture options. Choose a light that is slightly shorter than the available width, such as aiming for a 16-inch fixture in an 18-inch space. Standard fixture lengths come in 8, 16, 24, and 32 inches; select the closest size to fill the area effectively. When dealing with linear lights, ensure even coverage over the countertop. Measure around hinges, handles, or trim, since these obstacles may interfere with placement. Remember to leave extra cable length when planning for the power source connection to accommodate adjustments or future repositioning. If your ceiling fan remote control is unresponsive, battery or signal issues often cause the same kind of frustration as a mis-measured light fixture.
Pick Your Light Type: Puck, Tape, or Bar
Choosing between puck, tape, or bar lights depends on your specific needs and space. Puck lights produce focused pools of light, making them ideal for highlighting a particular area or object. However, to prevent dark gaps, you typically need one puck every 8 to 12 inches along the surface. Before wiring any type, always turn off power at the circuit breaker and verify connections with a voltage tester to ensure safe wiring.
Tape lights offer a seamless, continuous glow, perfect for curved or irregularly shaped spaces. They are especially good when you want an even, accentuated light across a wider area. Bar lights provide broad, task-oriented illumination and can be linked together easily for longer runs, making them suitable for larger spaces requiring straightforward lighting coverage. For a similar aesthetic, you could also consider wall sconce candle holders as an alternative decorative lighting option.
For full-counter brightness, tape and bar lights generally outperform pucks alone. When choosing, consider the color temperature—warmer tones create a cozy atmosphere, while cooler tones improve clarity for tasks. Also, check the power supply requirements: pucks are often battery-operated or plug-in, whereas tapes and bars may need a compatible driver or power source. Using the correct connector type for each strip prevents loose joints and potential shorts.
Tape lights tend to be the most budget-friendly option for DIY projects, especially if you prefer easy installation. Bars are often the simplest to set up and connect, offering a clean, uniform appearance with minimal fuss. Align your choice with your layout and aesthetic preferences, considering both cost and ease of installation. For a more comprehensive comparison of top lighting products, you might also review recessed lighting options that offer similar task performance and value for your kitchen renovation.
Grab Your Tools and Safety Gear
You’ll need a measuring tape, pencil, screwdriver set, lineman’s pliers, and wire strippers for precise work. A drill and a hole saw or spade bit are essential tools for making cabinet openings. Gather wire connectors, electrical tape, and mounting brackets to secure connections and components. Check early on that your dimmer switch is compatible with your LED fixtures to prevent issues later. If you don’t have a pre-wired circuit, consult a licensed electrician for assistance. With these tools and materials ready, you’ll be set for a safe, code-compliant installation. Be sure to confirm the power is off at the breaker before handling any wiring. Operating all lights as a complete unit offers efficiency, simplifying overall lighting management. For a balanced glow, plan your wiring path so each fixture receives power evenly, much like wrapping lights in a spiral to avoid dark spots. To integrate smart control safely, follow a step-by-step method for connecting the TP-Link smart plug to your circuit without overloading it.
Cut LED Strips Only at the Marked Pads
Only cut LED strips at the marked pads. These are usually indicated by a scissor icon or a line between copper pads on the strip. Cutting anywhere else can break the circuit, disabling the sections downstream. The designated cut points are spaced every few inches; measure your desired length carefully before cutting. It is important to know the safety limits for how many cuts you can make on a single continuous run without overloading the circuit. When comparing running costs and lifespan, these strips operate more efficiently than high-wattage alternatives often seen in flood lights.
Use sharp scissors and cut straight through the center of the copper pads to keep them intact for reconnection later. This ensures the electrical contacts remain undamaged, making reattachment easier. Cutting at unmarked spots risks damaging components, causing power issues, or uneven color distribution across your strip.
Always disconnect the strip from power before trimming. After cutting, inspect the ends for intact pads and test the strip to confirm it lights up properly. If it doesn’t, you likely missed the mark. Proper cuts help ensure reliable performance and a tidy fit under your cabinets. This process is similar to selecting the correct ceiling fan direction for each season to avoid performance issues.
Space Puck Lights 10 Inches Apart
A 10-inch spacing between space puck lights is effective for overlapping light pools by approximately 30% to 60%. This overlap helps eliminate dark gaps and creates smoother lighting patterns without hotspots or shadow issues. For deeper cabinets or narrower beam angles, you might want to tighten the spacing to ensure full coverage. Conversely, for softer, more diffuse lighting, increasing the spacing to around 12 inches can work well. Always take obstacles like sinks or appliances into account when planning your layout. Before drilling, test your spacing with painter’s tape to verify coverage and prevent uneven lighting. To determine exact light positions, measure each wall length in inches and record those measurements for accurate calculations.
Run Wires Through Clips or Channels
Running low-voltage cable through clips, raceways, or staples is essential for an organized and tidy under-cabinet setup. Use small cable clips to secure wires in inside corners; this prevents sagging and accidental strain on connections. Staples can hold the wire against the cabinet interior before installing trim, keeping the wiring hidden and protected. For a clean appearance, install metal channels or adhesive raceways that house the wiring while exposing the lights. Proper support is critical for electrical safety because it prevents loose connections and potential damage over time. Keep the wiring away from pipes or other existing wiring to minimize risks. Always secure the wire firmly but gently to avoid pinching the insulation, which could compromise electrical safety. With secure support, your under-cabinet wiring stays tidy, safe, and reliable. For minimal visible wiring, white wires can be prepared and connected to the power unit to run underneath the cabinet. For broader room safety, consider how flush mount fans also require secure wiring to prevent hazards. This method of using matched recessed housings helps maintain a clean, moisture-resistant finish.
Connect the Lights in the Right Order
Begin connecting the lights starting with the fixture farthest from the switch or power source. This ensures the wiring path moves smoothly in a single direction toward the control area, making the installation more straightforward. Leave about 1 foot of slack wire at each fixture opening to allow for easy connections and adjustments later.
At the furthest light, you will have only one wire end. As you proceed toward the switch, each fixture will typically have two wire ends: one for input and one for output. Maintain this pattern, ensuring that the wires flow in a continuous chain from the farthest fixture to the closest. This daisy-chain method mirrors the step-by-step process used in ceiling fan wiring to keep the circuit organized.
Before splicing wires, check that your LED fixtures are compatible with the power supply voltage. Inside each fixture, separate the conductors and strip about 3/4 inch of insulation from each wire. When connecting, match black to black and white to white, securing each connection with a wire nut at the final junction. Confirm that the fixture mounting does not pinch or strain the wires, and keep the entire chain organized from the first to the last light to avoid confusion during troubleshooting. For seamless connectivity, use joining clips to connect multiple lights, ensuring a smooth wiring path. This approach is similar to recessed light bulb installations, where wire organization and secure connections prevent common issues. Regularly cleaning your connections with a soft brush can help maintain conductivity, similar to the gentle cleaning methods used on crystal chandeliers.
At the switch, connect the white neutral wire to the pass-through wire, and attach the black supply wire to the switch terminal. Proper organization and secure connections prevent potential electrical issues and ensure your lighting system functions safely and efficiently.
Test Each Section Before Locking Everything Down
Test each section immediately after assembly, starting with the first completed part. This step confirms that the power path functions correctly before adding more sections that might obstruct access or route wires through cabinet holes. Doing an initial test serves as your core quality assurance, catching potential wiring or connection issues early. Tighten all wire connections securely, then briefly energize the system to check for proper output. Ensure all LEDs light evenly without flickering or dead spots. If you notice dimming or buzzing, troubleshoot these problems before sealing anything in place. Verify the fit and cable routing; adjust any crooked alignments while access is still possible. Cycle the switch multiple times to detect intermittent faults. Only after confirming stable brightness and secure connections should you proceed to lock everything down with screws or adhesive. Testing each section in sequence prevents future headaches and saves time on repairs. This approach also confirms that your customizable color temperature setting of 3000K is properly engaged before you commit to mounting all fixtures permanently. When troubleshooting, disconnect push wire connectors carefully by twisting and pulling each wire individually to avoid damaging the internal mechanism. For installations near cabinetry, note that low profile recessed can lights can provide a similarly sleek, integrated look. Using lever nut connectors for the wiring splices ensures a secure and reusable connection that is easy to test and modify.
Add a Dimmer or Wall Switch Later (Optional)
If you want to add a dimmer or wall switch later, you can retrofit one without disturbing your existing lights. First, confirm that the dimmer is compatible with your LED strips and driver—an incompatible dimmer can cause flickering or poor performance. Turn off power at the breaker to ensure wiring safety. Cut an opening for a standard old-work switch box, then pull the wires in and connect the dimmer. Position the power supply and dimmer on top of the cabinets for easy access, and route the low-voltage control wires down to your lights. Ensure the smart dimmer switch is wired correctly for automatic evening control. After mounting the dimmer and installing a wall plate, restore power and test the setup. This allows you to enjoy smooth brightness control easily accessible from your wall.
Tuck Extra Cord and Snap on the Final Trim
After testing the lights, hide any excess slack by tucking the cord along the back edge of the cabinet or into the gap between cabinets, using cord clips to keep it secure. Bundle loose sections neatly to maintain a consistent cable path. For a more professional look, run the cord into a mini raceway or cord cover and cut it to size using a fine-tooth saw. Attach the raceway in place, then snap the cover shut, ensuring the wires aren’t pinched.
Next, cut the final trim—such as a valance or molding—to match the cabinet width. Attach it underneath the cabinet front edge with small screws or finishing nails. Tuck any remaining cord behind the trim piece for a seamless appearance. This step hides the cord from normal viewing angles, creating a polished, intentional finish. Skipping this step can lead to a cluttered look, so take the time for a tidy, professional result.