If you’re trying to figure out which track lighting connector you need, it all comes down to the number of wires inside—three wires mean H-style, while two wires are J or L-style.
Picking the right connector is key to ensuring your system fits securely and works safely.
Keep reading to learn how to identify and match connectors for any lighting layout.
How to Identify Your Track Lighting Connector Type by Wire Count
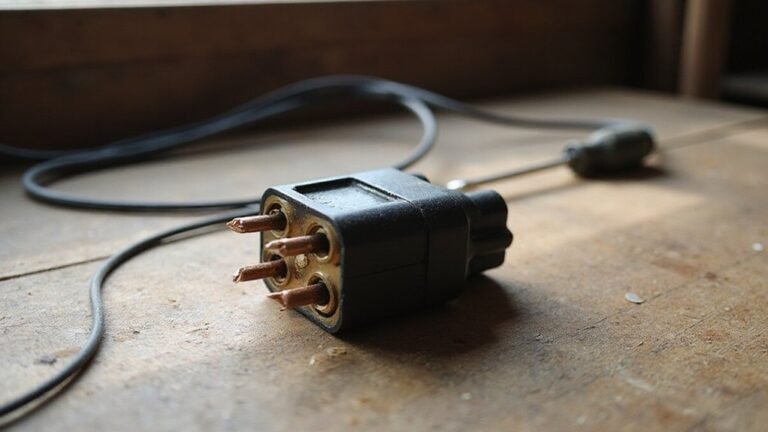
The number of internal wires in your track lighting rail indicates the connector type you need. If you see three conductors, it’s almost certainly an H-style track, common with Halo or HT systems. Two wires typically point to J-style (Juno/JT) or L-style (Lightolier/LT) tracks. To distinguish between J and L types, you’ll need to verify additional details, such as brand stamps or specific system markings. Understanding your wire count is crucial because connector compatibility varies with track type. Common connector materials like copper or brass ensure reliable conductivity and durability in these systems. For example, J-style tracks use a distinct locking mechanism compared to L-style tracks. H, J, and L systems are not interchangeable, and choosing the wrong connector can lead to installation issues or unsafe connections. After noting whether you have two or three wires, look for a brand mark on the rail or fixture head. Confirming the exact system before purchasing connectors helps ensure a proper fit and safe operation. As with any electrical work, shut off power at the breaker before handling connectors to avoid shock hazards.
Why Your Track Lighting Connector Must Match Your Rail System
Your track lighting connector must match your rail system exactly. H, J, and L systems each have unique connector shapes and contact arrangements. Even if parts look similar, a fixture designed for one system won’t fit properly or provide power in another. Proper connection depends on aligning the connector pins with the rail’s grooves and contact points precisely. Mismatched parts either won’t attach securely or will fail to complete the circuit, risking electrical problems and fixture instability. Always verify your track system type before purchasing connectors. Key differences include contact spacing and conductor layout: H-type uses three contacts, while J and L types use two with different spacing. Ensuring compatibility is essential for safe, reliable lighting and avoiding costly mistakes. Similar to track lighting, flickering in LED downlights often stems from poor electrical connections that compromise the circuit. A clean, secure connection also benefits from guide wire lighting techniques for organized cable management. For example, using a smart light switch allows you to control track lighting remotely and adjust brightness without touching the fixture.
Choosing Connectors for Corners, Branches, and Grids
For corners, branches, and grids, you’ll select the appropriate connectors based on the changes in direction needed. For a 90-degree corner, use an L-connector—choose an internal one for inside walls and an external one for pillars. To create a side run in an open space, a T-connector allows for a three-way junction, providing flexibility for branching off the main line. For full grids, like in gallery or retail settings, an X-connector offers a four-way crossing, ensuring a stable intersection point. All L, X, and adjustable connectors have concealed wiring holes, reducing manual wiring. Before handling any wiring, always turn off the power at the circuit breaker to ensure safety during installation. Always verify keyed polarity compatibility to ensure connectors fit only one way and prevent miswiring. A common issue like a faulty connection can cause a ceiling fan light to stop working, so inspect all joints for loose wiring.
Ensure the connectors you select are compatible with your rail system, paying attention to keyed polarity—this means they only fit in one orientation to prevent miswiring. Flexible-angle connectors are useful for irregularly shaped rooms, allowing you to skip multiple fixed parts and adapt your layout seamlessly. Paying attention to aesthetics matters; choosing connectors that keep your rail lines clean and continuous enhances the overall look.
Before you start installing, count your connector needs carefully to avoid delays, especially in complex layouts with multiple turns and branches. This planning helps ensure you have everything on hand and prevents interruptions. The right connectors are essential for both functionality and a tidy appearance, making your lighting system reliable and visually appealing.
Live-End vs. Floating-Canopy: Power Feed Options for Your Track
A floating canopy is your best option when your junction box isn’t located at the end of the track. It enables a mid-span power connection anywhere along the track’s length, offering extra flexibility. The canopy covers the junction box, providing a clean, concealed look for the electrical connection. Just be sure to check that your track brand is compatible with the canopy adapter, as you’ll need to route wires from the junction box into it. This connector supports a maximum power capacity of 1920W and a rated current of up to 20A. For a safe installation, follow the same low-voltage wiring principles used in landscape lighting to avoid shorts. Always verify that your transformer’s voltage rating matches the track system’s requirements to prevent overheating. To ensure a clean finish, use insulation-safe recessed lights if any insulation will be near the track connection. Whether you favor the straightforward setup of an end feed or the adaptable nature of a floating canopy, both require careful attention to wiring details to ensure a safe and reliable connection.
When to Use Flexible Track Lighting Connectors for Odd Angles
Flexible track lighting connectors are the best choice when your layout involves odd angles that rigid connectors cannot accommodate. They are designed to handle turns of 45° to 315°, making them ideal for curves, irregular paths, or transitions that require sharp or complex bends. These connectors maintain electrical continuity through bends, ensuring your lights stay powered even at tricky angles. Before selecting one, check the angle range supported—some support as narrow as 60°, while others can handle up to 315°. Additionally, verify polarity alignment and voltage ratings to match your system’s specifications. Using flexible connectors helps you create custom lighting paths without complicated cutting or splicing, simplifying installation in unconventional spaces. For installations involving a ceiling power feed, the connector includes two knockouts for power ingress to simplify wiring from above. Remember to consider thermal management to prevent overheating in tight bends. Before installation, verify the voltage and current ratings of the connector to match your LED strip power supply for safe operation. If the lights flicker after installation, inspect the connection points for any loose wiring terminals as a common cause of intermittent power loss.
End Caps: Safely Finishing Your Track Run
End caps are essential for safely finishing your track run by sealing the exposed ends of your system. They protect against debris and accidental contact, ensuring the integrity and safety of your installation. Since end caps are system-specific, you need to match the cap to your track brand and profile, whether it’s H-track, magnetic, or single-circuit. Some wireless systems, for instance, require a specific remote pairing reset to restore function if a cap is improperly installed. To ensure a clean and safe DIY finish, always disconnect the power supply before installing or removing any end caps. For best results, use wire tap connectors to secure the wiring at the end cap junction without cutting the main cable.
Choose an end cap finish—such as black, white, or brushed nickel—that complements your lighting design. Many caps are designed to fit both the left and right sides, which simplifies installation. Typically, you secure them with included screws for a quick, professional-looking finish.
When installing, always verify that the end caps are UL or cUL listed for safety compliance. Some caps come in standard track lengths, but you can purchase singles or packs separately to match your project needs. Remember, end caps are different from feed caps—end caps terminate the run visually and protect the exposed end, while feed caps include a power-entry hole for electrical connection.
Straight, L, T, and X Connectors: Which Shape Fits Your Layout
The shape of the connector you choose depends on the layout you want to create. Straight, L, T, and X connectors each serve specific purposes in shaping your track lighting system. A straight connector is ideal for extending linear runs, such as hallways or long corridors, without adding any turns. Use an L connector for 90-degree corners—either internal, to turn inward, or external, to wrap around pillars or create a corner. A T connector allows you to split a single track into three directions, perfect for branching off toward an island or display area. An X connector provides a four-way crossing that’s suitable for grid layouts, often found in showrooms or galleries. Just as you would compare top options to find the right chandelier for a kitchen, you must weigh how each connector shape influences the overall lighting coverage and visual balance of your space. Safe wiring tips from ceiling fan installation guides can help you avoid common electrical mistakes when connecting these track lighting components.
When selecting connectors, ensure compatibility with your track system—H, J, or L types are not interchangeable. Pay attention to the conductor count and polarity, especially when working with T and L shapes, to avoid electrical issues. Planning your entire track path before purchasing and installing connectors helps prevent mistakes and costly rework. Map out your layout, identify where each turn or intersection occurs, and choose connectors accordingly. Proper planning ensures your system’s electrical integrity and aesthetic flow.