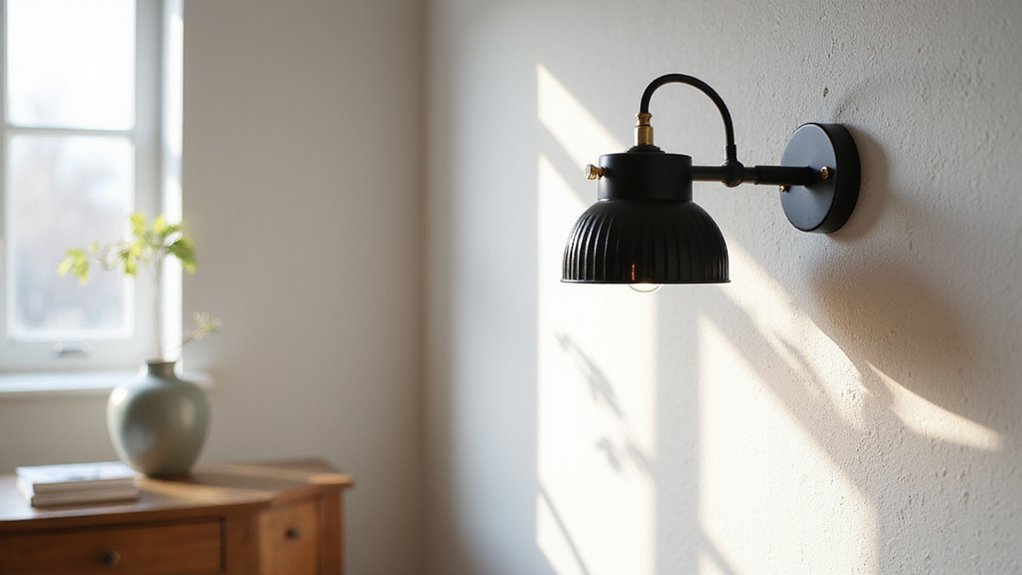
Want to add a wall sconce but not sure how to wire it safely?
The process involves turning off the power, choosing the right mounting box, running wiring, and making secure connections.
By following a step-by-step approach, you can install your fixture confidently and safely.
Keep reading for a complete wiring guide that walks you through each stage.
Turn Off Power and Test the Circuit Safely
Turning off the power and testing the circuit safely is essential before working on any electrical wiring. First, locate your electrical panel and identify the correct breaker using the panel legend. Then, switch off that breaker, but do not fully rely on the legend—verify it by testing the circuit itself. For added safety, especially in older homes, you can turn off the main breaker. Remember to keep the wall switch in the off position and never assume a breaker is de-energized based solely on its position. Always ensure the breaker is fully in the off position before proceeding to avoid partial disconnection. A clean DIY finish also requires organizing your tools in advance to avoid fumbling near live wires. Understanding the ceiling fan direction for each season is similarly important for energy efficiency and comfort in other home projects. For a low-profile lighting fixture, you may also want to check the minimum clearance requirements to ensure safe installation.
Next, test the circuit to confirm it is safe to work on. Use a non-contact voltage tester or a multimeter. Start by testing the tool on a known live source to ensure it is functioning correctly. Then, check the wiring in the light fixture, terminals, and electrical box—there should be no voltage reading. Re-test the tool on the live source afterward to double-check it didn’t fail. Never begin wiring tasks until you have confirmed the circuit is off by performing these voltage tests twice with a properly working tester.
Find the Right Height for Your Wall Sconce
The optimal height for wall sconces is generally between 60 and 72 inches above the finished floor, but the best placement depends on your room and fixture. For living rooms, aim for 60 to 66 inches to ensure comfortable sightlines and balanced lighting. In bedrooms, mount bedside sconces about 12 to 18 inches above the top of the mattress, adjusting for bed height to avoid glare or uneven illumination. For bathroom vanities, position side-mounted fixtures at 60 to 65 inches to provide clear, shadow-free light for tasks. Adjust the height based on ceiling height so the sconce doesn’t appear out of place or stranded on the wall. Always measure from the finished floor to the fixture’s center, not the box, to achieve a harmonious proportion with your room. It’s wise to test a mock-up before drilling to confirm the placement and ensure it suits your space. For an outdoor deck area, you can apply similar principles by consulting a step-by-step method for hanging lights safely and stylishly. When comparing wafer lights vs can lights, consider how wafer lights offer a lower profile and easier installation for ceiling applications. To preserve the quality of your lighting over time, avoid excessive heat buildup and use fixtures with proper ventilation, as heat exposure is a leading factor that shortens the lifespan of LED components.
Choose the Right Box: New Work or Old Work
The choice between a new work box and an old work box depends primarily on wall access. For new construction where the studs are exposed, use a nail-on box that attaches directly to the framing. This creates a sturdy, rigid support ideal for mounting fixtures like sconces. In finished walls where access is limited, a clamp-style old work box is best. It secures to the drywall through a cutout, eliminating the need for stud access. These old work boxes include tabs for securing to drywall, which greatly simplifies retrofitting into existing structures.
Material selection also matters: plastic boxes are suitable for non-metallic cables, offering easier handling and corrosion resistance. Metal boxes are recommended for metal-sheathed wiring, providing better grounding and durability. Matching the box type to your wall’s accessibility and cable type ensures a safe, professional-looking installation.
Mark Studs and Cut Drywall for the Sconce Box
Mark the box location on the wall, then use a stud finder to identify both edges of the nearest studs and mark them clearly with painter’s tape. Make sure your planned fixture is within a stud bay that can support it, and use a non-contact voltage tester over the area to ensure no live wiring is present before making any cuts. Check for nearby electrical boxes to avoid accidental damage.
Next, trace the opening using the box or its template. Hold it flush against the wall and pencil around its outline. Double-check that the outline does not intersect with any stud marks to avoid cutting into framing. For drywall cutting, score along the line first to create a clear dividing mark. Then, use a jab saw or hole saw to gently cut through the drywall, keeping your hand steady and the cut controlled—avoid forcing the blade past the surface. Once the cutout is free, trim any rough edges sparingly, and test fit the box to ensure it fits snugly. To keep dust to a minimum, tape the surrounding walls with painter’s tape before cutting. If the wiring path requires a channel across the stud bay, cut a straight channel to run wire from the power source, which will later be hidden behind cabinetry to avoid patching the wall. A flickering issue after installation often points to a loose neutral connection at the switch or junction box.
Mount the Electrical Box for Your Wall Sconce
To mount the electrical box for your wall sconce, start by turning off the circuit breaker and confirming the wiring is de-energized using a non-contact voltage tester. Once confirmed, select the appropriate box for your wall. If you’re working with existing drywall, use an old-work electrical box with clamping tabs. For narrow spaces against a stud, a pancake box is suitable. Position the box level, then carefully trace its outline onto the wall. Cut the opening precisely to match that outline, ensuring the cut is tight so the box lip can grip securely. If framing is present behind the wall, a pancake box is necessary due to the obstruction. When selecting hardware, consider using a universal mounting bracket to simplify alignment with the fixture. For added safety, check that any connected smart device has a rated safety limit to prevent overheating.
Secure the box firmly in place. For old-work boxes, tighten the screws gradually to rotate the clamps against the drywall, holding the box securely. Proper grounding is essential—make sure the box has a green grounding screw for attaching the bare wire. If you’re working in a historic building, consider using a deep old-work box to accommodate plaster and lath without damaging the wall. The mounted box must be stable enough to support the weight of the wall sconce fixture. For troubleshooting connectivity issues later, ensure the box does not interfere with remote signal transmission from a ceiling fan, as Hampton Bay remotes rely on clear line-of-sight.
Run 14/2 Cable to the Sconce Box
Leave 8 to 10 inches of excess cable at each box to allow for proper slack management. This extra length ensures you can trim and strip the conductors without tension, reducing the risk of damage or poor connections. Use a staple to secure the cable within 6 inches of the box, then continue stapling every 4 feet along the framing. If you cannot meet the 1¼-inch setback, install a steel nail plate to protect the cable from potential damage. Proper slack and secure routing maintain a safe, code-compliant electrical run. Always verify that 14-2 gauge cable is used on a 15-amp circuit to prevent overheating. To prevent moisture intrusion, apply a weatherproof silicone sealant around the cable entry point at the exterior box. For optimal visibility, consider how recessed can lights complement your overall layout and ensure sufficient illumination.
Strip Wires and Connect Them With Wire Nuts
To safely strip and connect wires for a wall sconce, follow these steps. First, ensure the power is off by testing with a noncontact voltage tester. Use wire strippers to remove about ¾ inch of insulation from each wire, taking care not to nick the copper. Over-stripping can expose too much wire and increase shock risk, while under-stripping can make a weak connection. Always double-check that the circuit breaker is locked out to prevent accidental energizing. A clean DIY finish also requires using a dedicated wire stripper rather than a knife to avoid damaging the conductor.
Next, match the wire colors: connect black to black (hot), white to white (neutral), and bare copper to green or grounding screw. In older wiring, colors may differ, so visually confirm the connections. Twist a wire nut of appropriate size over each pair, making sure it covers all exposed copper. Secure each splice by gently tugging to ensure it doesn’t come loose. Use electrical tape to further protect each connection from moisture and movement.
Finally, neatly fold the connected wires into the junction box without pinching them. Keep every splice contained inside the box and avoid loose wires in the wall. Once everything is secured and the box is closed, restore power and verify your connections before installing the fixture.
Attach the Bracket and Level the Sconce Fixture
To level and attach the sconce fixture, start by removing the bracket from the fixture. Hold the bracket against the wall as a template and mark the screw-hole centers with a pencil. Drill pilot holes no deeper than two inches to prevent wiring damage. If you’re not hitting a stud, insert drywall anchors into the pilot holes for a secure hold, especially when using multiple screws.
Next, use a torpedo level placed across the bracket to ensure it’s perfectly square. Adjust the bracket until the level indicates it is level both horizontally and vertically. Tighten the screws firmly but avoid over-tightening, which could risk damaging the wall or the fixture. If the wall surface is uneven, as common in older homes, rely on precise measurements from the mantel rather than a level for accurate placement. To prevent common electrical issues, it is wise to verify the capacitor rating matches the new wiring specifications. Before proceeding further, always turn off the circuit breaker at the main panel to ensure safety during electrical work. For a more polished look, consider using a decorative backplate to hide any gaps between the fixture and the wall.
Then, slide the sconce body over the secured bracket. Align the fixture’s holes with the bracket mounting points. Secure the fixture by hand tightening the retaining screws with a screwdriver — this helps prevent scratching or damaging the surface. Once the fixture sits flush against the wall and is straight, your mounting is complete and ready for power.
Restore Power and Test Your New Wall Sconce
Restore power at the breaker only after the sconce is fully assembled and all wiring is tucked safely inside the junction box. Don’t rely solely on the wall switch—turning off the breaker ensures the circuit is completely isolated. Once you’ve confirmed the power is off, complete your installation, then return to the breaker and switch the power back on. Flip the wall switch to see if the sconce lights up immediately; if it does, your installation is successful.
If the sconce remains dark, check the bulb by replacing it with a known working one. If it still doesn’t light, revisit the breaker to test the circuit and verify it hasn’t tripped. Inspect the socket for signs of corrosion and make sure all wire nuts are tight and secure. A flickering light often indicates a loose connection or a poor socket contact. For a cleaner installation, consider tucking wiring neatly into the box as recommended for LED strips to avoid pinching or stress on the connections. When planning the layout, using a custom length of wire can help match the exact distance to the junction box, similar to how DIY strip light builders cut their strips to fit a specific space. After confirming the wiring is solid and everything is properly connected, the installation should be complete and the sconce ready to illuminate.