Got a recessed light that just doesn’t seem to fit quite right? Measuring for the perfect size can feel tricky, but knowing the right steps makes it straightforward.
By understanding how to measure the interior cavity of the housing, you’ll find the correct diameter to ensure a snug, secure fit.
Keep reading for simple tips to get your lighting just right.
How to Measure the Housing Diameter on an Existing Can Light
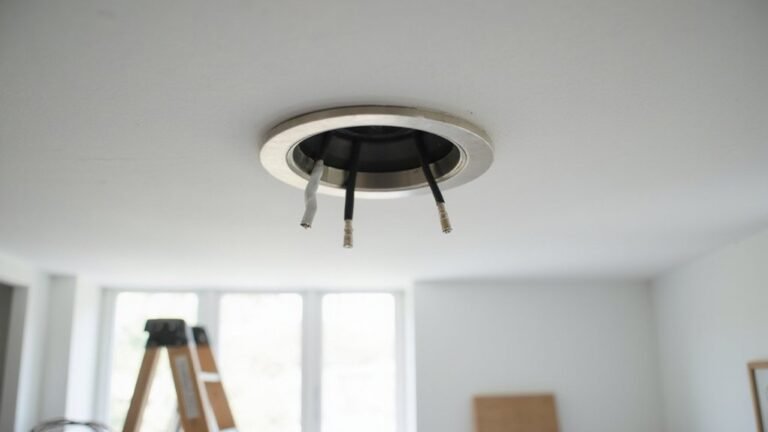
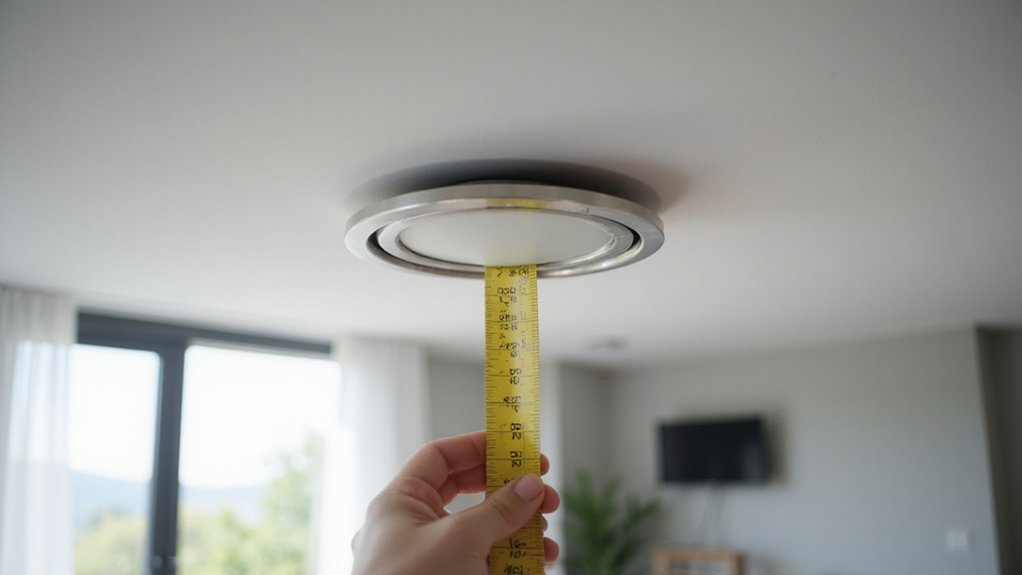
To measure the housing diameter of an existing can light, start by turning off the power and removing the trim and bulb or LED module to access the interior. Use a tape measure to find the widest point across the housing’s interior—do not measure the trim or drywall cut-out, as this can overstate the size. For a typical 6-inch can, the actual housing diameter is usually around 5¾ inches. Record this measurement and round it to the nearest common size, such as 3, 4, 5, or 6 inches, to ensure the retrofit kit fits snugly. While you’re inspecting the housing, also note the fixture’s finish and decide on your preferred lighting temperature, like warm or cool white, so the new fixture matches your room’s vibe. Also check the existing trim piece diameter to ensure coverage and concealment of ceiling imperfections. If you are replacing a ceiling fan, this same diameter measurement process applies when converting it to a light fixture. For a more portable or temporary setup, consider how battery-powered options offer flexibility without the need for hardwired connections. Determine the correct wire connector type needed for the electrical connections to ensure safety and a secure fit.
Match the Fixture Type: Can vs. Canless for Replacement Fit
If your ceiling has an existing metal can housing, you should choose a retrofit can fixture. This type connects to the standard E26 socket inside the can and allows you to swap bulbs easily later. For ceilings without a housing, a canless LED wafer is the right option. It installs directly into drywall with spring clips and requires only about 2 inches of cavity depth. Material matters: cans typically have metal housings, whereas canless units are usually made from thin plastic or metal. Both options come in various colors like white or black trims. Remember, you cannot fit a canless light into a can housing—match the fixture type to your ceiling’s current setup for a proper fit and optimal performance. When choosing trim styles, consider how string light spacing affects the overall brightness distribution, similar to how even coverage matters for tree decorations. Just as you adjust ceiling fan direction seasonally for air circulation, matching the fixture type to your ceiling ensures efficient lighting performance. For a more hands-on approach, you can even create your own LED strip light projects to customize accent lighting around these fixtures.
Measure the Ceiling Cut-Out for New Canless Lights
To measure for new canless lights, focus on the ceiling cut-out diameter rather than the trim edge. The trim flange can give an oversized, inaccurate measurement since the visible ring is larger than the opening you need. For canless fixtures, the hole size directly corresponds to the fixture body that clips into place, with no housing variations to consider. For a similar clean finish, ensure you follow safe wiring tips when connecting the new fixture to the existing circuit. Before cutting, always turn off the power at the breaker to prevent electrical shock. Recessed lights installed in insulation-contact rated housings are safe to abut directly against ceiling insulation.
Start by using the manufacturer’s paper template to trace the exact cut-out, which ensures accuracy. If a template isn’t available, measure straight across the part that enters the ceiling at its widest point. Common sizes include 3, 4, 5, or 6 inches. Always verify clearance above the drywall for joists, wiring, or ductwork before cutting. Keep at least 2 inches from any joist and plan your layout with consistent spacing for a clean, professional installation.
Why You Should Never Size a Light by the Trim
For canless lights, only the ceiling cut-out matters; the trim’s job is to cover the opening, not gauge it. Measuring the trim’s outside diameter can give a false dimension, which may result in gaps or an unseated fixture. Instead, rely on the cut-out size specified by the manufacturer or use their recommended template. This ensures a proper fit, avoids drywall damage, and provides a flush, seamless finish. Never base your sizing on the trim measurement alone—those numbers can mislead you and cause installation issues. For example, a 6-inch fixture actually requires a 6⅜-inch hole for installation, confirming that the cut-out size, not the trim, is the critical measurement for a precise fit. For outdoor applications, an improperly sized cut-out can also allow moisture ingress, so checking the fixture’s IP rating ensures weatherproof performance. If you are considering a DIY installation, be aware that labour costs for professional installation typically exceed the cost of parts, meaning significant savings are possible with accurate cuts.
How to Map Room Dimensions for Your Recessed Light Layout
To accurately map your room dimensions for recessed lighting, start by measuring the length and width of your space. Create a scaled sketch on grid paper using these measurements, marking fixed features such as furniture, counters, and artwork first. This helps you establish different lighting zones—for example, a perimeter zone for wall washes or a central grid over a seating area. Use your drawing to determine fixture placement around these zones rather than fitting fixtures first and then adjusting. Begin with your room’s focal point, such as a kitchen island or a fireplace, and build outward from there. Estimate the number of fixtures needed by dividing the room’s total area by the typical coverage for each light, such as 25 square feet per 4-inch fixture. Place your first fixtures about 2 to 3 feet from the walls to minimize shadows, and then evenly space the remaining fixtures across your mapped zones for consistent illumination. For larger rooms, consider that spacing numbers like 4 to 6 feet apart between fixtures often provide balanced light without dark spots. Before finalizing your layout, review recessed light housing removal steps to ensure the existing units can be safely replaced. For a clean DIY finish, also verify that all wiring connections are secure by following safe wiring tips similar to those used for smart plugs.
Use Ceiling Height to Guide Light Spacing
Ceiling height is your main guide for spacing recessed fixtures. The general rule is to divide ceiling height by two to determine fixture spacing. For example, with an 8-foot ceiling, fixtures should be spaced about 4 feet apart. With a 9-foot ceiling, spacing increases to approximately 4.5 feet. For a 10-foot ceiling, fixtures should be about 5 feet apart. This halved ceiling height ensures overlapping light cones, which maximizes overall brightness and minimizes dark spots. For a safe and professional installation, always use wire connectors that match the fixture’s voltage and wire gauge. For ceilings under 8 feet, consider using low profile recessed can lights to avoid encroaching on headroom while still providing adequate illumination.
However, you also need to consider fixture lumen output to match the ceiling height. For 8-foot ceilings, choose fixtures emitting 650 to 850 lumens. For 9-foot ceilings, fixtures should produce between 800 and 1000 lumens for even lighting. Higher ceilings like 10 to 12 feet require higher-output fixtures or slightly tighter spacing to keep the floor illuminated evenly. Avoid spacing fixtures more than 6 feet apart; exceeding this distance can create dark spots and uneven light distribution. For proper balance, check for ceiling fan blade wobble which can also affect light fixture performance. Always ensure that your fixture spacing aligns with the recommended maximum spacing for your ceiling height to achieve optimal illumination.
Set the Wall Offset for Even Recessed Light Spacing
Setting the wall offset at half your fixture-to-fixture wall spacing ensures balanced illumination and prevents dark walls. For example, with an 8-foot ceiling and 4-foot spacing, place the first row 2 feet from the wall. For a 10-foot ceiling with 5-foot spacing, the offset would be 2.5 feet. This measurement is crucial for maintaining even light distribution along the perimeter. For a similar adjustable approach, consider swing arm floor lamps for flexible positioning. You can also apply this principle by crafting a DIY floor lamp shade to control the direction of light in your space. When selecting your fixtures, prioritize plug-in wall sconces for easy installation without hardwiring.
Always tie your offset measurement back to your chosen wall spacing rather than relying on fixed numbers. Measure from the center of each fixture directly to the wall. For kitchen counters, a tighter offset of 18 to 24 inches from the wall works best. For wall washing, fixtures should be placed 1.5 to 2 feet from the wall at a 30 to 45-degree angle. When positioning corner fixtures, keep equal distance from both walls to ensure even coverage.
How to Read Model Numbers and Trim Labels for Size
To identify a recessed light’s size, check the model number and trim label. The model number, often printed inside the trim or housing, usually starts with a code like “R4” or “6IC.” The first number or letter in the code indicates the nominal size—4-inch, 6-inch, or similar. Trim labels typically specify the trim family and compatibility with bulb shapes but do not reflect the housing size. It is important to note that a 6-inch housing can often be paired with a 7-inch trim, so cross-referencing both labels helps confirm the actual diameter. Additionally, measuring the actual ceiling cut-out ensures the hole matches the fixture, as model numbers alone do not guarantee the size. Always verify both the model number and trim label alongside physical measurements to ensure proper fit and compatibility.
What to Do When Your Measurement Lands Between Standard Sizes
If your measurement lands between standard sizes—3-inch, 4-inch, 5-inch, or 6-inch—start by rounding to the nearest standard size for selecting a replacement fixture or trim. Always measure the cutout opening, not the visible trim edge, to avoid choosing an incorrect size. Opt for the larger size only if the opening can support it; an oversized gap can be filled with a goof ring, but holes more than one inch wider often require drywall repair. When in doubt, use a manufacturer template to ensure proper trim coverage and compatibility with your light bulb. Keep in mind that color temperature affects the ambiance but is a bulb choice, not a size fix. If the opening is too small, carefully enlarge it; if it’s too large and outside the trim’s adjustable range, patch and recut before proceeding.
Verify Your Fixture Fit Before Ordering
To ensure your fixture fits properly, measure the inside diameter of the housing in the ceiling opening. Remove the trim and bulb first; measuring the trim edge can give an inflated size and lead to a poor match. Standard housing sizes are typically 4-inch, 5-inch, or 6-inch.
Use the manufacturer’s template to match the cutout size. Always test fit the housing first, leaving about 1/8 inch of extra diameter for a secure fit. Avoid exceeding 1/4 inch larger than the template, as it can prevent the trim from covering the opening cleanly. Verify the fit before completing the wiring.
Check the trim separately to ensure it fully covers the ceiling cutout. Keep in mind that housings are not interchangeable across brands, so confirm compatibility. For proper fixture mounting, verify your ceiling type and insulation clearance. An IC-rated housing contacts insulation directly, while non-IC housings require at least 3 inches of clearance. Measure the housing depth and joist clearance to ensure the trim ring sits flush and secure.