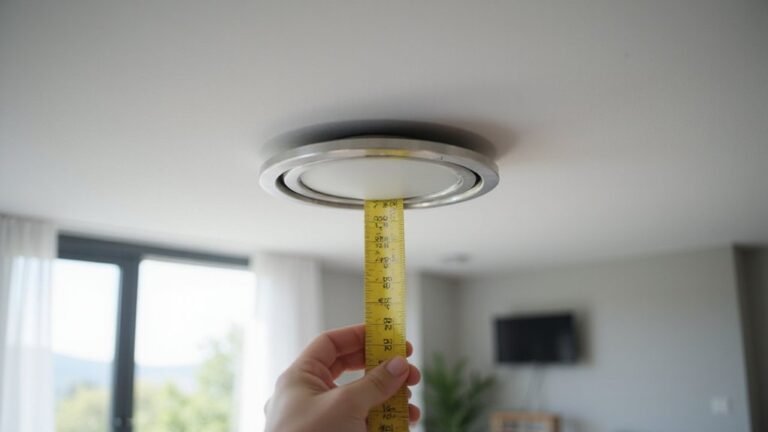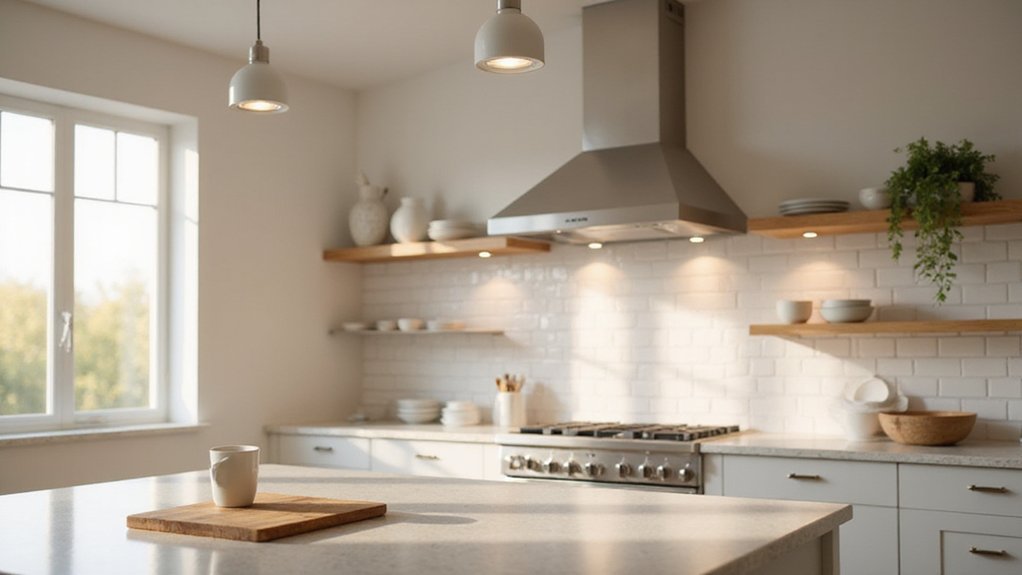
Struggling to figure out where to place recessed lights in your kitchen? It’s not just about spreading them evenly; proper placement can eliminate shadows and make your space feel more open.
Usually, lights are best installed a few feet from walls and cabinets. The spacing should be based on ceiling height and room size. Keep reading for a simple layout guide to achieve balanced, effective lighting in your kitchen.
Recessed Lighting Spacing: The Simple Rule Based on Ceiling Height
The simple rule for recessed lighting spacing is to divide the ceiling height by two. This calculation helps create even light distribution and eliminates dark spots. For an 8-foot ceiling, you should space fixtures about 4 feet apart. For a 10-foot ceiling, 5 feet is ideal, and for a 12-foot ceiling, 6 feet works well. This rule ensures that the light cones overlap sufficiently, enhancing overall illumination and accentuating decorative features like counters and islands. Proper spacing also contributes to energy efficiency—fewer fixtures are needed to achieve uniform brightness. If task lighting is your priority, especially in kitchens, tighten the spacing to 3 to 3.5 feet. To avoid shadows on work surfaces, also consider placing fixtures closer to cabinet edges than the standard rule suggests. Always start with your ceiling height and follow this baseline to achieve a balanced, functional layout. In contrast, for ceiling fans, adjusting the direction for each season improves air circulation and comfort. When planning your layout, consider the trim and housing type to ensure the fixture fits your ceiling’s insulation and depth requirements.
How Far Should Recessed Lights Be From Walls and Cabinets?
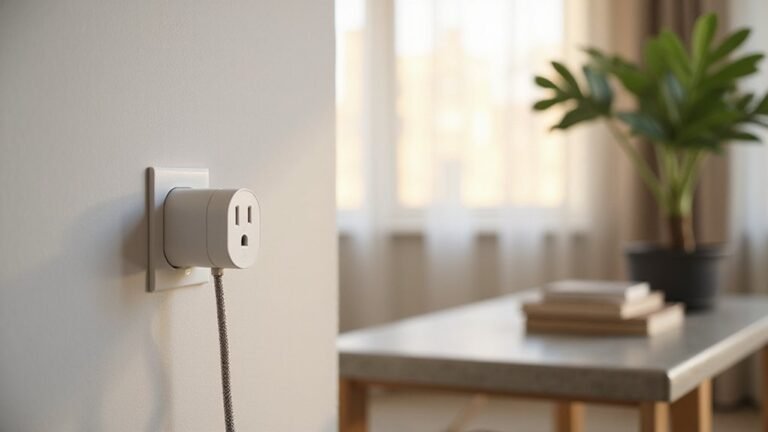
Recessed lights should be placed 12 to 18 inches from walls when used for countertop task lighting. This distance minimizes shadows on your work surface and ensures light stays focused on the counter rather than the cabinet face. For illuminating cabinet fronts, position lights 12 to 24 inches away, providing soft, glare-free illumination. When setting lights to wash your backsplash wall, 18 to 24 inches from the surface is ideal for even coverage. This placement prevents wasted light on cabinet tops and enhances energy efficiency. For decorative fixtures, align their beams with your main prep area rather than focusing directly on upper cabinets, creating balanced, accent illumination. You can achieve a similar sparkling effect on your fixture by adding crystal accents to direct light in beautiful patterns. Positioning lights too close to cabinets (less than 24 inches) creates harsh shadows, so maintaining a distance of about 24 inches in front of cabinets ensures shadow-free task illumination. Using safe wiring tips from a trusted guide can help you install these recessed lights with a clean, professional finish. For additional energy savings, consider using smart plugs to automate your recessed lights and reduce unnecessary usage.
Recessed Lighting Count: How Many Fixtures Does Your Kitchen Need?
The number of recessed fixtures you need for your kitchen depends on its size and lighting needs, but a general guideline is 1 fixture per 4 to 6 square feet of ceiling space. For small kitchens under 100 square feet, aim for about 4 to 6 fixtures. Medium-sized kitchens around 100 to 160 square feet typically require 6 to 10 lights. Larger kitchens over 160 square feet often need 10 to 14 fixtures. Keep in mind that higher ceiling heights will increase the number of fixtures needed to maintain even illumination. Additionally, choosing warmer tones for your lighting may require more fixtures to achieve the brightness you desire. Remember to account for task zones like counters and islands, which need their own dedicated lighting separate from your general ambient fixtures. Proper planning for these factors ensures you avoid dark spots and achieve well-distributed lighting throughout your kitchen.
Two-Row vs. Perimeter Layout: Which Recessed Lighting Pattern Works Best?
Choosing between a two-row and perimeter layout depends on your room’s shape and your lighting priorities. For larger, broad kitchens, a two-row pattern works best by creating overlapping beams that fill the center with consistent light. This approach minimizes dark spots and ensures an even glow across the space. To prevent a sterile or overly bright look, opt for fixtures with warm color temperatures, which add a cozy ambiance. For a two-row layout, divide the wall length by double the number of lights in a row to calculate the exact distance from the wall to each light center. For homeowners who also need ambient reading light nearby, consider how a floor lamp with a table can complement overall room illumination. You can also integrate best wall sconce candle holders to add decorative accent lighting that enhances the kitchen’s warmth. Additionally, BR30 bulbs are typically better for these layouts due to their narrower beam angle, which concentrates light on specific areas without excessive spill.
On the other hand, a perimeter layout positions lights about 18 to 24 inches from the cabinets. This pattern directs light onto the countertops and work areas, reducing glare and improving task visibility. It also creates a softer, more inviting atmosphere, especially when combined with under-cabinet lighting. Fixture finishes in this setup can be less noticeable, blending seamlessly into the ceiling. For both layouts, incorporating a dimmer switch allows you to adjust brightness according to your needs, enhancing flexibility and comfort.
Recessed Lighting Spacing for Islands: How Far Apart to Place Lights
Recessed lights should be spaced 24 to 30 inches apart in a centered line over the kitchen island. For a standard 4-foot island, two fixtures generally suffice. If your island is longer than 6 feet, consider installing three lights to ensure even illumination. Always measure ceiling height first: for an 8-foot ceiling, spacing the lights about 4 feet apart works well; for a 9-foot ceiling, increase this distance to around 4.5 feet. Position the lights directly over the work surface, not the room’s center, to avoid dark spots. Even spacing creates balanced light distribution, so divide the island into equal segments to determine ideal placement. For these fixtures, use a low voltage splice to connect the lighting wire securely. Remember that compatible smart bulbs often rely on Wi-Fi or Bluetooth to receive voice commands, so verify your home network covers the kitchen before installation.
Lighting the Sink, Stove, and Prep Counter With Recessed Fixtures
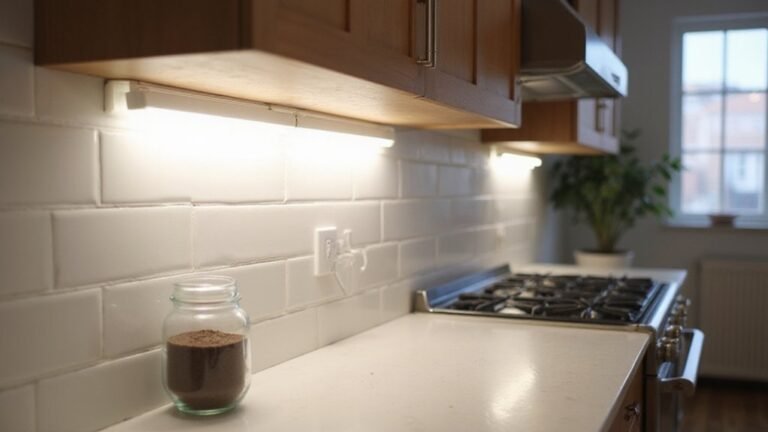
To effectively light the sink, stove, and prep area, place dedicated recessed fixtures directly above the sink and stove. Then, space additional fixtures 12 to 18 inches from the wall for the prep counter. This spacing prevents body shadows and ensures the light hits the countertop rather than cabinet fronts. Center the fixture over the sink basin to minimize shadows during dishwashing. Over the stove, align the light directly above the cooking surface so pans and controls stay well illuminated. Avoid placing fixtures too far back or behind the zone, as this creates shadows on your work surface. Incorporate under-cabinet lighting for extra task illumination, but do not rely solely on it. Consider ceiling height when choosing fixture beam spreads; lower ceilings may need wider beams to cover each zone evenly without harsh shadows. Before final wiring, test fixture positions to verify the beam spread and light coverage are accurate. Walk through with your electrician during framing to refine placement and avoid dead spots in path lighting zones. For a clean and unobtrusive look, low profile recessed lights are an excellent choice for kitchens with limited ceiling clearance. Additionally, a consistent trim style across all fixtures ensures a unified aesthetic throughout the kitchen. For outdoor areas requiring similar motion-activated coverage, a flood light with motion detector provides an equally effective solution for eliminating shadows and dark zones.
When to Use 4-Inch vs. 6-Inch Recessed Lights in a Kitchen
Use 4-inch recessed lights for focused task zones, especially when your ceiling height is 8 feet. Their narrower beam creates precise illumination perfect for undercabinet lighting, making tasks like chopping or reading recipes easier. Additionally, their discreet, modern appearance makes them ideal for highlighting decorative accents in smaller kitchens where subtlety matters. They support a tighter grid pattern, allowing you to place lights close together for focused coverage without overwhelming the space. If you are without a remote or chain, you can access a ceiling fan wall switch to control power independently. Choosing 4-inch fixtures can also reduce overall installation costs compared to larger units, since the lower wattage and simpler housing often trim both parts and labor expenses. For a complete project, a full build walkthrough can guide you through wiring and mounting these lights yourself.
Opt for 6-inch recessed lights in larger kitchens or areas with ceilings higher than 8 feet. Their wider beam spreads more light over a broader area, reducing the number of fixtures needed for general illumination. This makes them particularly suited to spaces 9 feet or taller, where spreading light evenly is more challenging with smaller fixtures. You can layer 6-inch lights for ambient lighting and add 4-inch fixtures for specific task zones, creating a balanced and functional lighting scheme.
How to Avoid Shadows, Glare, and Scallops With Recessed Lighting
To avoid shadows, glare, and scallops with recessed lighting, proper fixture placement and selection are crucial. Position downlights slightly in front of the counter edge, not behind you, to prevent your body from blocking the light beam. Space fixtures about half the ceiling height—roughly 4 feet apart on an 8-foot ceiling—and use multiple smaller fixtures to distribute light evenly. Keep the first row 24 to 30 inches away from walls to prevent scalloping shadows; if closer placement is necessary, consider wall-wash trims to achieve a uniform look. Choosing spec-grade fixtures with controlled, narrow beams enhances this precision, as they provide optical chambers that manage light spread effectively to reduce glare and hotspots. For a cleaner finish that complements recessed lighting, consider hardwiring under cabinet lights with a dedicated switch to eliminate plug clutter and ensure seamless control, and you can also connect a smart plug to a nearby outlet for automated voice control with Alexa. For tasks requiring adjustable light direction, consider a floor lamp with LED lights as a supplementary flexible light source to eliminate stubborn shadows.
To reduce glare, opt for deep-regressed or gimbaled trims so the lamp itself is never directly visible. Adjust the angle of the fixtures and counter surfaces, especially shiny ones, to avoid reflections that can cause discomfort or visual distraction. Match color temperature across all fixtures to maintain consistent illumination and avoid harsh contrasts that lead to glare. For non-task areas, such as accent or ambient zones, use dedicated fixtures to prevent overlighting and shadows, ensuring a cohesive, glare-free environment.
Dimmer Switches and Layered Lighting: Completing Your Kitchen Plan
Pairing recessed cans with dimmer switches and layered lighting controls gives you maximum flexibility in your kitchen. To start, match your dimmer switches to your bulb types—LED dimmers work best with mixed loads and prevent flickering. Installing 3-way switches at key points like kitchen entries and a local control near the island allows for quick adjustments during prep and cooking. For layered control, split your recessed lights onto separate switches: one for ambient ceiling wash and another for task zones. This setup enables you to dim the main lighting for different activities, from cooking to evening relaxation. Adding under-cabinet or accent fixtures further enhances the scene, providing focused light where needed. Using dimmers and layered switches not only improves functionality but also reduces energy use when lighting is lowered. Smart dimmers can also be programmed for scene-based automation, turning your lighting into a flexible system that adapts to your needs.
Recessed Lighting Spacing Checklist: Quick Reference for Your Layout
To ensure your recessed lights provide even, shadow-free illumination, follow this spacing checklist before finalizing your kitchen layout. For an 8-foot ceiling, space your fixtures approximately 4 feet apart; for a 10-foot ceiling, increase the spacing to about 5 feet. Keep the wall offset between 2 and 3 feet to avoid scalloping effects along the wall edges. Maintain cabinet clearance between 14 and 18 inches so the lights do not cast unwanted shadows on your workspace.
For task zones like countertops, tighten the spacing to 3 to 4 feet to provide adequate lighting directly where you need it most. Begin your electrical fixture planning at your primary work area and expand outward to ensure proper coverage. Measure your room dimensions carefully and center your lights symmetrically for a balanced look. Always double-check with manufacturer guidelines for spacing criteria, especially before cutting into your ceiling to avoid adjustments later.