Ever wonder how to make a room feel taller or highlight its best features? Uplights are a simple way to achieve that soft, indirect glow by aiming beams upward to bounce light off walls and ceilings.
Proper placement is key to avoiding dark spots and creating a balanced, inviting space. Keep reading to discover how to master this lighting trick.
What Is an Uplight? Definition and Basic Function
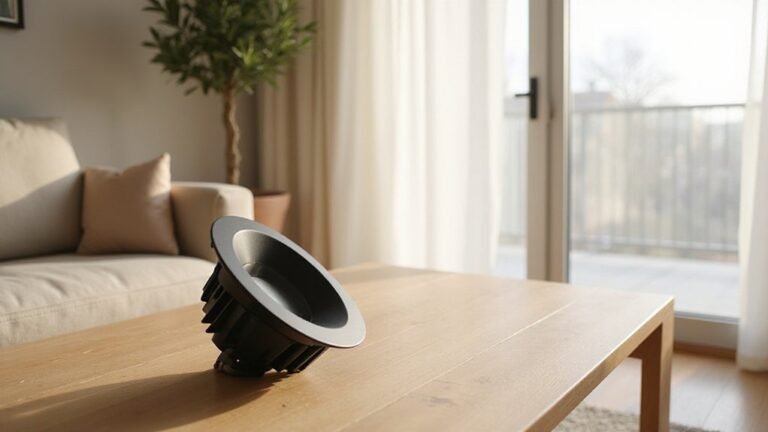
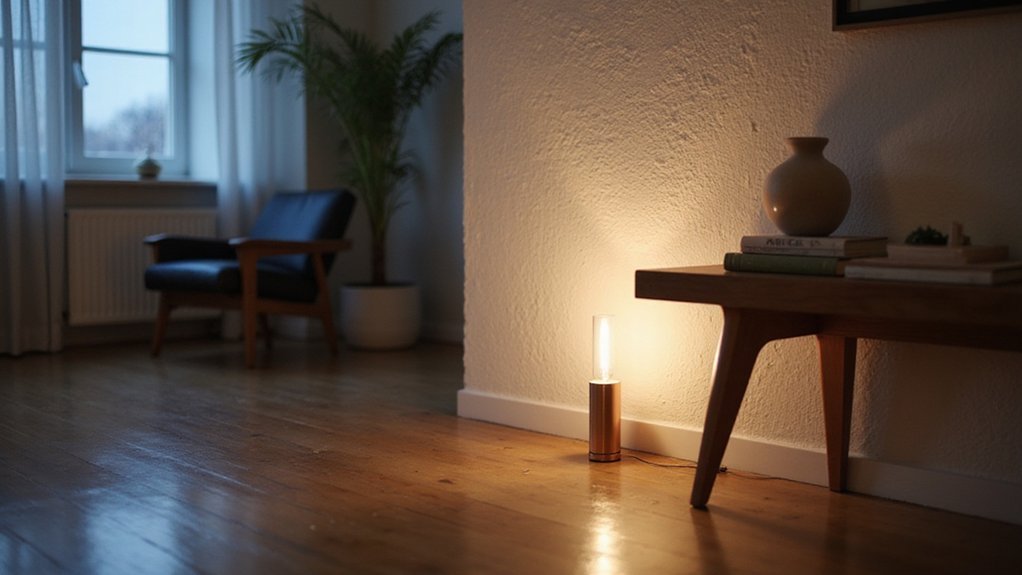
An uplight is a fixture that directs its beam upward to create a softer, ambient glow by reflecting light off surfaces such as ceilings, walls, or trees. Its purpose is to send light upward rather than downward, reducing harsh shadows and making a room appear taller. Uplights are energy-efficient because they illuminate large surfaces with fewer fixtures, often requiring lower wattage. Many models also offer beam adjustment, allowing you to control the width and height of the light cone. You can aim a narrow beam at a specific feature like a column or spread a wide beam across an entire ceiling, instantly changing the room’s perception. If you are using LED strip lights as uplights, it is important to know that cutting them safely requires following specific guidelines to avoid damaging the circuit. For rooms with tall ceilings, proper fixture spacing ensures the upward beam covers the surface evenly without leaving dark patches. If any uplight fixture begins to flicker, it is often caused by incompatible dimmer switches or faulty drivers rather than a need for replacement.
5 Top Uses for Uplights in Your Home and Events
Uplights are incredibly versatile, offering numerous benefits for your home and events. They can set the mood quickly by creating warm, inviting atmospheres with soft tones or energizing spaces with bold, lively colors. Careful color coordination allows you to match your lighting with your event’s theme, resulting in a polished, cohesive look. Uplights also bring out architectural features such as columns or textured walls, adding visual depth that enhances the overall ambiance. They help define pathways and create distinct zones within a space, guiding guests naturally and avoiding harsh overhead glare. Additionally, uplights can improve photo and video quality by providing flattering background illumination, making every shot more striking. For consistent performance, regular troubleshooting ensures your uplighting remains responsive to your controls. Just as you adjust ceiling fan direction seasonally for optimal airflow, the careful placement of uplights can change the perceived temperature of a room. When installing uplights near ceiling fixtures, always turn off power at the breaker to prevent electrical shock.
Best Placement for Uplights in Any Room
Place uplights near architectural features such as columns, textured walls, and doorways to create depth and dimension. Position fixtures at the base of walls, keeping them 6 to 12 inches away from the surface to achieve wall grazing effects. For a wider, more even wash of light, space uplights 4 to 6 feet apart to prevent hot spots. Avoid placing uplights behind large furniture like sofas, which can block the beam and reduce effectiveness. Use warm bulbs in the 2700 to 3000 Kelvin range to produce a soft, natural ambient glow. To improve energy efficiency and minimize cord clutter, match uplight placement with outlet locations. For balanced lighting, set fixtures between windows or beside doorways, and fill in dark corners to connect different zones within the room. In larger spaces, use multiple fixtures to maintain even brightness and prevent any area from feeling overlooked. Keep beams directed away from seating areas to reduce glare, and adjust the spacing of the uplights based on ceiling height for optimal results. For a polished installation, ensure all wiring connections are secured with twist-on wire connectors to maintain a clean and safe finish. Additionally, always strip the appropriate wire length and match the connector size to the wire gauge for a reliable electrical connection. For a seamless look, consider mounting the fixtures beneath cabinetry or shelf overhangs to hide the hardware while casting light upward.
How Uplighting Transforms Walls and Ceilings
Once your uplights are positioned for even coverage, the transformation of your walls and ceilings becomes immediately apparent. These surfaces act as expansive reflectors, dispersing a gentle, diffused glow rather than harsh direct light. This indirect illumination enhances the room’s color saturation, making paint colors and decor appear richer and more vibrant without causing glare. For a secure installation, it is important to follow safe wiring tips to prevent electrical hazards. Always turn off the power at the breaker before beginning any electrical work to ensure your safety.
The upward lighting also alters space perception significantly. It tricks your eyes into feeling taller ceilings and a greater sense of volume, which is especially helpful in rooms with low ceilings. Shadows soften and reduce the feeling of confinement, creating a more open and inviting atmosphere. Additionally, the ambient light adds warmth, making the entire space feel cozier and more welcoming. For broader coverage, an uplight using flood lights is typically more effective than a spot light at washing large wall and ceiling surfaces evenly.
Highlight Architectural Features and Textures With Uplights
Uplighting is particularly effective for highlighting architectural features and textures on your home’s exterior. By positioning ground-level fixtures to aim upward, you can emphasize columns, pillars, and support beams, which enhances their symmetry and adds a sense of grandeur. Grazing techniques with close-placement fixtures create sharp shadows on textured surfaces like brick or stone, revealing surface relief and adding depth. This technique also clarifies the edges of dormers, gables, and other protrusions, making their contours more distinct. Low-angle spotlights directed at entryways focus attention where you want it most, while hiding fixtures at the base of features helps keep the viewer’s eye on the architecture rather than the light source. For a balanced look, follow spacing and placement rules similar to those used in recessed lighting to avoid overlighting any single area. The interplay of shadows and highlights produces a bold, dramatic ambiance that makes your home’s exterior appear polished and visually captivating after dark. When selecting bulbs for these fixtures, consider comparing beam spread to match the specific architectural detail being highlighted. For a complete walkthrough of building your own fixtures, see the DIY Garden Lights guide.
Best Outdoor Spots for Uplights in Your Landscape
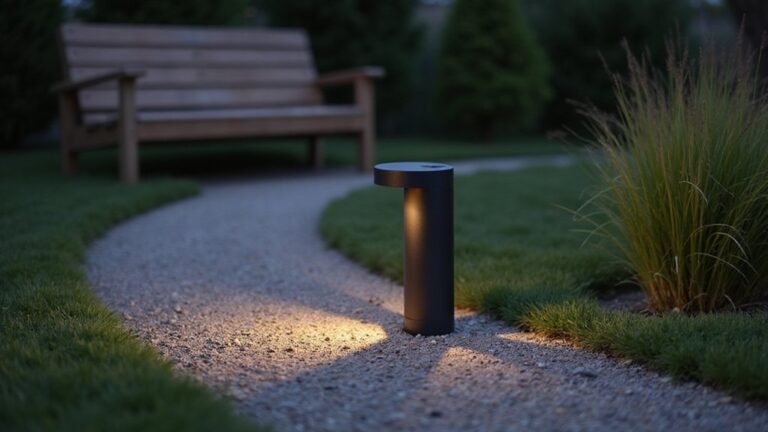
Use uplights in garden beds to highlight shrubs and layered plantings. Hide fixtures among low plants to maintain a clean daytime appearance while adding depth through varied heights. Position lights close to blooms for a flower accent, which will reveal the flowers’ color and texture after dark. When planning your lighting layout, ensure you do not exceed the total wattage allowed on a standard 15 amp circuit for safety. For a durable and stylish option, consider choosing from the best lighted decks reviewed in our guide. Consider how the wood finish of the chandelier complements the natural textures of your outdoor space for a cohesive look.
Additionally, illuminate pathways and entry edges by placing lights 6 to 8 feet apart and angling them to prevent glare. This creates a guiding line from the street to your door. For sculptures and water features, set fixtures at ground level to emphasize shapes and contours, especially when placing lights at angles that enhance their form and produce striking reflections at night.
7 Common Uplight Placement Mistakes to Avoid
Poor fixture spacing is a common mistake that can undermine your landscape lighting. If lights are placed too close together, they can create cluttered or uneven illumination, making the space look chaotic rather than cohesive. Conversely, spacing fixtures too far apart can result in dark spots or areas that aren’t adequately highlighted. Aim for consistent spacing that depends on the size and purpose of each fixture, typically around 4 to 8 feet apart. Adjust spacing based on the specific features you want to emphasize. Overly tight or overly spaced arrangements can flatten textures or create inconsistent lighting effects, so test your layout early in the process to fine-tune distances. Remember, a well-balanced fixture placement enhances depth and visual interest, especially at night. Just as with a noisy ceiling fan, where loose screws can cause rattling that requires tightening, an uplight with a loose mounting can wobble and ruin the beam’s focus. For instance, ensuring the mounting bracket is securely fastened is a critical step similar to checking the support ring when replacing a recessed ceiling light.
How to Choose the Right Uplight Fixture for Your Space
To choose the right uplight fixture size, start by calculating the dimensions of your room. Add the length and width in feet, then convert that sum to inches. For example, a 12 by 15-foot space totals 27 feet, which equals 324 inches, providing a baseline for fixture size. Select fixtures that are proportionate to this measurement to ensure balanced illumination without overwhelming the space. Avoid oversized fixtures that might block circulation, furniture, or doors, which can disrupt functionality and comfort. Match the fixture type to the room’s size and function to ensure it fits the space’s physical and aesthetic requirements. Proper sizing enhances the room’s aesthetic and ensures effective, even lighting.
Combine Uplights With Other Lighting for a Layered Look
To create a layered lighting look with uplights combined with other fixtures, start by maintaining consistent color coordination. Choose warm tones that complement each other across all lighting elements to ensure a cohesive appearance. Position uplights near focal points such as accent walls or reading nooks to draw attention and add visual interest. Incorporate a dimmer switch to fine-tune the brightness and adapt the scene to any occasion, whether you want a cozy glow or vibrant illumination. This layering approach allows your lighting scheme to remain polished and balanced, giving your space flexibility without sacrificing style.