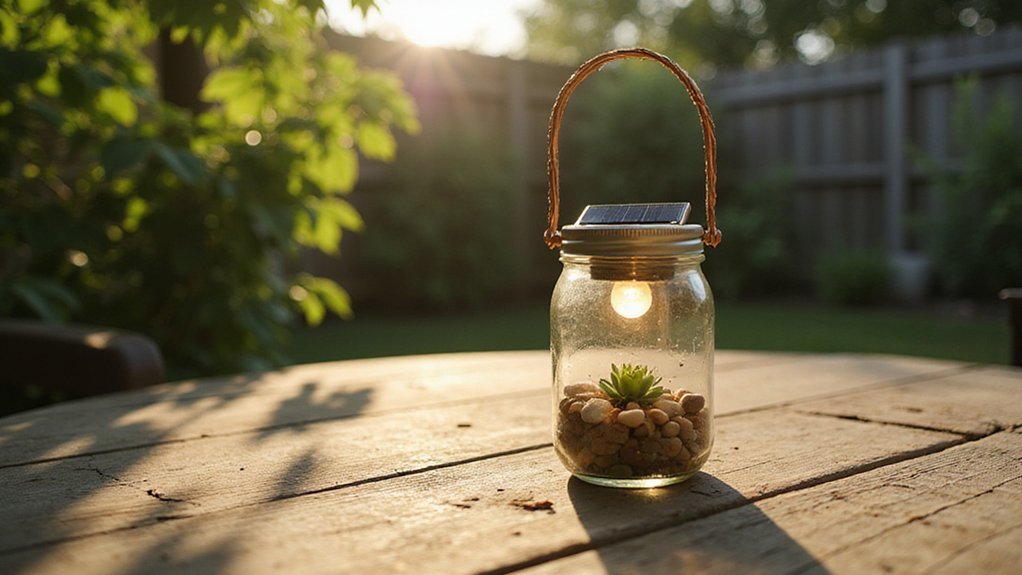
Interested in lighting up your garden without running wires or increasing energy costs? Building your own solar-powered garden lights can be simple and rewarding. With the right components and a little know-how, you can create a reliable setup that shines all night long.
Keep reading to learn how to assemble your own DIY solar garden lights step by step.
Why Build Your Own Solar Garden Lights Instead of Buying Them?
Building your own solar garden lights may require some initial time and effort, but the benefits make it worthwhile. You have complete control over materials sourcing, allowing you to choose higher-quality components that store energy more efficiently than generic retail options. This results in brighter, longer-lasting lights. Additionally, you can customize the design to match your garden’s aesthetic, ensuring your lighting complements your landscape perfectly. When reusing LED strip components for custom lighting, knowing the safety limits for cutting and soldering prevents damage to the circuit. A similar principle applies when wiring a ceiling fan, where understanding correct wire connections prevents electrical hazards. Installation is straightforward—no electrician or wiring needed—since you simply stake the lights where sunlight hits best. You also enjoy reduced ongoing costs, potentially saving you about $50 to $150 annually on utility bills since your setup relies entirely on renewable solar energy. Beyond savings, building your own lights allows you to create a unique visual display, enjoy eco-friendly operation, improve safety by illuminating paths and deterring intruders, and have the flexibility to reposition lights whenever you want without costly modifications. For instance, choosing the right direction for ceiling fan blades can improve indoor air circulation and energy efficiency, but for outdoor solar lights, positioning panels to face direct sunlight is key to maximizing performance.
How to Choose the Right Solar Panel and Battery Combo?
To choose the right solar panel and battery combo, start by ensuring the panel’s voltage matches your battery system, typically 6 V or 12 V. For small projects like garden lights, select a panel with a wattage rating higher than your minimal load needs. This extra capacity helps compensate for cloudy weather and shorter winter days, ensuring your batteries stay charged. Also, pay attention to the panel’s current output—an undersized panel may not provide enough charge, leading to undercharged batteries and inconsistent operation. Modern systems can be monitored via Bluetooth and Wi-Fi to track real-time input and battery status, helping you verify that your panel and battery sizing work together effectively. For indoor lighting conversions, a can light to pendant converter offers a similar safety and capacity balancing approach. When selecting a fixture for indoor use, you might also consider the aesthetic appeal of wall sconce candle holders to complement your lighting setup.
Battery chemistry greatly influences performance. NiMH batteries are inexpensive and handle frequent shallow cycles well, making them ideal for low-power, intermittent use. Li-ion or LiFePO4 batteries offer longer lifespan and higher energy density but require matching charging circuits compatible with their chemistry. Consider your nightly runtime requirements and account for several low-sun days by sizing the battery capacity accordingly. Balancing your panel output and battery capacity is essential to maintain reliable, steady energy supply without overspending on oversized components.
What Parts You’ll Need for a Basic DIY Solar Light
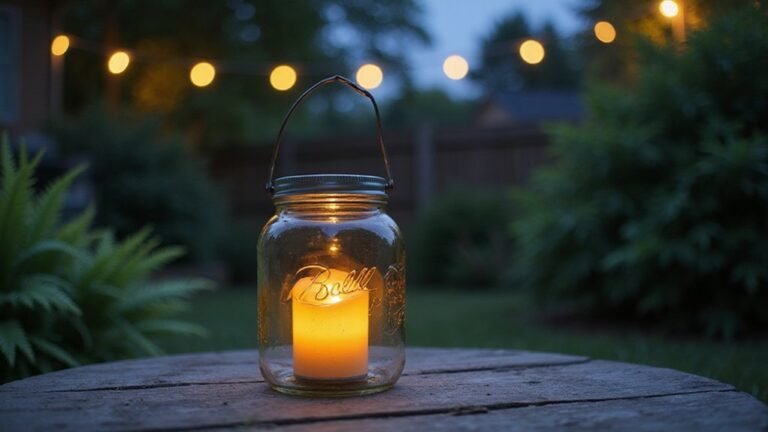
You’ll need a battery holder, a current-limiting resistor for the LED, and a TP4056 charge module or a simple solar charge controller. Hookup wire is essential for connecting components, and a soldering iron helps ensure solid, reliable joints. For protection against weather, seal everything inside a weatherproof enclosure like a glass jar, then apply silicone caulk to keep moisture out. Including a toggle switch allows manual control over the light, while a photocell automates it to turn on at dusk and off at dawn. These parts form the minimal essentials for assembling a reliable, functional DIY solar light. Before wiring, always shut off the power at the circuit breaker to prevent electrical shock. For proper spacing, consider that recessed can lighting typically requires 4 to 6 feet between fixtures for even illumination. You can also customize the appearance by painting the jar or adding decorative finishing ideas like stained glass effects from the complete guide.
Step-by-Step Wiring for DIY Solar Garden Lights
Before wiring your solar garden lights, plan the circuit layout carefully. Map out fixture positions to minimize wire length and avoid mid-install adjustments. Use temporary stakes to outline the run, ensuring each panel is placed where it will receive adequate sunlight. Keep polarity correct when connecting positive and negative leads to prevent damage. Make sure to route wires cleanly and with enough slack to prevent strain at splice points. Connect the solar panel to the controller’s input, the battery to its designated terminals, and load wires to the output—keeping switches turned off during assembly. For systems with multiple fixtures, run low-voltage cable in parallel so each light receives independent power. To ensure a clean look, consider securing the wires similar to techniques used in indoor LED strip installations. This approach enhances light distribution by avoiding shadows or uneven brightness across the garden. Before burying wires, perform connection testing by covering the solar panel to see if the lights turn on at dusk. Verify that every LED illuminates properly and that lights turn off again when the panel is shaded or sunlight returns. Adjust panel angles if the brightness is weaker than expected to optimize performance. As with indoor fixtures, always turn off the power source before making any final connections to prevent electrical shorts.
How to Keep Your Solar Lights Dry (Without Ugly Boxes)
To keep your solar lights dry without ugly boxes, ensure all removable parts are thoroughly cleaned before storage. Use a soft cloth and mild soap to wipe away dirt and moisture, then dry each piece completely. For storage organization, cushion the lights with bubble wrap or soft fabric inside a clean, dry container. Avoid stacking them to prevent pressure damage to the panels. Adding desiccant packets helps control humidity and protect batteries from moisture. Store the lights at room temperature in a well-ventilated closet or shed, and steer clear of dark, sealed containers, since your batteries need a little light each day to keep their charge. For enhanced nighttime glow, adjust your light stand’s position by nailing a fence picket at the bottom for support. If your lights use rechargeable batteries, note that they rely on a simple circuit to manage charging and discharging, similar to how Alexa bulbs integrate circuitry for smart control. For longer battery health, avoid exposing the panels to intense, direct heat which can degrade the circuit components and shorten the overall lifespan. To ensure safe electrical connections, always check that the wiring follows a proper grounding process to prevent shorts.
How to Place and Install Your Solar Lights for Best Results?
Place your solar lights where they will receive at least 6 to 8 hours of direct sunlight daily. Open, unobstructed areas are ideal—avoid places under trees or eaves that can block sunlight. In the Northern Hemisphere, face solar panels south to maximize year-round charging. If facing south isn’t possible, select the sunniest exposure available that isn’t shaded by buildings or foliage. Be aware that even partial shade during peak sunlight hours can reduce efficiency by up to 90%. Regularly trim nearby vegetation to prevent new shadows from forming. When installing pathway lights, space them 6 to 8 feet apart to maintain consistent illumination and keep them 1 to 2 feet off the pathway edge for clear visibility. Prioritize lighting key points such as curves, steps, and transition areas to enhance safety. Before finalizing placement, test each location during a full day to ensure the nighttime brightness meets your expectations. For permanent wiring, always run low-voltage cable in conduit or bury it at a safe depth to prevent damage and shocks. Before beginning installation, prepare the ground by removing any obstructions to ensure a clear and level surface.
5 Wiring Polarity Mistakes That Ruin Solar Lights (And How to Fix Them)
Reversing the battery polarity is the most common wiring mistake that can instantly damage your solar lights. When installing or replacing the battery, it’s easy to connect positive to negative and vice versa. This mistake fries controllers, batteries, or LED heads immediately, rendering the light useless. Always verify the correct polarity with a multimeter before connecting the battery. A quick check helps prevent permanent damage. Incorrect wiring at the MC4 panel connection can also harm electronics, so double-check these connections as well. Reversed load terminal polarity may stop the light from working and can burn out your controller, so ensure positive and negative wires are correctly matched. Using an incorrect cable type, such as an AC cable instead of a PV cable, introduces safety hazards in DC solar systems. Loose connections in series or parallel wiring can mimic polarity faults, causing flickering or intermittent operation. Corroded contacts disrupt proper polarity transfer; clean them with an eraser and apply dielectric grease to protect against future corrosion. For consistent, reliable operation, label your wires clearly, match positive to positive, and recheck every connection during assembly or maintenance. These simple yet crucial steps help keep your solar lights functioning at their best. Planning your layout with a stable base or tripod mount can reduce wire strain and prevent accidental disconnections at the terminals. To prevent shorts, you must identify the correct cutting point on any LED strip before modifying it. Choosing the right small wire connectors for your solar light terminals ensures a secure and durable electrical bond that resists loosening over time.
Simple Upgrades That Make Your Lights Last All Night
Relocating your solar panels to full sun exposure can significantly extend their lighting hours. Shade can cut your lights’ runtime by more than half, so positioning panels where they receive direct sunlight for most of the day is crucial. Regularly cleaning dust, pollen, and debris off the panels with a damp cloth every couple of weeks will also improve charging efficiency. Dust buildup can reduce energy absorption by up to 30%, causing your lights to fade prematurely. Keeping panels clean ensures they collect the maximum amount of sunlight, prolonging their brightness into the night. Swapping the original 470 µH inductor for a lower value can adjust current draw to balance brightness and battery life.