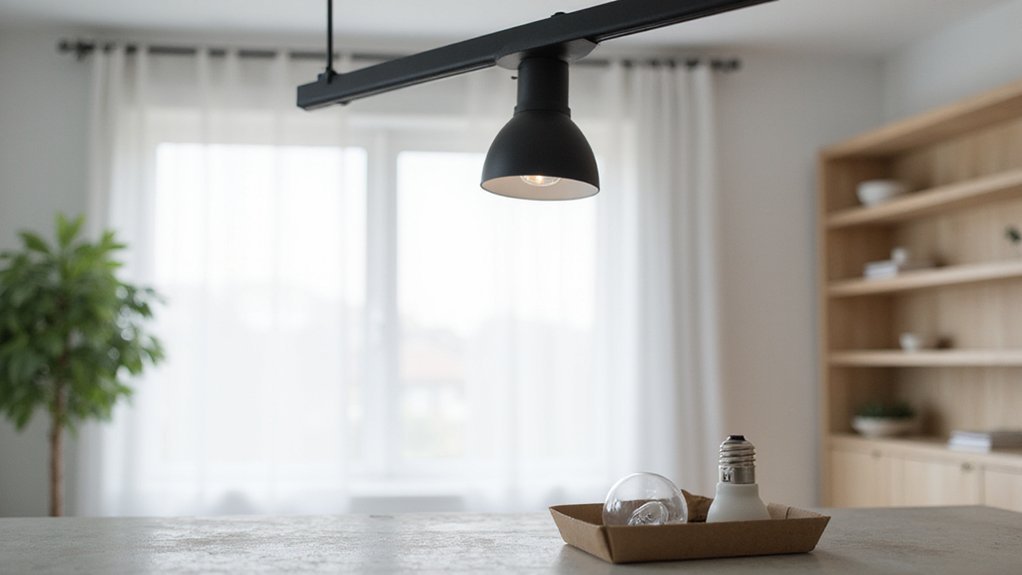
If your track lighting bulb has gone out, you might wonder how to replace it quickly and safely.
The process depends on the bulb type—some twist out, while others pull straight free—and knowing the right steps can save you time and frustration.
Once you understand the basics, changing the bulb becomes a straightforward task.
Keep reading to see exactly how to do it right.
Turn Off Power and Identify Your Track Light Bulb Type First
Turn off power and identify your track light bulb type first. Start by removing the bulb from your fixture while the power remains off to prevent electrical hazards. Examine the bulb’s base and shape carefully—common types include GU10, GU24, and plug-in styles. Check for markings or labels on the bulb itself, as these often specify the exact type and wattage. Track lighting systems also offer adjustable, customizable lighting solutions for various home spaces, ensuring your replacement bulb works with the fixture’s flexible design. Understanding the airflow patterns of your home can help you position track lighting more effectively, but the bulb type remains the priority.
It’s crucial to confirm the bulb’s socket compatibility. For example, GU10 bulbs have a twist-and-lock base, while GU24 features a pin-insertion design. Record the wattage, voltage, and any other electrical specifications printed on the bulb or fixture. This precise information ensures you select a replacement that fits securely and functions safely. Remember that seasonal fan direction principles don’t apply to track lighting, but they highlight the importance of checking directional airflow in any fixture you adjust.
Always refer to your fixture’s documentation or manufacturer’s guidelines if available. Matching the bulb’s type, socket, and electrical requirements guarantees optimal performance and safety. Never force a bulb into a socket if it appears incompatible—double-check details before proceeding with your replacement.
How to Remove the Old Bulb Without Breaking It (GU10 vs. Plug-In)
To remove a GU10 bulb without breaking it, start by gently pushing it inward slightly to disengage the twist-lock mechanism. Then, turn it counterclockwise about a quarter turn to release the pins. Applying a small suction cup or painter’s tape around the bulb can improve grip, especially in recessed fixtures. Always wear gloves to avoid skin oils, which can damage halogen bulbs. Never force or pull straight out, as this risks cracking the bulb or damaging the socket. If the bulb is stuck, apply even pressure and gently wiggle it back and forth. Avoid using excessive force. When removing a plug-in bulb, simply grasp near the base and pull straight out; do not twist. If it’s tight, wobble gently without bending the pins. Before handling, confirm the bulb has cooled to prevent burns and avoid metal tools near live circuits to prevent electrical hazards. Ensure the fixture is compatible with the bulb type to avoid damaging the socket or clips. The provided tool, with its three alignment bumps, offers a safer grip for leveraging the twist-lock release without risking cracks. For fixtures with a deep trim, using a GU10 bulb puller can provide additional leverage without straining the socket. Choosing the right baffle trim can also reduce glare and improve access to the bulb for future replacements. When planning your setup, consider the benefits of consistent light spacing to ensure an even, shadow-free work surface.
Install the New Bulb: Push, Twist, and Lock Into Place
To install the new bulb, follow these steps: align the two pins of the bulb with the grooves in the GU10 socket. Push the bulb straight into the socket with gentle upward pressure—don’t force it if you feel resistance. Once the bulb is seated, turn it clockwise a quarter-turn until you hear a click or feel a firm stop; this locks the bulb in place. Make sure the bulb sits flush and that the pins remain aligned. Use a suction cup tool to safely insert the bulb and avoid damaging it. Always turn off the power at the circuit breaker before handling any wiring or sockets to prevent electrical shock. If you removed the track head, slide it back into position and turn it a quarter-turn to secure it. Finally, restore power and test the switch. If the bulb doesn’t light, double-check that it is properly seated before troubleshooting further. Avoiding repeated on-off cycling during installation can help preserve the bulb’s overall lifespan over time. For a secure fit that prevents future wobble, ensure the socket mounting is as stable as a properly chosen ceiling fan downrod.
Bulb Won’t Lock? Check Wrong Base, Damaged Socket, or Orientation
If the bulb won’t lock, the first step is to verify the base compatibility. Ensure you are using the correct type, such as GU10 or MR16, since fixture-specific formats often require particular bases. Even if the bulb looks similar, differences in pin spacing or locking tabs can prevent it from seating properly. Cross-check the markings on the old bulb and the fixture to confirm they match before proceeding. If you are working with an H-style track system, ensure the fixture’s pins contact all three bus bars correctly for proper operation. For outdoor track systems, considering landscape lighting types can help you identify if a weather-resistant bulb base is required for your specific fixture. Using a microfiber cloth to wipe dusty pins before insertion can improve contact and seating. For systems using similar low-voltage connections, selecting a high-quality power supply ensures stable voltage and prevents pin damage from electrical fluctuations.
Next, inspect the socket for damage. Look for bent, weak, or deformed contact arms that fail to grip the pins securely. A worn or damaged socket can hinder the twist-lock action even if the bulb matches the base. If you notice deformation or corrosion, replacing the socket may be necessary.
Finally, confirm the orientation of the bulb. Twist-lock bulbs must be aligned precisely with the socket slots; push the bulb fully in before rotating. Prong-style bulbs typically fit in only one orientation. If the bulb doesn’t lock into place, it likely isn’t fully seated or the alignment is off. Checking these factors before trying to force or replace parts can save time and prevent damage.
Reassemble the Fixture and Restore Power Safely
Reassemble the fixture and restore power safely by first confirming the fixture head is properly reattached. Align it with the track’s locking position and twist it clockwise with a firm 1/4-turn to ensure it locks securely into place. Check that the fixture sits firmly without wobbling, which indicates it’s properly secured. Before restoring power, make sure all covers or sleeves are replaced exactly as they were removed to protect the internal components. Ensure the new LED fixture’s copper strips are correctly aligned with the track’s connectors for a proper electrical connection. If you are adapting a salvaged or custom shade, verify that its mounting hardware matches the track’s standard locking mechanism to avoid a loose fit. Building a complete DIY wall sconce from scratch requires carefully matching the housing and mounting to your track system. For ceiling fan users who prefer controlling their lighting via a remote, similar alignment and locking steps apply to ensure a secure electrical connection.
Next, follow these safety steps: turn on the breaker to restore power, then test the fixture using the wall switch. This sequence prevents any confusion or accidental contact with live parts. If the light does not turn on immediately, switch off the power again and recheck the fixture head’s alignment with the track’s bus bars. Avoid touching any exposed conductors when the circuit is live. A correctly installed fixture should light up immediately without flickering, arcing, or feeling loose during normal operation. For a more customized look, consider swapping the standard shade for a handmade pendant option that uses the same locking base, ensuring the wiring and weight remain compatible.
Three Mistakes That Break Track Light Bulbs: Overtightening, Wrong Base, and Dirty Glass
Overtightening track light bulbs is one of the quickest ways to damage the socket. Because track lighting heads lock into place by rotation rather than force, applying too much torque can bend internal contacts, cause arcing, and lead to premature burnout from excess heat. To avoid this, gently twist the bulb until it seats securely—do not force it further. If the bulb fails to respond, a quick reset step may resolve underlying connection issues. Proper alignment ensures safe operation and prolongs the lifespan of your fixtures. For a clean DIY finish, always check that the pendant light cord is properly secured and free of strain. Before installing any new bulb, confirm that the power is off and that you have the correct bulb base type to match the fixture’s socket.
How to Buy the Right Track Light Bulb: Match Wattage, Base, and Lock Type
When buying a new track light bulb, you need to match the wattage, base type, and lock type precisely to ensure proper fit and safety. First, check the fixture’s maximum wattage rating—most LED options range from 5W to 30W. However, it’s better to focus on lumens for brightness instead of watts alone. Next, verify the base type: GU10 bases are designed for direct AC systems, while MR16 bases suit low-voltage setups. It’s also essential to confirm your track’s standard—H, J, or L—to ensure compatibility.
The lock type is equally important because the bulb’s connector must seat securely within the fixture. Some systems require specific locking mechanisms, so double-check that your bulb’s lock type matches the track fixture. If your system features a dimmer switch, confirm the bulb’s dimmer compatibility to prevent flickering or damage. Finally, consider the color temperature: warm tones create cozy atmospheres, whereas cool tones are better for task-oriented spaces. Always make sure the bulb’s socket format matches the existing socket before purchasing. If you hear a persistent buzzing or humming from the fixture, that noise can point to a loose connection or incompatible dimmer, so tighten the bulb and revisit the compatibility steps before assuming the bulb is faulty.
Test Your New Bulb: What to Do If It Still Won’t Light
If your bulb still won’t light after installation, start by turning off the power. Reseat the bulb firmly—twist-locks need a full turn, and plug-ins should be pushed in all the way. Loose contact is a common culprit that mimics a dead bulb. If it lights after reseating, your task is complete.
If it remains dark, test the bulb in a different fixture that’s known to work. If the bulb flickers or shows no continuity, it’s defective. However, also check fixture compatibility—some fixtures reject certain bulb shapes or sizes. For track heads, ensure the head is properly aligned and the prongs are fully engaged, as misalignment can block power delivery. Upstream issues like voltage fluctuations from a tripped breaker or a faulty switch can also prevent your bulb from lighting. If the bulb works elsewhere and the fixture tests good, then the problem is electrical, not with the bulb itself. Follow the circuit back to its power source to identify and address the issue. To quickly verify bulb integrity without installing it, use a multimeter to check for a closed circuit tone. This process resembles the troubleshooting approach used in a tripod floor lamp build, where loose connections often cause similar lighting failures. For a more permanent fix, ensure all wiring connections are properly secured using wire nuts and electrical tape, just as you would when installing a ceiling fan. Consider replacing the track head with a wall sconce candle holder for a more reliable and decorative lighting solution.