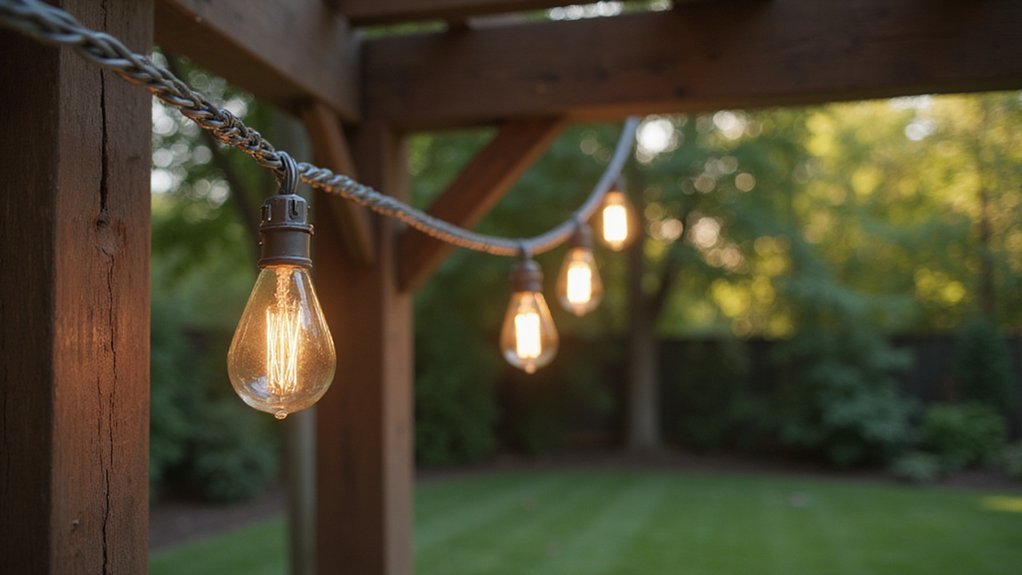
If you’re wondering how to keep your string lights from sagging or pulling loose, a guide wire is key. It takes the load off the lights and ensures they stay neat and secure.
By the end of this, you’ll know how to measure, install, and tension a guide wire effectively to brighten up your space safely.
Why You Need a Guide Wire for Your String Lights
A guide wire is essential for hanging string lights because it bears the heavy load, preventing the electrical cord from taking on all the tension. Without a guide wire, your string lights rely solely on the cord, which can lead to increased wear and tear near your power source, reducing their lifespan. Additionally, support wires keep your lights straight and taut, preventing sagging, bowing, or drooping across your patio or deck. This helps maintain a neat appearance and reduces the risk of lights falling into walkways. A guide wire also enhances safety by minimizing accidental tugging and wind-driven movement, which can otherwise cause damage or dislodging. For example, choosing the correct ceiling fan direction seasonally helps optimize airflow, just as a guide wire keeps lights correctly oriented for safety and performance. Constructed from durable 304 stainless steel with nylon coating, this guide wire ensures weather resistance and high-temperature tolerance for long-lasting performance. Overall, installing a guide wire preserves both the durability and aesthetic appeal of your string lights, protecting your investment over time.
How to Measure Your Span and Calculate Extra Cable Length
To measure your span accurately, start by tracing the actual light path the string lights will follow. Use a tape measure along the installation line, including every straight span between anchor points, corners, and changes in direction. Record each span separately rather than measuring just the room’s perimeter. This ensures you get precise lengths for each segment, which is crucial for planning your cable needs. For larger setups, using a tension wire kit prevents excessive sagging and maintains stability across long spans. For similar stability in permanent fixtures, recessed can lights often rely on rated junction box clearance to ensure safety and proper support. Remember that LED downlights, like string lights, experience reduced performance if exposed to excessive heat buildup, which can shorten their overall lifespan. Installing a ground fault circuit interrupter for the outdoor circuit is a critical safety step that protects against electrical shock.
Next, add extra cable to accommodate sag and hardware. Aim for a gentle drape rather than a taut line, which means adding approximately 6% to 10% of extra length per span. This typically translates to 2 to 4 feet of slack between supports, depending on span length and desired look. Also include lead length from the first bulb back to your power source, accounting for vertical drops and obstacles. Remember that some cable length will be lost at terminations, where the cable loops through hooks or sleeves. Always sum the lengths of each span, include your sag and mounting allowances, then round up to the next spool size to ensure you don’t run short during installation. Accurate measurements help maintain proper cable tension and ensure you select the right anchor points for stability.
Choose the Best Anchor Points for Your Guide Wire Setup
Choose solid, immobile structures like porch roofs, pergola beams, or thick tree trunks for your anchor points. Mount screw hooks or eye bolts into load-bearing parts—never thin trim or non-structural elements. In open yards, sink 4×4 posts 24 to 36 inches deep; taller setups require deeper burial to ensure stability. For outdoor installations in covered areas, consider using outdoor ceiling fans to help maintain air circulation without compromising the guide wire setup. When selecting hardware, prioritize small wire connectors that offer secure grips and corrosion resistance to match your anchor’s durability. For added safety, ensure your mounting brackets are rated for heavy loads to prevent failure under tension.
Space anchors between 15 and 25 feet apart to maintain proper tension. For runs exceeding 20 feet, add intermediate posts to prevent sagging. Consider decorative options such as shepherd’s hooks or yard poles concealed within shrubbery for additional support. Using galvanized steel hardware enhances longevity and rust resistance. Position anchors thoughtfully to manage direction changes and allow sufficient walking clearance, ensuring your guide wire remains taut without sagging.
Install the Guide Wire: Step-By-Step From Anchor to Turnbuckle
To install the guide wire properly, start by attaching it to the first anchor point. Use a cable snap hook or wire clamp to secure the wire firmly. Then, pull the wire taut across the span toward the second anchor. Ensure the wire remains aligned with both anchor points to create a straight, clean line. Proper alignment is essential not only for functionality but also for visual appeal, as sagging or crooked wires disrupt your lighting design. Pre-stretching and straightening the lights prevents future sagging, so pre-stretch the wire similarly before final tensioning. When reaching the second anchor, finish by installing the turnbuckle. Keep the turnbuckle fully extended initially to allow room for tightening later. Route the wire neatly, avoiding sharp edges that could cause wear. Secure all connections securely, making sure the guide wire is straight and prepared to support your lighting setup effectively. For added safety, use a wire clamp to prevent any accidental slippage of the cable under tension. Before tensioning, always verify that the mounting points are rated to handle the load, just as you would confirm the electrical supply is off and secure when wiring a ceiling fan safely. For the best visual result, ensure the guide wire matches the color of your surroundings to keep the focus on the lights.
Tension the Guide Wire Without Overstressing It
To tension the guide wire properly, start by using a turnbuckle or adjustable fastener for precise control. Tighten gradually until the wire becomes straight and stable, providing gentle support. Avoid over-tightening, as this can permanently stretch the wire and lead to early replacement. Check the tension frequently to ensure it stays within the manufacturer’s recommended limits. Secure the anchors at sturdy points such as heavy posts or large trees to prevent the system from pulling out under load. Aim for a taut span that eliminates sag without causing strain—tighten only until the wire holds its shape and the slack disappears, ensuring a durable and reliable support for your light string.
Attach String Lights to the Wire Using Fasteners and Spacing
To guarantee your string lights stay securely aligned along the guide wire, use appropriate fasteners and maintain consistent spacing. Zip ties are optimal because they provide strong support without damaging the cords. Attach one zip tie on each side of every socket, ensuring a snug fit that doesn’t crimp or pinch the wiring. Black zip ties blend in better with dark wires, making them less noticeable, while spring clips can work if your light strand has designated loop points. For a more permanent installation, consider using wall sconce candle holders to provide dedicated support for the guide wire at each endpoint. For outdoor security, a bright flood light can also be mounted nearby to illuminate the entire area and deter intruders.
Avoid staples or nails, as they can puncture the wire and cause electrical hazards. For spacing, attach each socket at regular intervals—typically every 2 to 3 feet—so the strand remains even and prevents sagging. First, slide the zip ties loosely to allow for adjustments, then align the lights along the guide wire. Once properly positioned, tighten each zip tie securely. When approaching corners or bends, add extra zip ties at the bend itself to keep the lights from shifting. Secure both the first and last bulbs with double ties at your anchor points so the guide wire bears the load, not the lights. For a tidy professional look, always maintain 90-degree angles at corners when tensioning the cable. Maintaining consistent spacing and proper fastening helps keep the string lights stable and minimizes strain.
Perform 5 Safety Checks Before Powering On Your Lights
Before flipping the switch, perform these five safety checks to ensure safe operation of your outdoor lighting. First, visually inspect all bulbs and cords. Look for broken, missing, or loose bulbs, and check for frayed cables, cuts, or exposed wiring. Replace any damaged sets—don’t risk electrical fires or short circuits. Second, confirm the electrical ratings. Make sure all lights have certifications like UL, ETL, CSA, or CE, and do not exceed the manufacturer’s linked-strand limit. Keep your total electrical load under 80 percent of the circuit’s capacity to prevent overloads. For example, just as you adjust ceiling fan direction for seasonal energy efficiency, you should also check your lighting setup for proper electrical load management. Always verify that the wire gauge matches the circuit’s amperage rating to avoid overheating. Third, use a GFCI-protected outlet and test it before plugging in your lights. Keep all connections dry and off the ground to avoid shocks. Fourth, ensure you are using outdoor-rated lights for exterior setups. Never use indoor string lights outside, as they might lack weatherproofing. Fifth, position your lights away from combustible materials, and double-check that all bulb covers are intact. Damaged sets can reduce bulb lifespan and alter color temperature, so always choose safe, well-maintained lighting. Additionally, confirm that your extension cord is rated for outdoor use and the correct amperage to handle the total load safely.
Test, Trim, and Weatherproof Your Finished Installation
If a section fails, you need to isolate the problem before fixing it. Start by inspecting suspect bulbs for darkened glass or broken filaments. Use a multimeter to check wiring paths for continuity. For LED strings, test in both directions because of polarity. Use a non-contact AC voltage tester to quickly detect voltage presence along the circuit without removing bulbs. Once you identify the faulty section, trim only the designated excess lead wire—never the energized wire—so you keep the spacing even. After trimming, seal all connectors with weatherproof covers, create drip loops to prevent water from traveling into connections, and elevate plugs away from puddles. Walk the entire run to ensure every bulb still lights up after completing the repairs. Before starting repairs, check the mounting bracket for stability, just as you would when replacing a ceiling fan to ensure a secure installation. When sealing connections, consider using twist-on wire connectors for a reliable, reusable joint that handles outdoor conditions well. Always verify that the total wattage does not exceed the fixture’s rating to prevent overheating.