If your ceiling fan light globe is giving you trouble, you’re not alone. Removing or replacing it can seem tricky if you’re unsure where to start.
By the end of this, you’ll know how to safely detach and install a new globe, and handle common issues like stuck fixtures or mismatched sizes.
Keep reading for a straightforward step-by-step guide to get your fan back in shape.
Two Safety Checks Before You Start the Job
Before you handle a ceiling fan light globe, you must complete two essential safety checks. First, confirm electrical isolation by turning off the circuit at the breaker panel instead of relying solely on the wall switch, which can leave residual current. Use a voltage tester to verify that the fixture is completely de-energized; this step is crucial to prevent electrical shock.
Second, ensure hanger safety by placing a stable, sturdy ladder on level ground. Avoid overreaching and always maintain three points of contact while climbing. Additionally, let the globe and bulb cool for at least 5 to 10 minutes, especially if they are halogen or incandescent, as these types run dangerously hot. Cooler glass reduces the risk of burns and prevents accidental breakage. Only after passing these safety checks should you proceed with the task. These replacement globes are designed for fixtures needing a 2.17-inch fitter. If your ceiling fan has a seasonal switch, you may also need to check its position to ensure the fan turns in the proper direction for cooling airflow. For a more convenient control option, you could consider installing a remote kit instead of manually changing the direction each time.
Identify Your Ceiling Fan Globe’s Attachment Type
The attachment type of your ceiling fan globe is a key factor in choosing a compatible replacement. Common attachment methods include side screws, thumb screws, screw-collar rings, clips, or push-in designs. To identify yours, examine how the globe secures to the light kit. Check the fitter opening by measuring from inner edge to inner edge; typical sizes are 2.25, 3.25, 4, 8, or 10 inches. Additionally, note the screw count, spacing, or collar threads of your current threads. Matching these details ensures material compatibility and helps avoid issues during installation. Remember, shape alone won’t guarantee a fit—matching the attachment type and fitter size is essential for a secure, wobble-free setup. For safe handling, always turn off power at the breaker before removal, as explained in the wiring safety tips from the guide. Using 3 way wire connectors ensures a secure and stable electrical connection during any rewiring steps. Finally, always check the manufacturer’s specifications for compatible globe sizes to ensure a proper fit.
How to Remove the Old Fan Globe Without Force
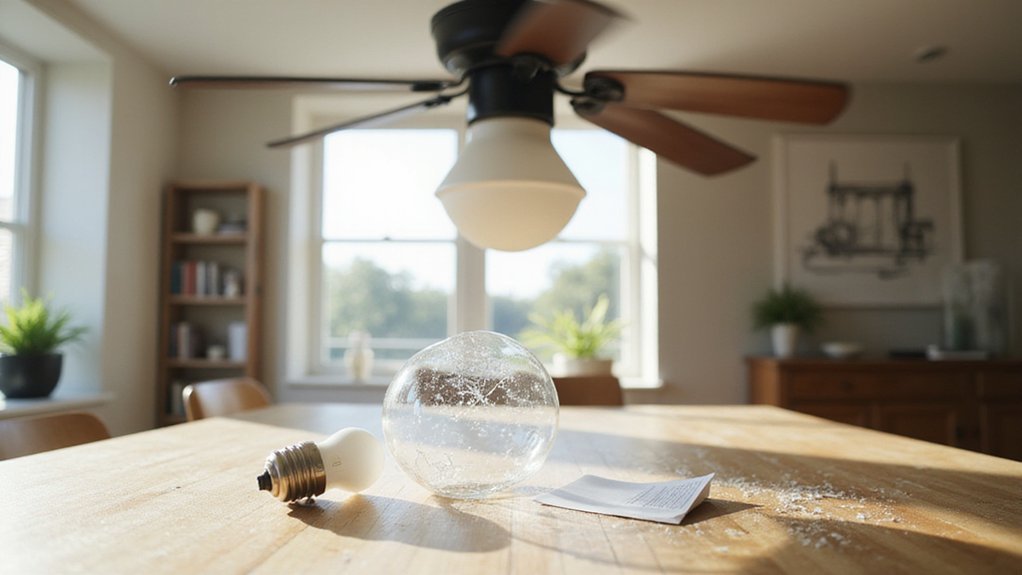
To remove the old fan globe without force, start by gripping the glass firmly and rotating it counterclockwise. Use a dry, clean palm or slightly damp skin to increase traction. Wipe off dust and grime beforehand, which helps improve your grip and reduces the chance of slipping. For extra friction, wear rubber gloves or use a rubber jar opener pad. Apply slow, steady turns rather than sharp twists, and support the globe’s weight with one hand to prevent unnecessary stress. If you encounter minor resistance, gently tap around the rim with a rubber tool while pushing upward and turning. This gentle method helps release grime or moisture binding the globe without applying force. Never use metal tools directly on the glass. Once the globe loosens, reduce pressure and continue turning carefully until it comes free. Remember that the globe is threaded onto the fan assembly and unscrews just like a standard lid, using the same counterclockwise motion. Always turn off the power at the breaker before handling any electrical fixture. For added safety and efficiency, consider replacing the globe with a lightweight acrylic option that is less prone to breakage and easier to handle. For your next replacement, consider that low voltage LED strips offer a safer and more efficient lighting option for ceiling fan fixtures.
What If the Globe Is Stuck or Won’t Budge?
If the globe won’t budge after a few attempts, don’t assume it’s fused for good. Most stubborn cases are caused by over-tightening, heat expansion, or grime buildup at the seam. Try alternative removal techniques: put on rubber gloves or use a damp cloth for a better grip. Lightly tap the rim with a rubber mallet to help break the bond. Applying a hair dryer on low heat can warm the metal base, causing it to expand slightly and loosen the fit. To preserve the globe, avoid metal tools that could chip the glass. Instead, gently pry with a plastic spatula if prongs are holding it. Work slowly and carefully—small, repeated wiggles are more effective than forceful twisting. Always wear eye protection and gloves to stay safe. For a clean and professional approach, consider following safe wiring tips similar to those used when hardwiring under cabinet lights. Using a rubber mallet ensures minimal damage while gently loosening the dome. This same method of applying even, controlled pressure is a key principle in fixture alignment for other lighting projects. Consistent maintenance habits can significantly extend the real-world lifespan of your lighting fixtures by preventing grime buildup and heat-related wear.
Install a New Ceiling Fan Light Globe Without Cracks
To install a new ceiling fan light globe without cracks, proper preparation and careful handling are essential. First, turn off the power supply at the breaker box and wall switch, and allow the fan to cool completely before starting. Clearing dust from the area will improve your grip and prevent accidental slips during installation. When selecting a new globe, ensure it matches your fixture’s style, paying close attention to screw patterns and opening sizes. Before installation, inspect the glass for chips or hairline cracks—using a cracked globe risks further damage or breakage later. Use a sturdy ladder to access the fixture safely and avoid straining your arms while handling the globe. Position the globe evenly over the support ring, then loosely tighten all screws to keep it centered. Gradually tighten each screw in small, even increments rather than fully tightening one side first. Use only hand-tightening or thumb screws to prevent applying excessive stress that could cause cracks. Once the globe feels stable and does not rattle, check that it sits flush against the fixture without gaps. Confirm that the light bulb does not touch the glass to avoid stress or damage. Only restore power once the installation is completely secure and correctly aligned, and remember to verify all screw connections are tight before turning the electricity back on at the breaker. Understanding how low-voltage wiring distributes power can help you avoid overloading the circuit when adding new fixtures. Always use approved junction boxes for wiring connections to maintain safety and code compliance.
Troubleshooting a Dead Light After a Globe Swap
If your ceiling fan light goes dark immediately after swapping the globe, the issue is usually a loose or improper connection. Start by ensuring the power was turned off at the breaker before you began—safety first. Once you’ve installed the new globe, gently tighten it to secure it in the socket without over-tightening, which can damage the socket or bulb. Check if the bulb is compatible with the fixture’s wattage rating; using a higher wattage bulb than recommended can cause the light to fail to turn on or blow out quickly. Always obtain the model number from the sticker on top of the fan to identify the correct parts for any further repairs. Test the bulb by inserting it into a working lamp to ensure it’s functioning properly. Inspect the socket for any burn marks, corrosion, or damage that might prevent the light from functioning. Inside the fan housing, verify that quick-disconnect plugs and wire connections are firmly attached, using lever wire connectors to secure any loose wiring if the fan assembly allows for such adjustments. If your fan is remote-controlled, replacing the batteries or resetting it can sometimes resolve the issue. Consider that a specific LED strip light type might have been installed in the fixture, and its compatibility with the fan’s driver could affect performance. If none of these steps restore power to the light, the wiring inside the fixture or fan might be compromised, and calling an electrician is advisable. For a more thorough approach, use guide wire lighting during installation to neatly manage and secure any additional wiring.
Cheap Globe Replacement Options That Fit Most Fans
Measure the fitter opening first. Most budget-friendly globes fit openings of 2-1/8 inches or 2.25 inches, making these sizes the best choices for affordable options. Acrylic globes are the most economical—they’re lightweight and function as simple diffusers. If you want a slightly better look, buy multi-packs of clear glass bell shades; they direct light downward and tend to cost less per globe. Frosted glass shades soften glare and are still budget-friendly. For a decorative touch on a budget, seeded glass shades add texture without increasing the price. Flat bowl shapes are versatile because they fit most fan light kits. Remember, the opening diameter matters more than the outer size of the globe. Measure carefully and check pack sizes to find cheap, compatible globes quickly. If your fan has separate light and motor controls, ensure you have paired the remote correctly to avoid operational issues. Before replacing the globe, check the wiring to ensure the power is off and the socket is clean as recommended in the general light replacement guide. For maximum brightness with these budget globes, consider upgrading to LED track lighting bulbs that offer superior energy efficiency and longer lifespan than traditional incandescent options.