Struggling to figure out how to wire under cabinet lights safely and neatly? You’ll learn how to plan your layout, run the wiring, and connect everything securely.
By the end, you’ll be able to install your own lighting setup confidently and efficiently.
Stick with me, and I’ll walk you through each step so your kitchen can shine brighter.
Shut Off the Breaker, Then Plan Under-Cabinet Light Spacing
Start by planning your layout starting from the farthest fixture and working backward toward the power source. Measure each cabinet bay individually, leaving about one foot of wire at every opening to allow for slack and adjustments. Map your route through existing voids or outlet boxes to keep cable management neat and avoid crossing unrelated runs. When cabinets are not continuous, route low-voltage leads separately to prevent interference. Confirm your fixture spacing before cutting any holes, since your chain order, switch placement, and junction points all depend on this plan. For reference, ceiling fan direction changes seasonally to optimize air circulation, but here the goal is consistent light distribution. Installing the low voltage transformer in the basement or on cabinets optimizes accessibility and keeps the circuit path clean. For a reliable installation, select a safety-rated transformer that matches your total fixture wattage. Completing this step with the power off ensures you won’t need to redo work later. For safe wiring, always use a voltage tester to confirm the power is off before touching any wires.
Select Low-Voltage or Line-Voltage Fixtures for Your Cabinets
Choosing low-voltage fixtures is ideal when you want greater safety and flexibility in your cabinet lighting. These systems operate at 12V or 24V and require a hidden transformer to convert household 120V power down to a safer level. Because the secondary side of the system carries reduced shock risk, low-voltage fixtures are well-suited for areas near sinks, water sources, or homes with children. They also allow for more versatile layout options since the wiring is often more flexible and can be tucked away easily. If a low-voltage fixture stops responding, remember that most issues stem from power or connection faults rather than the fixture itself, and you may need to reset the device to restore functionality.
Line-voltage fixtures connect directly to your home’s 120V wiring, simplifying installation since they do not need a transformer. They are often more permanent and straightforward, making them suitable if you prefer a set-it-and-forget it approach. However, line-voltage fixtures carry the full household voltage at the fixture itself, so they require proper junction boxes and grounding to meet electrical codes and ensure safety.
Always consider safety when choosing your fixtures: low-voltage systems need a properly enclosed transformer, and line-voltage systems must be installed with appropriate junction boxes and grounding. For custom arrangements and easier maintenance, low-voltage fixtures provide more flexibility. If your installation aims for straightforward wiring with fewer components, line-voltage fixtures are a reliable choice.
Cut the Switch Box Opening Before Routing Fixture Wire
Cutting the switch box opening before routing your fixture wire ensures precise placement and reduces rework. Start by marking the exact location of your switch box, making sure it aligns with your control point and wire entry path. Using a drywall saw or oscillating tool, cut the drywall opening carefully; this step verifies clearances around studs, pipes, and other structural members, preventing interference later. This early cut creates a smooth path for fishing cable into the box, keeping the wiring organized and accessible. Once the opening is done, you can confirm that your wiring route is clear of obstructions, making cable pulling and testing easier before mounting the box permanently. Ensuring the junction box is fully accessible simplifies future maintenance and code compliance. For a clean finish, ensure your switch box placement also considers proper fixture height alignment to avoid awkward light switch positioning. If you are following a complete build walkthrough, check your specific fixture wire type and gauge against the switch box capacity to avoid overcrowding. If you later need to modify connections at the switch, using push wire connectors allows a straightforward and tool-free disconnect method.
Run Wiring for Under-Cabinet Lights From Switch to Far Unit
Run the wiring from the switch box opening directly to the farthest under-cabinet light. Start by routing the switch leg straight to that unit; this approach keeps the final fixture nearest the switch neatly connected and simplifies wiring. For longer runs, hide the cable behind cabinets or drill through framing members to keep the installation clean.
Maintain a continuous wiring route from the far light back toward the switch, passing through cabinet rails or studs as needed. Leave at least 12 inches of extra wire at each fixture point to accommodate future adjustments; increase this length for low-voltage systems to make wiring changes easier. During planning, consider options for dimming controls and color temperature adjustments, and note that COB LED strips offer superior uniformity by emitting light from a continuous, even line of chips rather than individual points. Push-in wire connectors offer quick and secure connections for low-voltage wiring, reducing installation time. Verify that your fixtures and transformer support these features before completing the wiring. Use protective measures such as hidden wire exits and nail plates to prevent damage to the cables over time. Adopting simple habits like ensuring proper ventilation around fixtures can help stretch the total lifespan of the LED units.
Strip and Connect Wires at Each Under-Cabinet Fixture
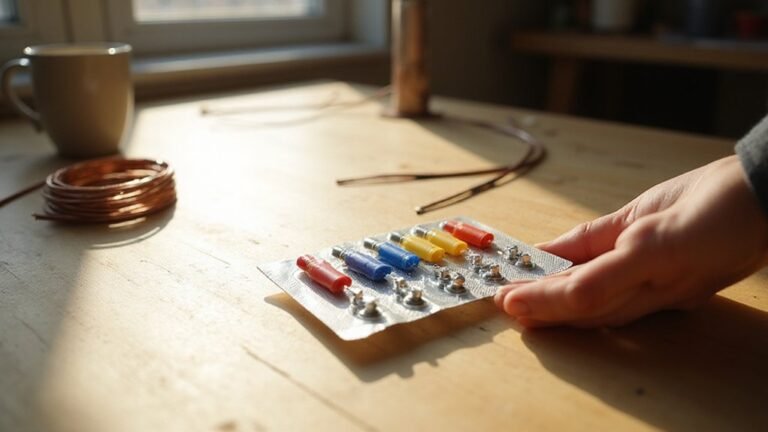
Once you’ve routed the cable to each fixture location, strip about 3/4 inch of insulation from each conductor. This exposes enough copper for a secure splice without leaving bare wire outside the connector. Remember to match the color coding precisely: connect black to black for hot, white to white for neutral, and the bare ground to ground. For low-voltage systems, follow red-to-red and black-to-black wiring requirements. Always verify that the conductor gauge matches your connectors’ rating before splicing. If your setup uses a remote, you can also learn how to open the remote to access internal wiring for repairs. Be sure to check the housing size before fitting the new unit, as you must confirm the fixture fits the existing cutout.
Use wire nuts for standard pigtail connections, twisting conductors of the same color together. Tighten the nut firmly so the splice stays secure. At intermediate fixtures, route one conductor in and one out to continue the wiring run. Leave approximately one foot of wire at each opening for future adjustments. Keep all splices accessible until you’ve confirmed that all connections are correct and secure.
Mount the Lights, Tape the Switch, and Test Your Circuit
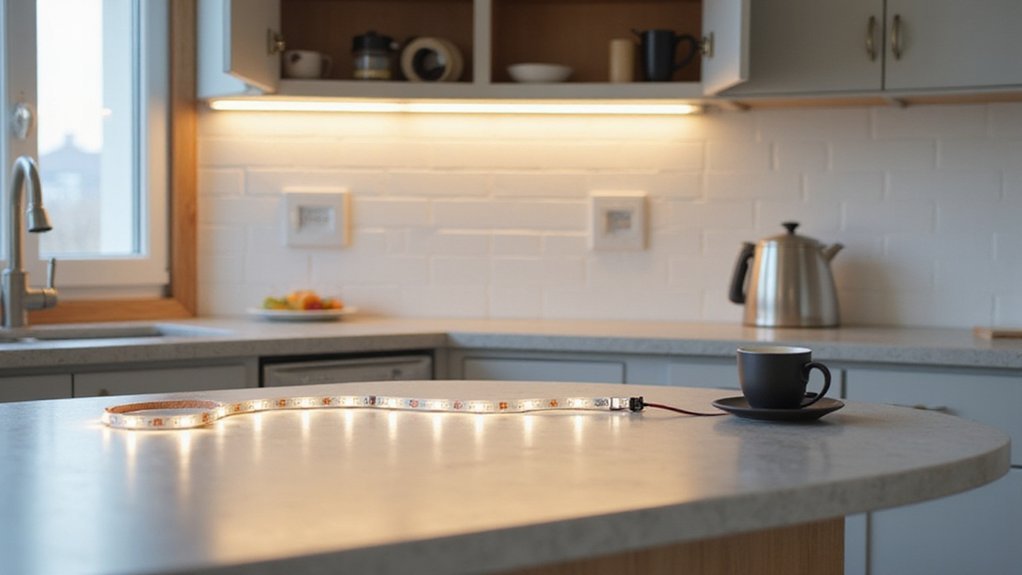
To mount your lights properly, start by positioning each fixture toward the front face of the cabinet. Hold the fixture in place and mark the mounting-hole locations with a pencil. For even lighting, space puck lights 8 to 12 inches apart and center them directly under each cabinet. Using a low-profile design ensures discreet installation under cabinets. Use shallow pilot holes to prevent drilling through the cabinet bottom, then secure the fixtures with screws or adhesive strips. For optimal illumination, maintain a pendant height of 30 to 36 inches above the countertop to avoid shadows and glare. For similar efficiency, many top-rated ceiling fans with lights combine quality illumination with value performance. For a more customizable approach, consider using DIY LED strip lights for tailored under-cabinet lighting.
Next, tape the switch layout with painter’s tape as a temporary template. Place the tape on the light housing first, then mark the center and rear-edge references. Transfer these markings to the underside of the cabinet. Poke through the tape to mark mounting-hole positions, then remove the tape after drilling the pilot holes. Fasten the switch and any accompanying hardware securely.
Finally, test the entire circuit. Plug in the main cord and turn it on to verify each light activates correctly. If any fixture does not turn on, check all wiring connections; loose wiring is often the cause. Also, inspect for exposed cords and ensure all fixtures are properly aligned for a tidy, safe installation.