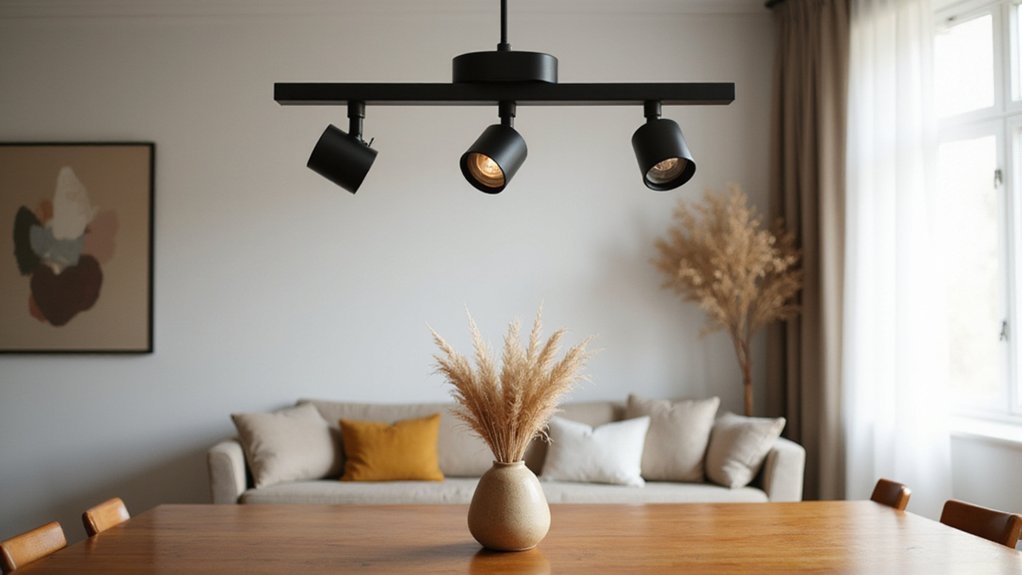
Struggling to find the perfect lighting setup that’s flexible and easy to install? Track lighting might be the solution you need.
It features adjustable heads that can slide along a track, allowing you to direct light exactly where you want it.
By the end of this read, you’ll understand how to plan and choose the right track lighting for your space.
What Exactly Is Track Lighting and How Does It Work?
Track lighting is a mounted lighting system that uses a continuous track to power multiple adjustable heads from a single electrical feed. This setup allows you to precisely direct light where needed, making it ideal for highlighting artwork, counters, or retail displays. The track functions both as a conduit for electricity and as a mounting structure for the fixtures. You can reposition or add heads easily without rewiring, providing flexibility as your space evolves.
Energy efficiency is a key advantage because you can illuminate only specific zones rather than lighting the entire room. Creative fixtures such as spotlights or pendants attach effortlessly to the track, enabling you to change the room’s focus on demand. Most heads can rotate and tilt, giving you control over the beam angle and spotlighting precise areas.
Controls like dimmers can be integrated into the system, allowing you to adjust the brightness and set the desired mood while conserving power. This adaptability makes track lighting a smart choice for spaces that need to change frequently or for those seeking a sleek, modern aesthetic. Unlike ceiling fans, which require seasonal direction changes for optimal airflow, track lighting offers year-round flexibility without any mechanical adjustments.
The 4 Parts That Make Track Lighting Work
The four main parts that make track lighting work are the power feed, track rail, track heads, and connectors. The power feed supplies electricity and can be an end feed, floating canopy, or plug-in connector. The track rail carries electrical conductors and provides a mounting surface for the fixtures. Track heads are adjustable light fixtures that slide along the rail, allowing you to aim light precisely where needed. Connectors join sections of track, enabling you to create various configurations such as L-shapes, T-junctions, or longer runs for customized lighting solutions. Additional components like end caps ensure electrical safety, while accessories like suspension kits are useful for high ceilings. To ensure safe and proper operation, all components should match in type and compatibility, maintaining seamless power flow throughout your track lighting layout. For optimal coverage, place track heads every 12 to 24 inches on the track. When installing track heads, using a guide wire can help align fixtures neatly along the rail for a clean and professional finish. For larger rooms, consider ceiling fan size guidelines to ensure the track lighting does not conflict with fan placement or airflow. Similar to cutting LED strips only at designated cut points, track rails should never be cut or modified outside of manufacturer specifications to avoid electrical hazards and ensure proper conductivity.
Where to Use Track Lighting: Room-by-Room Task, Accent, and Ambient Examples
Track lighting works well in almost any room by providing task, accent, or ambient lighting where you need it most. In the kitchen, aim adjustable heads with medium beams over countertops to minimize shadows during food prep. Use narrow beams in the living room to highlight artwork or shelves, creating a gallery-like effect that can be dimmed for a cozy atmosphere. In hallways, a center-line track with wide beams evenly distributes light along the length of the corridor. For home offices, install a track above your desk with multiple heads to ensure proper illumination of your entire workspace, reducing eye strain. Open-plan areas benefit from multiple parallel runs, which help define different zones, guide movement, and eliminate dark corners. Decorative styles of track lighting include industrial, minimalist, and modern designs, allowing you to match your home’s aesthetic. Additionally, choosing energy-efficient options like LED heads keeps long-term costs down, especially in spaces like hallways and offices that require consistent lighting. For a focused build project, consider a DIY under cabinet approach with a complete materials list to customize your setup. When selecting track heads, consider push-in wire connectors for quick and tool-free installation. For a warm, decorative touch in entryways or bedrooms, you can also install wall sconce candle holders to complement your track lighting with ambient glow.
5 Reasons Track Lighting Beats Standard Ceiling Fixtures
Track lighting offers five key advantages over standard ceiling fixtures. First, it provides unmatched flexibility because you can easily reposition individual lights along the track without rewiring. This means you can highlight artwork, your workspace, or particular areas of a room whenever needed. Second, installation is simpler, requiring fewer ceiling holes—typically just one connection point—compared to multiple fixed fixtures, reducing both effort and mess. Unlike fixed ceiling fixtures, track lighting eliminates the need for complex wiring a ceiling fan setups that involve multiple connections and switches. Third, directional heads allow you to precisely aim light where you want it, making task lighting or accenting specific features much easier. Fourth, a single track creates a cleaner ceiling appearance by eliminating clutter caused by several bulky fixtures, giving your space a more streamlined look. Lastly, track lighting adapts effortlessly to changes in your room’s layout or lighting needs. You can add or move heads anytime without major rewiring, and LED options enhance energy efficiency while creative designs turn the entire rail into a stylish feature.
How to Plan and Install Your First Track Lighting Setup
Start by sketching your ceiling layout to plan track placement accurately. Measure the room and mark joists to ensure secure mounting. Position the track between 20 and 40 inches from the walls to achieve a balanced design flow. Select your track family—H, J, or L—and decide on the feed style, whether live end or center feed. Choose the compatible connectors needed for turns to maintain a seamless look and function. For a landscape lighting project, using a low-voltage transformer outside is standard, but indoor track lighting typically runs on line voltage from your ceiling.
For installation, turn off the breaker and verify no power is flowing. Mount the provided plates to the junction box securely before attaching the track with anchors or joist screws. Space supports no more than four feet apart to handle the weight and prevent sagging. Connect the hot, neutral, and ground wires correctly following your electrical code. Snap on the end caps to finish your track. Place the track heads roughly 12 to 24 inches apart, twist them in, and aim the lights as needed. Restore power to test the setup, try the dimming features, and make any necessary adjustments for even coverage. Occasional cleaning of the track heads with a soft cloth helps maintain consistent light output by removing dust buildup. Using a Kasa smart plug adds convenient app-based control for the entire track lighting setup.
Once installed, local codes may restrict maximum run length limits to 24 feet per circuit, so long runs may require special wiring or multiple circuits to remain compliant.
Common Track Lighting Mistakes Beginners Make and How to Fix Them
Choosing too few heads is the most common mistake because it severely limits lighting coverage and creates dark zones. To avoid this, space your track heads evenly so that they collectively illuminate the entire target area without gaps. The goal is to have enough fixtures reaching all corners and surfaces you want lit, preventing areas from being underlit or shadowed. Proper spacing depends on the size of your space, the brightness of the bulbs, and the beam angles you select. Measure and mark your layout before installation to ensure even coverage, and consider adding extra heads if your space is large or has high ceilings. During installation, ensure that fixtures contact all three bus bars correctly, as improper contact prevents functionality.
Track Lighting Buying Guide: Circuit Types and Compatibility
To ensure your track lighting is compatible and functions correctly, you need to identify your system’s circuit type and connector profile. First, determine the number of circuits your track supports: single-circuit tracks control all heads simultaneously, while two- or three-circuit systems allow you to independently adjust groups of heads. Next, check the connector type, as H, J, and L families have distinct shapes, meaning replacement heads must match your existing track’s profile. Also, verify if your system is line-voltage or low-voltage; this affects the power supply and bulb compatibility. To identify your track’s wire count, see if it has three wires, which often indicates an H-type, or two wires with approximately 1-inch contact spacing, which suggests J-type. Never mismatch components—always double-check circuit count, connector shape, and voltage before purchasing. Doing so ensures safe installation and proper operation of your track system. For a similar clean DIY finish, always use the correct tools and follow safe wiring practices when connecting your lighting.