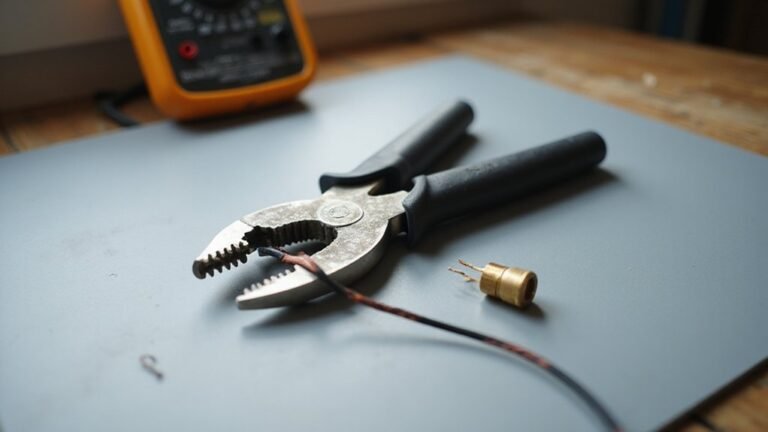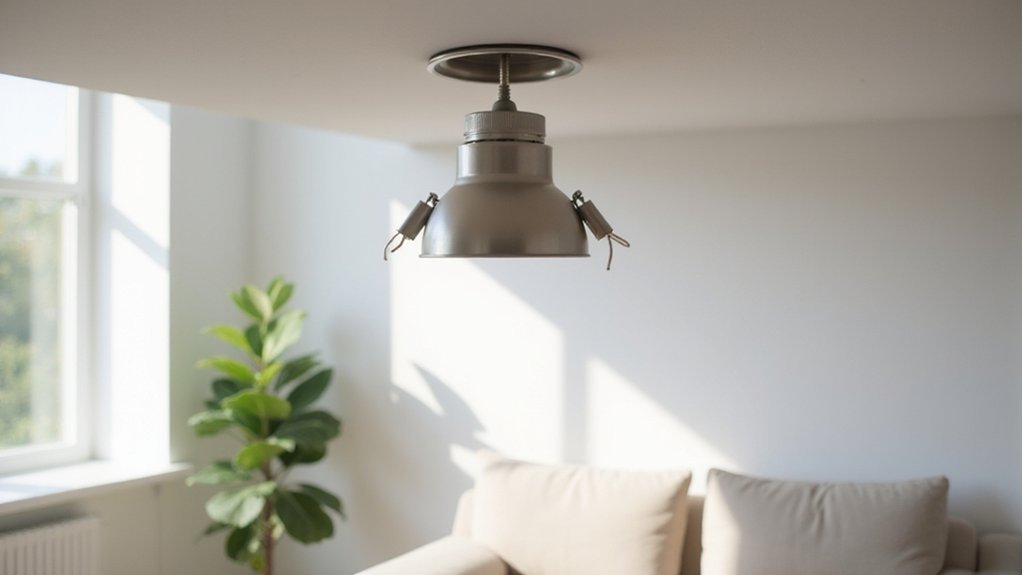
Thinking about removing a recessed light fixture but not sure where to start? Safe disconnection is key, and knowing how to handle the housing makes all the difference.
By following the right steps, you’ll be able to detach the fixture without damaging your ceiling or risking an electric shock.
Keep reading for a clear and simple approach to taking out recessed lighting safely.
Prep Your Workspace and Safety Gear for Recessed Light Removal
Before removing the recessed light, turn off the correct breaker at your electrical panel—not just the wall switch. Confirm the light is off by testing with a non-contact voltage tester, and always verify the tester on a known live source first. Skipping this step risks electrical shock and violates standard electrical safety codes.
Prepare your workspace and safety gear. Wear safety glasses to protect against falling debris, insulated gloves to guard against sharp edges and accidental contact with wiring, and a dust mask to prevent inhaling insulation particles. Use a stable, non-conductive ladder, avoiding chairs or metal step stools that could conduct electricity. Place a drop cloth underneath to catch any debris and insulation scraps. Carefully pull insulation away from the housing to expose wiring, then inspect the cavity with a flashlight for hidden wires or obstructions before proceeding. Note that after removing the housing, you may want to install a ceiling fan, which requires understanding the correct ceiling fan direction for year-round efficiency and comfort. A careful wiring a ceiling fan process is essential to avoid electrical hazards and ensure safe operation.
Identify Your Recessed Light Housing Type First
To identify your recessed light housing type, start by examining what’s above your ceiling. First, determine if you have new construction or remodel housing. New construction units attach directly to joists and require attic access for removal, while remodel housings grip drywall with spring clips, making them easier to access from below. Next, check if the housing is compatible with insulation. If insulation touches the can, you need an IC-rated housing; if not, a non-IC model requires clearance around it. If you have a wet or damp location, ensure your housing is rated for moisture to prevent corrosion or electrical issues. Expert insights recommend checking for trim compatibility before beginning any removal process. Following a safe wiring guide helps prevent accidental shorts or shocks during the removal process.
Then, identify whether you have a canless one-piece fixture or a traditional canned system. Canless units pull straight down, so removal involves simply detaching the fixture, whereas canned housings require trim removal before accessing the bulb or wiring. Ignoring these distinctions can lead to damage to your ceiling or wiring during removal.
Remove the Trim and Bulb Properly
To remove the trim and bulb properly, start by turning off the power at the breaker and allowing the fixture to cool for at least 15 minutes. Always handle the bulb carefully to avoid damage. Standard bulbs typically turn counterclockwise to loosen; use your hand or a cloth for grip. For halogen or MR16 lamps, use a push-and-twist motion instead. Removing the bulb first provides more room to work and makes trim removal easier.
Next, pull the trim straight down, not sideways. Most trims are held in place by spring clips or a friction fit. Apply a gentle, firm pull—wiggling or rotating slightly can help release the clips. If necessary, insert a thin tool like a putty knife at the edge to start the release process—be careful not to pry aggressively, which could damage the fixture. Once the trim drops a few inches, locate the spring clips and release them by squeezing with your fingers or pliers. Remove all clips before fully detaching the trim, then set everything aside carefully to prevent damage. Be aware that the trim ring is held in place by springs that provide flexibility and hold it securely, so caution is needed during removal. For a custom look, you can later install a DIY wall sconce that replaces the recessed housing entirely.
Release the Recessed Light Housing From the Ceiling
To release the recessed light housing from the ceiling, start by turning off the power and removing the bulb and trim for clear access to the mounting points. The process depends on your housing type and clip system.
For spring-tab or clamp-mounted housings, locate the spring clips or metal tabs that hold the can against the drywall. Use a flathead screwdriver to gently compress the retainer inward, which will push it away from the edge. Release one clip at a time, making sure to support the fixture to prevent it from dropping suddenly. If the housing remains tight, check for hidden retaining tabs around the flange. Some models require angling the housing out after the retainer disengages. If you encounter a similar struggle with a suspended fixture, converting a ceiling fan into a light fixture follows a different release method that may require accessing the mounting bracket first.
Avoid applying force directly to the opening or deforming the housing lip, as this can damage the fixture or enlarge the opening. Once released, carefully lower the can to reveal the junction box and wiring for the next steps. Understanding the different wire connector types helps ensure safe reconnections when removing the housing. If you plan to replace the fixture with LED strips, remember that low and high voltage options differ in performance and running cost.
Troubleshoot a Stuck Housing Before Disconnecting Wires
Before disconnecting any wires, inspect for paint, caulk, or adhesive bonding the trim to the ceiling. Scoring the perimeter with a utility knife can reveal whether the housing is simply glued in place. If it doesn’t move, test the spring tension by pressing firmly on opposite sides to relax the clips. If clips are missing, the housing may be held only by friction from the drywall, which is a common cause of sagging. Release them one at a time with pliers if corrosion or heat warping causes them to bind. Use a putty knife or suction cup to improve your grip and pull straight down. Never jerk sideways, as this risks damaging the housing. Keep in mind that for integrated LED units, the trim may still be energized even if the housing appears loose. For difficult housings, consider using a can light conversion kit to adapt the space rather than forcing a full removal. Treat all wiring as live until you verify the circuit is turned off, prioritizing safety. Residue from paint, adhesive, or uneven lowering indicates specific fixes rather than forcing the housing out.
Disconnect Wiring Safely From the Junction Box
Before disconnecting wiring from the junction box, ensure the power is completely off. Turn off the correct breaker and verify de-energized conductors with a non-contact voltage tester. Test the hot, neutral, and ground wires separately—one check per wire. Do not proceed if the tester indicates voltage.
Next, expose the junction box by releasing any spring clips or screws to lower the can. Take a photo of the existing wiring for reference. Inspect all wires for damage before handling them to ensure safety. Begin removing wire nuts by unscrewing each counterclockwise. Gently separate the fixture wires from the house wiring without pulling on the insulation. If screw terminals are used, loosen them instead of pulling the wires.
Once disconnected, cap the house wiring with new wire nuts. Wrap each capped conductor with electrical tape for added security. Finally, tuck the capped wires neatly inside the junction box, making sure they do not contact the metal box or other components.
Patch the Ceiling or Install a New Recessed Light
To determine whether to patch the ceiling or install a new recessed light, first identify if you’re removing the fixture permanently or replacing it. For permanent removal, start by capping the junction box with a blank cover plate. Next, proceed with drywall repair by cutting a clean square opening. Fit a backing strip behind the opening for support, then tape the seams to secure the repair. Apply thin coats of joint compound, sanding smooth with 100- to 120-grit paper between each coat. Always turn off the power at the circuit breaker before handling any wiring for safety. Consider wall sconce candle holders as an alternative decorative lighting option for the same space. For a safe and professional finish, follow safe wiring tips from a reliable DIY guide.
If your ceiling has texture, you’ll need to replicate it after the compound dries. You can use a spray-on texture or stipple it on by hand for a seamless blend. For optimal adhesion, ensure the surface is free of paper, texture, and debris before applying the patch. Once the texture is matched, prime and paint the entire repair area to match the surrounding ceiling.
In contrast, if you’re installing a new recessed light in an existing opening, reuse the current hole. No patching is necessary; simply wire the new fixture, secure it in place, and attach the trim. This approach skips drywall work and speeds up the installation process.