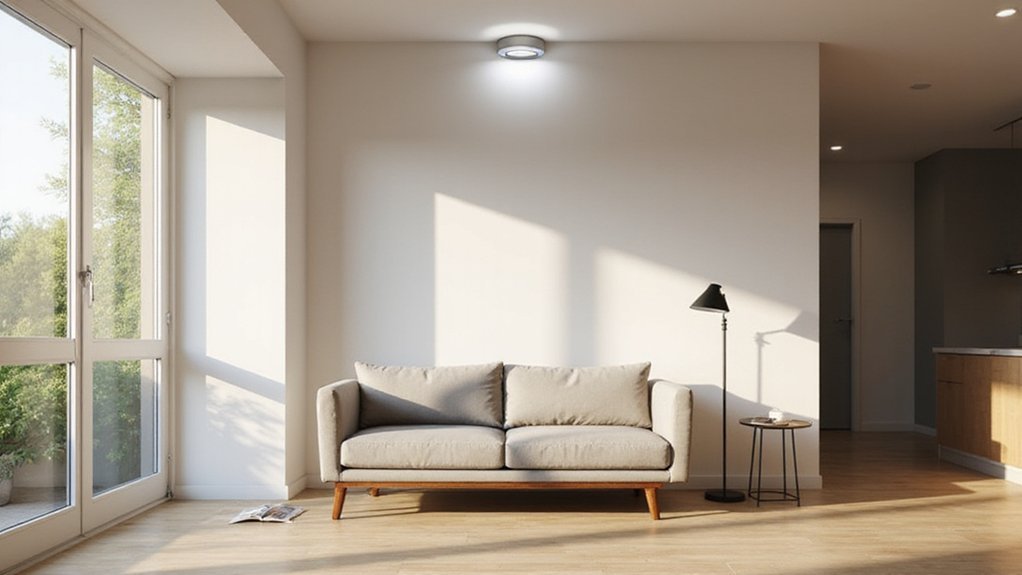
Wondering how to space your recessed can lights for a balanced, well-lit ceiling? Getting the right spacing ensures your space feels bright and inviting without dark spots or harsh shadows.
By following some simple guidelines based on ceiling height and room function, you can create a layout that looks professional and feels just right. Keep reading to learn how to plan your perfect lighting layout step by step.
Start With the Ceiling-Height Rule for Recessed Light Spacing
Start with the ceiling-height rule for recessed light spacing: divide your ceiling height by two. For example, with an 8-foot ceiling, space the lights about 4 feet apart. This calculation ensures the overlapping of light cones, providing even illumination and minimizing dark spots. For higher ceilings, adjust the spacing accordingly—10 feet high means 5-foot spacing, 12 feet high calls for 6-foot spacing. This method is a reliable starting point for creating balanced ambient lighting. Remember to decide on your preferred color temperature early—warmer tones for cozy areas, cooler light for task zones. To avoid overheating issues, always verify that your recessed fixtures are rated for insulation contact. Incorporating dimming controls from the outset also gives you flexibility to set the mood and adjust brightness as needed. Using this baseline helps prevent overly bright, harsh, or shadow-prone rooms. Regularly removing dust and debris from fixtures can also maintain their efficiency, similar to how cleaning solar panels on garden lights prolongs their performance. Always follow the same safe wiring tips used for ceiling fans to ensure your recessed lighting is installed without electrical hazards.
Figure Out How Many Recessed Lights You Need Per Room
To determine how many recessed lights you need per room, start with the room’s square footage by multiplying the length by the width. Use the guideline of one light for every 20 to 30 square feet. For example, a 4-inch fixture generally covers about 25 square feet, making it suitable for smaller areas, while a 6-inch fixture covers around 36 square feet, ideal for larger spaces.
Ceiling height also influences the number of fixtures needed; higher ceilings require more lights to ensure adequate coverage and overlap. Consider the purpose of each room—task areas like kitchens often need tighter spacing for brighter, more even light, whereas living rooms may require fewer fixtures for ambient lighting. Proper wire strippers help ensure safe and clean connections when installing your fixtures.
Choose your bulbs with the intended brightness and color temperature in mind, as these factors impact how bright or warm the room appears. For energy efficiency, opt for LED fixtures because they consume less wattage while providing sufficient illumination. Always check the manufacturer’s specifications to confirm the exact coverage per fixture and avoid over- or under-lighting the space. Just as ceiling fans must be switched to the correct setting for seasonal efficiency, your recessed lighting layout should be adjusted based on the room’s function and ceiling height. For a professional finish, follow safe wiring tips when connecting your fixtures to the electrical supply.
How Far Should Recessed Lights Be From Walls and Cabinets?
Recessed lights should be placed approximately half the ceiling height from the wall for a general wash of the room. For example, with an 8-foot ceiling, position the lights roughly 4 feet away from the wall. This helps ensure even coverage and avoids dark corners. When lighting areas near upper cabinets, pull the fixtures 12 to 18 inches forward from the cabinet’s front edge. Measure from the cabinet face, not the wall, to prevent lost light and countertop shadows. Taller ceilings require placing the lights farther out, while an 18 to 24-inch offset creates a softer wall wash. Always verify that the light beams land on the countertop, not the cabinet face. Using decorative fixtures with warm color temperatures can soften the perimeter and minimize harsh contrasts. For larger rooms, pairing recessed lighting with a ceiling fan for summer can improve air circulation and comfort. A strategic and symmetrical grid layout enhances overall illumination and visual appeal in larger kitchens. For tasks like food prep, ensure under cabinet light placement directs light onto the countertop to avoid working in your own shadow. Choosing fixtures with a proper trim and cover can reduce glare and improve the quality of light in these areas.
How to Adjust Spacing for Task, Accent, and Ambient Lighting
Separating recessed lights into ambient, task, and accent layers allows you to control the room’s function and more precisely. For ambient lighting, place fixtures 4 to 6 feet apart with wide flood beams to provide even illumination throughout the space. Task lighting should be positioned about 24 to 30 inches from the wall and spaced 30 to 36 inches apart, focusing light on work surfaces to reduce shadows. Accent lighting fixtures are best located 30 to 36 inches from the wall and spaced 4 to 6 feet apart to highlight artwork or architectural details. For outdoor accent lighting, consider using narrower beam angles to precisely illuminate specific features like statues or trees without scattering light. Adjust the color temperature for each layer: warmer tones for ambient, cooler tones for task lighting, and possibly more neutral or warm for accent lighting to enhance features. Incorporate dimming controls to easily shift between layers, allowing you to create different moods—from focused work to relaxed ambiance—without changing the layout. For a more flexible approach, you can also integrate flexible LED strip lighting into coves or under cabinets to supplement these layers with diffused, low-glare illumination that fills shadow gaps. For outdoor applications, waterproof connectors are essential to ensure reliable splices in wet conditions.
When to Adjust Recessed Light Spacing for Beam Spread
Adjust your recessed light spacing based on the beam spread to ensure even coverage. When you select a narrow beam angle, such as 25°–40°, rely on manufacturer spacing guidelines rather than a simple ceiling-height rule. Tighten the fixture spacing to prevent harsh, visible circles and dark gaps, especially with narrow beams. Understanding the specific beam spread of each fixture is critical to this calculation. For wider beam spreads, like 60°–120°, you can space fixtures farther apart beyond the half-ceiling height rule. However, maintaining about 50% overlap is essential for uniform illumination. Higher ceilings naturally increase the beam’s footprint, allowing for wider spacing, while lower ceilings require closer fixture placement to achieve the same coverage. For outdoor patio applications, consider using fixtures with a weather-resistant design to ensure long-term performance in exposed environments. Always prioritize the beam spread over ceiling height when determining your fixture spacing to achieve optimal lighting distribution. For example, if you plan to use Alexa light bulbs with a narrow beam angle, treat them like any other narrow-beam fixture and tighten spacing accordingly.
Common Spacing Mistakes That Ruin Your Layout
Even with the correct lighting formula, common spacing mistakes can ruin your layout. Placing too few fixtures creates large dark zones and a spotlight effect rather than smooth ambient light. On the other hand, overloading the ceiling with fixtures makes it look cluttered and creates harsh lighting. Keep lights about 24 to 36 inches from walls to prevent scalloping — uneven light distribution that can make the ceiling appear uneven. Additionally, neglecting the room’s function can leave task areas underlit, so always plan to light these zones adequately from your focal point. Compatibility issues also matter: match fixture colors across the room to ensure visual consistency. Lastly, verify wiring requirements to prevent flickering caused by incompatible dimmers or overheating from incorrect housing types. Using a low profile design helps maintain necessary clearance for insulation and prevents fire hazards in tight ceiling spaces. To further extend the system’s reliability, selecting fixtures with a longer real-world lifespan reduces the frequency of replacements and maintenance. For wet or damp locations, choosing waterproof recessed can lights ensures the fixtures remain safe and functional in bathrooms or covered outdoor areas. Avoiding these pitfalls helps achieve a balanced, functional lighting layout.