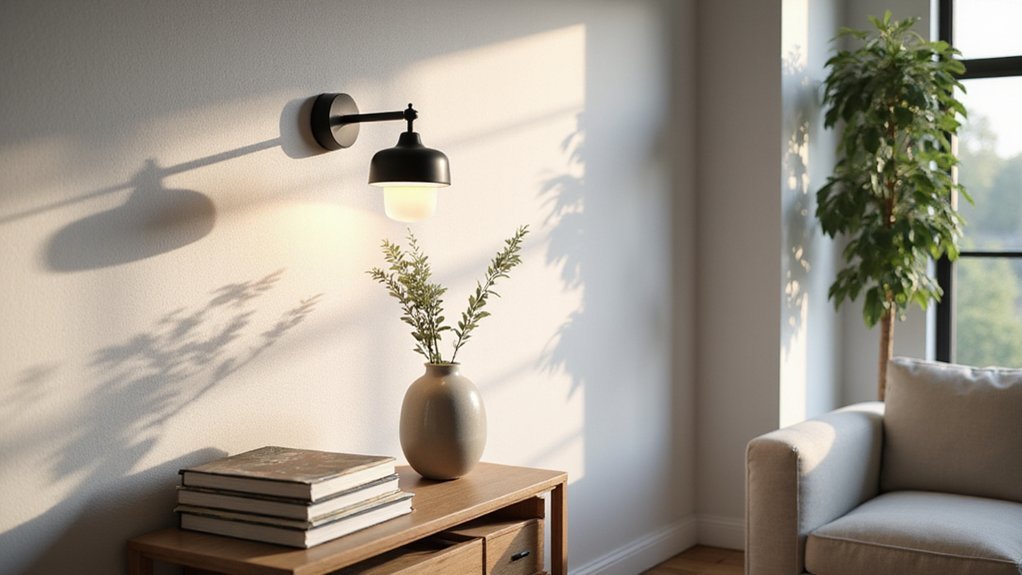
Looking to add soft, focused lighting to your space without taking up floor or table room? Wall sconces are a stylish and practical solution, available in everything from ornate, traditional designs to sleek, modern looks.
They can be positioned to brighten up your favorite spots or create ambiance. Keep reading to discover how to choose and install the perfect wall sconce for your home.
What Is a Wall Sconce?
A wall sconce is a lighting fixture that mounts directly onto a wall or vertical surface. It offers versatile illumination, providing functional, ambient, or decorative light emission. Much like a ceiling fan blade should be adjusted seasonally to optimize airflow, the direction of light from a sconce can be adjusted to change the mood of a room. These fixtures can direct light either outward, inward, or both ways, making them suitable for highlighting artwork, illuminating hallways, or adding accent lighting to a room. Their design has evolved from traditional candle, oil, and gas fixtures to modern electrical versions, making them a durable and space-efficient lighting choice. Available in a wide range of styles—from sleek minimalism to ornate designs—wall sconces often feature adjustable arms or shades to customize the direction and spread of light. Because they attach directly to the wall, they do not take up floor or table space, helping maintain a clean and uncluttered look while adding both style and practicality. Unlike recessed can lights, wall sconces are mounted on the surface of a wall rather than installed flush with the ceiling. Before installation, always confirm that the power is off at the breaker to avoid electrical shock during wiring.
Why Choose a Wall Sconce Over a Lamp?
Choosing a wall sconce over a lamp allows you to free up valuable floor and surface space, which is especially beneficial in small rooms, narrow hallways, or compact bedrooms. Without lamp bases or cords cluttering your nightstands or tables, you can keep these surfaces clear for essentials. This creates a cleaner, less cluttered visual layout and makes your space feel more open. When installing a sconce, you may need to remove recessed light covers to access the wiring cavity safely.
Wall sconces also enhance your room’s flow. Their slim profiles reduce visual obstruction and help maintain clear pathways for circulation. For a truly custom look, you can follow a DIY build walkthrough to create a sconce that perfectly matches your space. This openness makes the room appear larger and more streamlined. Additionally, sconces provide layered lighting with diffused, atmospheric light that softens shadows and lowers glare. This contributes to a calmer, more inviting atmosphere. They also serve as decorative accents that add style, while their wall-mounted design offers a permanent, space-efficient lighting solution that maximizes usable room area. For those seeking decorative accents that also hold candles, best wall sconce candle holders provide a stylish and functional option for layered illumination.
Types of Wall Sconces (Traditional, Modern, Directional)
Wall sconces come in three main styles: traditional, modern, and directional. Traditional sconces often feature intricate designs inspired by classic motifs, such as candelabra arms, ornate brass or bronze finishes, and fabric shades. These elements create a warm, inviting glow suitable for living rooms and more formal spaces. For those seeking a different ceiling approach, understanding track lighting installation can help you explore linear alternatives to wall-mounted fixtures. Modern sconces prioritize simplicity with sleek lines, geometric shapes, and materials like frosted glass, linen, or steel. They typically have a minimalist aesthetic that pairs well with contemporary decor. Directional sconces are designed to give you control over the light they cast; they can feature adjustable heads, swing arms, or pivoting components. This flexibility makes them ideal for task lighting, accenting specific areas, or creating customizable ambient light. Some models also include subtypes like spotlights, wall washers, and picture lights, each tailored to particular lighting needs. Understanding cost to install can help you budget for recessed alternatives if you prefer a flush ceiling look instead. When selecting a wall sconce, consider both your decorative style and the type of light control you require to ensure the fixture enhances your space effectively. For a clean DIY finish, always follow safe wiring tips when installing your chosen sconce.
Where to Place Wall Sconces in Every Room
In each room, the placement of wall sconces enhances both function and style. In living rooms, mount sconces beside sofas at 60–72 inches high to add layered light without occupying surface space. Ensure the fixtures are positioned about 6–12 inches from the edge of the sofa to avoid obstruction. For bedrooms, install bedside sconces 20–26 inches above the mattress, centered beside each nightstand, to provide optimal reading light while keeping them within easy reach. Keep sconces 6–12 inches from the bed edge to prevent obstruction or accidental bumping. In bathrooms, position sconces on either side of mirrors at eye level, about 60 to 65 inches from the floor, to minimize shadows and improve grooming. Hallway sconces should be spaced evenly every 6–10 feet along the wall, mounted between 60 and 72 inches high, to illuminate the space uniformly. For stairways, place sconces approximately 6–7 feet above each tread to ensure safety and clear visibility. When decorating, sconces can also frame fireplaces or mirrors, typically keeping 6–12 inches of clearance between the fixture and the decorative element to maintain a balanced look and functional space. For a cohesive farmhouse aesthetic, consider pairing sconces with a farmhouse style ceiling fan to tie the room’s lighting and airflow together. Similarly, for recessed lighting in the same space, consider LED retrofit kits for an efficient update.
How High Should You Mount a Wall Sconce?
The ideal height for mounting a wall sconce depends on its intended use, but generally, 60 to 72 inches from the finished floor is a good starting point. For rooms with an 8-foot ceiling, aim for about 66 inches to the fixture’s center; this height aligns with eye level for standing spaces like hallways and entryways. In areas with seating or beds, place the sconce approximately 55 to 65 inches from the floor, which is roughly shoulder height when seated. For bedside sconces, positioning them 12 to 18 inches above the top of the mattress often works best. When installing beside a bathroom mirror, mounting at 60 to 66 inches helps reduce shadows. Higher ceilings require a higher placement—around 66 to 72 inches—so the fixture doesn’t look out of place or stranded. Remember, aesthetic balance matters; aligning the sconce’s center height ensures visual harmony, rather than simply focusing on the edges. To achieve a clean DIY finish, you can apply similar safe wiring tips used when soldering LED strip lights. Always consult local electrical codes for secure mounting requirements before installation. For a fully custom project, you might also consider using a dimmer switch to adjust brightness, a technique often employed in DIY LED strip light builds.
How to Install a Wall Sconce (Step-by-Step)
Once you’ve chosen the correct height for your wall sconce, the installation process begins. First, turn off the power at the main electrical panel and verify the circuit is dead using a voltage tester. Remove any existing fixture, then install an electrical box if there isn’t one already, securing it with drywall anchors or attaching it directly to a stud for heavier fixtures. The electrical box must be rated to support the fixture weight.
For hardwired sconces, pull the electrical wire from a nearby outlet or junction box and route it clearly and safely to your new fixture location. When wiring, connect the hot wire (usually black or red), neutral wire (white), and ground wire (green or copper) with wire nuts, making sure each connection is tight and secure. wire nuts are a common type of twist-on connector that creates a reliable splice. Carefully tuck the wired connections into the electrical box to keep everything neat.
Next, attach the mounting bracket to the electrical box, line up the sconce’s base with the bracket, and tighten the screws to secure it firmly. Install the appropriate bulb, ensuring it matches the fixture’s specifications. Finally, restore power at the main panel and turn on the switch to test your new wall sconce. If it lights up properly, your installation is complete.
Choosing the Right Bulb and Brightness for Your Wall Sconce
Choose the right bulb type and brightness based on your fixture’s specifications and desired lighting effect. Match the bulb base to your wall sconce: E12 candelabra for decorative fixtures, E26 for larger or more general use fixtures, and G9 bi-pin for compact designs. For shapes, candle or globe bulbs create warm, ambient light, while reflector bulbs focus light with precision. Prioritize lumens over wattage; lower lumens (around 200-400) provide accent lighting, while higher lumens (600-800) are better for task areas. Select bulbs in warm white (2700K-3000K) for cozy, inviting atmospheres, or bright white (3500K-4100K) for areas needing increased visibility like kitchens or bathrooms. LED bulbs are preferable because they last longer, consume less energy, and offer better color rendering compared to incandescent bulbs. Always check if your dimmer switch is compatible with the LED bulb to ensure smooth dimming. Avoid incandescent bulbs to save energy and gain longevity. For decorative sconces, aim for moderate brightness to prevent glare and create a balanced, pleasing look.
Outdoor Wall Sconces: Materials, Weatherproofing, and Style Tips
Choosing outdoor wall sconces requires selecting materials and weatherproofing that can withstand the elements. Opt for corrosion-resistant options such as powder-coated aluminum, stainless steel, or solid brass, especially if you live near the coast. For fixtures exposed to wet conditions, look for an IP65 rating, rather than just IP44, to ensure proper protection against water ingress. Marine-grade fixtures and high-performance composites further resist salt, humidity, and UV fading, extending the lifespan of your lighting.
Style choices are broad—materials are no longer limited to basic metal finishes. Decorative options like weathered bronze, antique brass, and copper develop attractive protective patinas over time, adding character to your outdoor space. Modern designs come in black, satin nickel, or brushed aluminum, offering sleek, contemporary looks. Farmhouse styles often feature gooseneck barn lights, while warm wood tones provide a cozy, inviting feel.
Installation is critical for durability. Ensure the junction box is weatherproof and all entry points are sealed tightly. Using powder-coated or sealed finishes on the fixture prevents chipping and fading, maintaining appearance over time. Selecting fixtures with high-quality weatherproofing features will keep your outdoor sconces functional and attractive for years to come.