If you’re wondering how to add charming, functional lighting to your outdoor space without a big budget or complicated setups, you’re in the right place.
You can create professional-looking paths, cozy lanterns, and even tiki torches using simple materials and basic tools. Keep reading to discover easy DIY projects that will brighten your yard and make it more inviting.
Build a Rope Light Path That Looks Like a Pro Did It
To achieve a clean and professional-looking rope light path, start by measuring the entire walkway length and mapping out the route along edges, curves, and drop-offs. This will ensure the lighting line follows the intended path smoothly and precisely. Keep your line aligned on one side of the walkway or run two parallel rows for a more polished pathway enhancement. Select a color that complements your landscape and identify the nearest power source before beginning installation. For a safe connection, you will need a LED strip power supply rated to handle the total wattage of your chosen lights. For best results, choose a wet location rated product to withstand outdoor exposure.
Only cut the rope light at designated safe-cut points using sharp scissors. For tight corners or curves, use connectors instead of forcing bends, which prevents damage and maintains a neat appearance. Secure the rope light with garden staples—spacing them farther apart on straight sections and closer together on curves—to keep the line straight and evitar sagging. Before fastening it fully, adjust the line to ensure it remains straight and follows the planned route.
Seal all connections thoroughly with heat-shrink tubing and silicone to protect against moisture and dust, and test the entire setup before applying final seals. This step guarantees your installation works correctly and helps you identify any issues early on. Always turn off power at the circuit breaker before working with any wiring to ensure safety.
Turn Jars and Bottles Into Gorgeous Solar Lights for Walkways
To turn jars and bottles into beautiful solar lights for walkways, follow these steps. First, gather mason jars with rings, small stake solar lights, and electrical tape. Remove the stake from your solar light, leaving the light module and solar panel attached. Wrap electrical tape around the module 12 to 15 times to create a snug fit. Press the wrapped module into the jar ring and screw it onto the jar. For an even tighter fit, add double-sided foam tape inside the ring before inserting the module. For a more durable seal, you can also apply a bead of silicone caulk around the inner edge of the ring before pressing in the module.
Ensure your solar panel receives direct sunlight for at least 4 to 8 hours daily to charge properly. To enhance their appearance, add decorative touches like frosting spray, painted patterns, or even string wrapped around the outside of the jar. These personal touches soften the glow and create striking shadow effects. Because these lights are self-contained with no wiring needed, they are ideal for illuminating walkways safely and charmingly. For a secure assembly, always use the lid’s outer ring and discard the inner part to hold the module firmly in place, as this two-part lid ensures the light stays sealed against moisture. For a clean finish, use electrical tape to insulate any exposed metal contacts on the module. To ensure optimal performance, consider that the fan’s ceiling fan direction should be reversed seasonally for efficiency, though for outdoor lights, the key is maximizing sun exposure.
Hang String Lights Without Tangles or Sagging
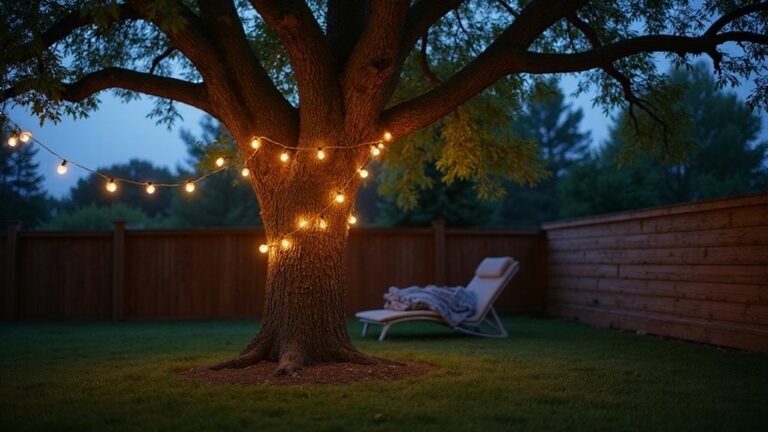
To prevent tangles and sagging, coil your string lights from the non-plug end around a sturdy cardboard tube for storage. This method keeps the wires organized and minimizes knot formation, making it easier to hang the lights next season. When you’re ready to reuse them, simply unwind the coil — the lights will stay tidy and ready to hang without the hassle of untangling a tangled mess. Always wrap lights in a continuous line to avoid doubling back on itself. For a more permanent installation, consider using recessed light fixtures to power the lights cleanly through the ceiling. Even with careful handling, the LED lifespan can be shortened by frequent bending of the wires near the socket, so handle that area gently to preserve the bulbs’ rated hours.
Make Quick Upcycled Lanterns for Patio Ambiance
To make quick, upcycled lanterns for your patio ambiance, start with simple materials like clean glass jars or tin cans. Use twine or wire to create hanging loops, securing them tightly. For an easy, instant glow, insert LED string lights inside the jars or cans—this is the fastest method and requires minimal effort. For a softer light, apply frosted spray paint or glue-tint to the outside of the containers to diffuse the glow evenly. Punch decorative patterns into the cans to allow small amounts of light to escape artistically. Always opt for LED tea lights for safety and longevity. For projects using repurposed glass, ensure proper curing time of at least 12 hours for any adhesives or clay used. To enhance visual impact, cluster several lanterns at various heights across your patio space. You can easily change colors or textures throughout the seasons by swapping out the decorations, making this a flexible decor option. When wiring the lanterns for a permanent installation, always connect wire connectors securely and follow safe wiring practices. This upcycling approach transforms everyday items into charming, budget-friendly lighting that adds warmth and atmosphere to your outdoor space. Unlike harsh overhead lights, these gentle fixtures provide focused downward illumination that highlights patio surfaces and creates a cozy atmosphere.
Create Warm Glowing Walkways With Simple Mason Jar Hacks
To create warm glowing walkways with simple mason jar hacks, start by inserting a solar light stake head into a clean, dry jar. Make sure to remove any residue, as it can dim the light. The solar panel needs 6 to 8 hours of direct sunlight to charge fully. A built-in sensor will turn the light on automatically at dusk, providing illumination without any wiring. For added visual interest and texture, fill the jars with decorative items like glass beads, sand, or small pebbles. These jars can be lined along garden bed edges or placed beside stepping stones to outline a charming path. You can also elevate them on posts or stakes to ensure they get maximum sun exposure. Mixing different jar sizes creates a layered, more dynamic lighting effect. This basic approach eliminates the need for complex electrical wiring, which accounts for a significant portion of professional installation costs. Since no wiring is required, all you need is sunlight and a little creativity to produce a beautiful, glowing walkway. To keep the solar panel working efficiently, clean it with a damp microfiber cloth to remove dust and grime that can reduce charging performance. This approach also reflects eco-friendly, sustainable principles by repurposing household containers and relying on renewable solar power.
Repurpose Wine Bottles and Tin Cans Into Garden Tiki Torches
To turn wine bottles into tiki torches, start with a clean glass bottle and a brass coupling, which acts as a fireproof wick holder. Seal the coupling tightly onto the bottle opening, thread your wick through the coupling, and fill the bottle about one-third to three-quarters full with citronella fuel. Allow the wick to soak for 15 to 30 minutes before lighting, ensuring the fuel is absorbed and the wick is fully saturated. Applying a consistent wrap method similar to how you would layer string lights evenly around a tree can help distribute the wick length without tangling.
For safety, never overfill the bottle and double-check that the coupling is snug to prevent leaks. To mount or hang the torch, use split-ring hangers or similar fixtures, but be careful to avoid cracking the glass by adjusting tension cautiously. When you’re done, use a snuffer to extinguish the flame and shield the wick from weather exposure to prolong its lifespan. Using a fiberglass wick instead of cotton can help the torch burn cleaner and last longer, enhancing overall performance. Check all fittings are secure before each use, just as you would when replacing an under cabinet light bulb to ensure a safe connection. Choosing a brass coupling with a tight seal is critical for preventing dangerous fuel leaks during operation.
Tin cans can also be repurposed into outdoor torches easily; simply perforate the cans with decorative or functional patterns for light diffusion. Always ensure fittings are secure and mounts are stable to prevent accidents. Keep safety in mind by checking the stability and ensuring that no fuel leaks or loose parts are present before lighting.