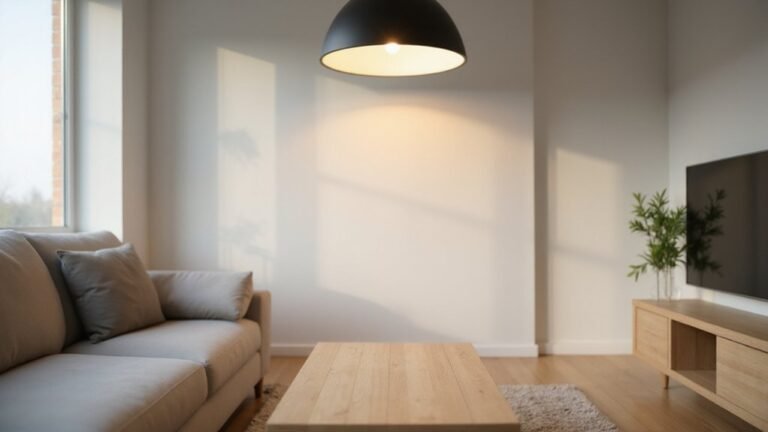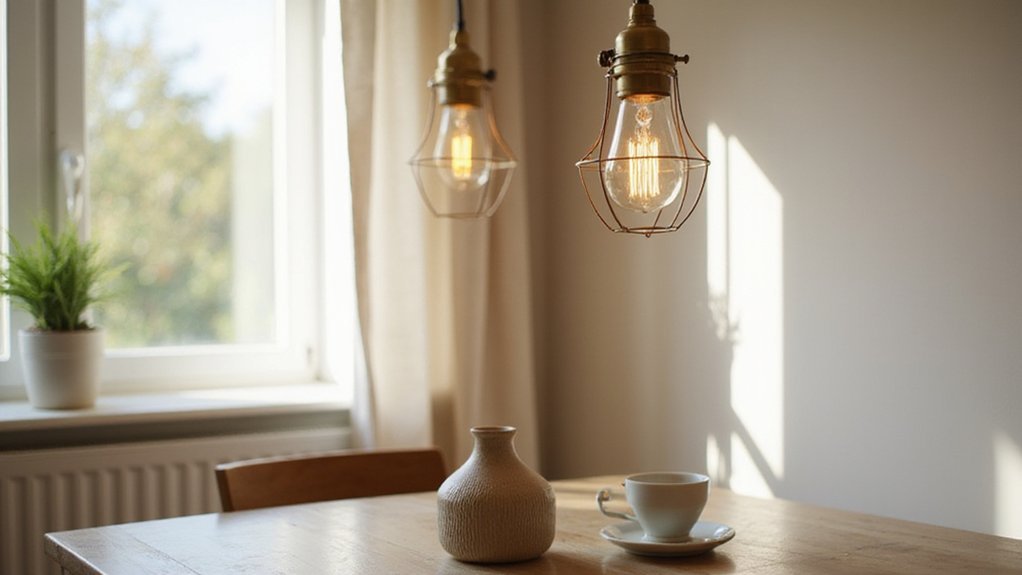
Looking to hang a pendant light yourself but unsure where to start? The good news is, with a few basic tools and a step-by-step approach, you can easily create a stylish fixture that fits perfectly in your space.
You’ll learn how to safely install your pendant, adjust its height, and handle different ceiling types—all in a simple, straightforward way.
Keep reading to get all the details you need to light up your home with confidence.
Gather Tools and Materials Before You Start
Gather all your tools and materials before starting to avoid frustrating mid-project trips to the hardware store. You’ll need your pendant light fixture kit, which includes the canopy, mounting hardware, and wire nuts. Make sure to have your screwdriver set, wire cutters, strippers, and pliers ready for electrical work. A voltage tester is essential to confirm the power is off, while electrical tape helps secure your connections. Use your drill and bits for mounting, but practice power tool safety to prevent accidents. Safety glasses and gloves protect you from sharp edges and debris during installation. Keep your workspace organized by having your ladder, level, tape measure, and pencil within easy reach. A stud finder will help you locate ceiling joists, ensuring your fixture hangs securely. Keep in mind that ceiling fan direction changes between summer and winter to improve air circulation and energy efficiency. When wiring the socket, twist wires to prevent fraying and hook wires around screws to ease the connection process. For optimal air movement, adequate clearance from walls is crucial in any room. Preparing everything in advance saves time and helps you work efficiently. Unlike outdoor fixtures, these pendant lights use lower wattage bulbs, but choosing between flood lights vs spot lights for other areas depends on your beam spread and coverage needs.
Plan Your Pendant Light’s Location and Height
To plan your pendant light’s location and height, start by measuring your surface height. Standard tables are about 75 centimeters tall, counters 90 centimeters, and bar counters 105 centimeters. For kitchen islands, aim for a clearance of 30 to 36 inches from the bottom of the fixture to the surface. In general rooms, keep the bottom at least 2.10 meters above the floor. For taller ceilings, increase the drop by 3 to 6 inches for every foot above eight feet.
Match the pendant to your space: a lower hang is ideal for dining areas to provide focused light, while kitchens benefit from task lighting that avoids glare. For a similar under cabinet approach, you can use a full build to integrate task lights into your layout. Adjust the height depending on ceiling height—add 3 to 6 inches of drop for every foot above 8 feet. Use tape to mark the planned position and check its proportions before drilling. Remember to consider your decorative style and color coordination; a well-placed pendant can enhance the room’s overall look. Center the fixture over the table or island for balance, ensuring the placement is both practical and visually appealing. If you want to elevate the fixture’s aesthetic, consider adding crystal accents to reflect more light and complement your design.
Cut Pendant Light Hardware to the Right Length
To cut pendant light hardware to the right length, you need to identify the type of hardware first. For corded fixtures, loosen the cord grip and slide the excess cable upward; avoid cutting unless you are prepared to rewire safely. If your fixture uses chain links, remove the necessary links with pliers—never cut through a link, which can weaken it. For rods, use a hacksaw to cut to the desired length, then smooth the cut end with a file to prevent damage or snagging. A smart plug setup can simplify powering your new pendant light by letting you control it remotely without rewiring the wall switch. If you need to make a wire connection after cutting, select a compatible terminal type to ensure safe and secure joins.
Measure the drop from the ceiling to the preferred pendant height, including the canopy and connector. It’s important to account for these components to achieve an even and balanced look, especially when installing multiple fixtures. Always leave a little extra wire or cable for reconnection, and test fit your fixture before tightening everything into place. After adjusting the length, secure the strain relief to keep your modifications stable over time. For this step, ensure the fixture clearance accommodates taller individuals.
In many cases, shortening can be easier than cutting. Some adjustable fixtures coil excess cable or chain internally, providing a neat way to fine-tune hanging height without making permanent cuts. Taking the time to measure carefully and ensure compatibility is key to a professional-looking installation.
Install the Mounting Bracket and Canopy
To install the mounting bracket and canopy securely, start by verifying that the bracket is compatible with your ceiling junction box. Always use the bracket provided with your fixture rather than an older one. Turn off the power at the switch and breaker, then confirm no current is flowing with a voltage tester. Wire connectors are commonly used for this task.
Center the bracket on the ceiling box, ensuring the screws point away from you. Tighten the bracket firmly so the canopy will sit evenly against the ceiling. When attaching the canopy, connect and tuck in the wiring first, then slide the canopy over the mounting screws. Press it snug against the ceiling without gaps. Use the adjustable mounting screws to align the canopy properly before tightening everything completely. Secure all wire connections with wire nuts for ground, neutral, and hot wires before tucking them into the junction box. This step ensures a safe wiring process similar to installing a ceiling fan and light.
Secure the canopy with the screws, ring, or decorative nuts supplied with your fixture. Verify that the pendant cord hangs at your desired height, then lock the strain relief collar in place. Finally, tighten all screws and fittings to ensure the canopy sits flush and remains stable. For a cleaner aesthetic, consider how the fixture’s profile compares to low profile recessed options, which prioritize minimal ceiling clearance and a streamlined look.
Connect the Pendant Light Wires Safely
Before handling any wires, turn the circuit off at the breaker and verify it’s dead with a non-contact voltage tester—don’t rely solely on the switch. Start by connecting the ground wire: match your fixture’s bare copper or green wire to the ceiling’s ground wire. Use wire strippers to remove about ½ inch of insulation, ensuring not to nick the copper conductor. Next, connect the neutral wires—usually white or blue—by twisting them together and securing with a properly sized wire nut. Then, connect the hot or live wires—typically black or brown—in the same manner. Never connect ground to a power conductor. Make sure the wire nuts are fully twisted onto the wires and tighten securely. Perform a gentle tug on each splice to confirm it is secure. Carefully fold the connected wires back into the electrical box without pinching the insulation, keeping all splices inside the enclosure. Always consult a licensed electrician if you are uncertain about any step. Loose or insecure connections can cause arcing and potentially lead to electrical fires, so double-check each connection’s mechanical security before closing the fixture’s canopy. A plastic cable clamp can be used to relieve strain on the wires entering the junction box. Securing all connections properly also helps maximize the real-world lifespan of your lighting fixture by preventing damage from heat and vibration. For outdoor installations, always use fixtures rated for wet locations to maintain safe wiring tips against moisture intrusion.
Test Your Pendant Light Installation
After completing the wiring and closing the canopy, you should restore power at the breaker and test the pendant light switch. Turn the switch on and off several times to ensure the fixture responds reliably each time. If the light does not turn on, troubleshoot by checking the breaker to confirm power is reaching the fixture, verify the bulb is properly seated and functional, and test the switch for continuity. Only proceed once the pendant illuminates consistently. Next, check the fixture’s appearance and placement. Match its color to your room’s palette to ensure it fits your design vision. Confirm the pendant’s material—whether metal, glass, or other—to see that it hangs straight and without strain on the wiring. Perform a gentle pull on the support to assess stability; it should feel secure and not loosen easily. From multiple angles, inspect the fixture for glare or blocked sightlines. For dining areas, position the pendant approximately 75 centimeters above the table surface; in living rooms or open spaces, maintain a minimum clearance of 2.1 meters from the floor to ensure comfortable headroom. When all these checks are satisfactory, your pendant light installation is complete and ready for everyday use. Confirm that all wire connections, including the black, white, and bare copper wires, are fully pushed into the junction box and secured with wire nuts before closing the canopy. For longer fixture life, consider that AC motors typically last longer than DC motors in standard household fans. To achieve a clean, professional look, use a guide wire setup to support the pendant’s cord and prevent any sagging along its run. For outdoor or large-tree installations, selecting weatherproof options can significantly extend the lifespan of your lighting setup.