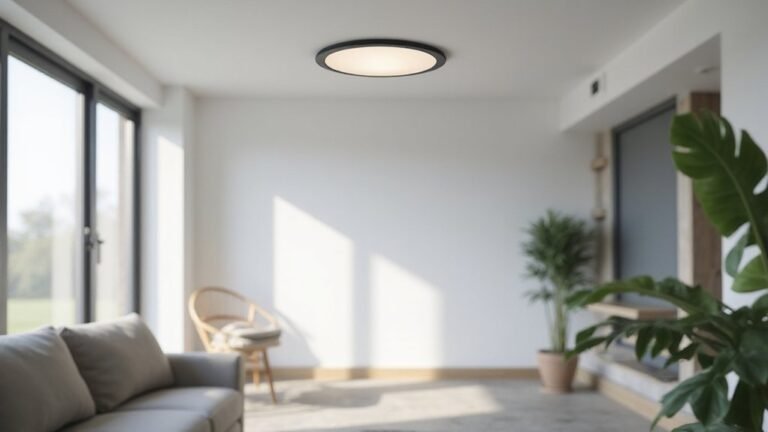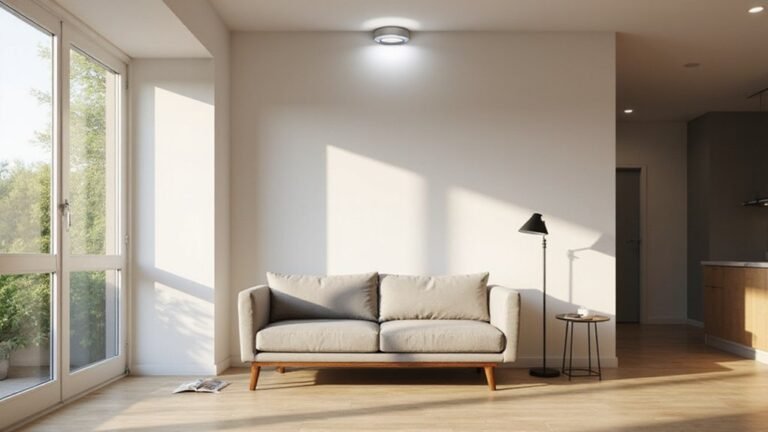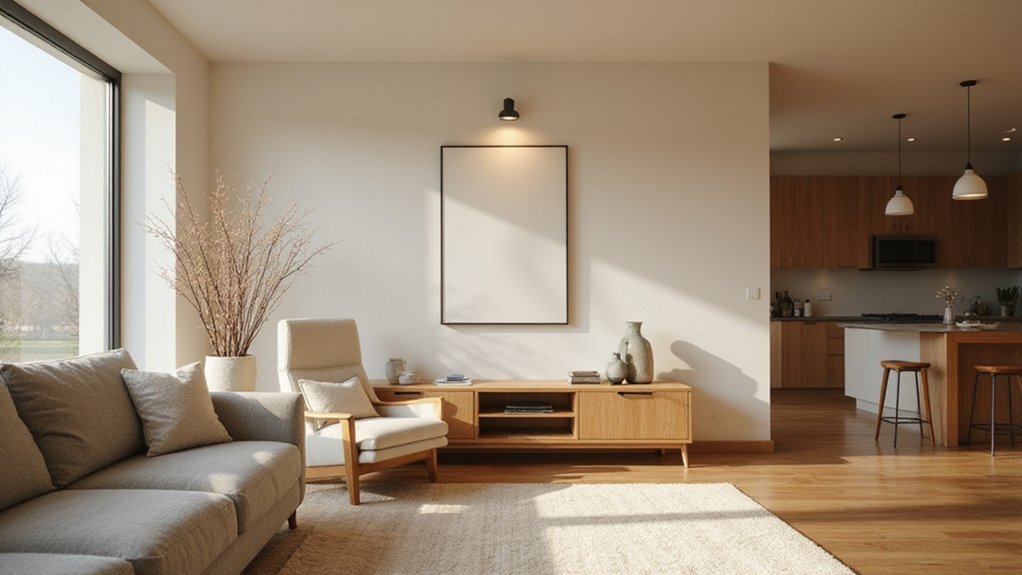
Figuring out where to place recessed lights in your living room can seem tricky, but it all comes down to balancing light coverage without creating dark spots.
The right placement can highlight your favorite areas and make the space feel warm and inviting.
In the following, you’ll find practical tips to help you position your lights effectively and avoid common mistakes.
Does Ceiling Height Affect Recessed Light Spacing?
Ceiling height is the primary factor that determines how far apart you should space your recessed lights. As a general rule, divide your ceiling height by two to find an appropriate distance between fixtures. For example, an 8-foot ceiling suggests spacing the lights about 4 feet apart. Taller ceilings allow for wider spacing because the light beam disperses farther across the room. For a 10-foot ceiling, aim for approximately 5-foot spacing, while a 12-foot ceiling can accommodate about 6-foot intervals. Conversely, lower ceilings require closer spacing—no more than 4 feet apart for an 8-foot ceiling—to prevent harsh shadows and overly concentrated pools of light. Keep in mind that higher ceilings can reduce the perceived brightness at floor level, so you may need higher-output bulbs to maintain even illumination. Use the half-ceiling height guideline as a starting point, but always adjust based on your specific room and lighting needs. If you are using smart bulbs with your recessed lights, be aware that connectivity issues can sometimes arise, so knowing how to reset the Wemo can help restore pairing and control. Following a safe wiring tips approach can help you achieve a clean DIY finish when installing the lights. If your remote system fails to sync, a factory reset procedure often resolves common pairing problems.
How Far From Walls Should You Place Recessed Lights?
Place recessed lights about half the ceiling height from the wall for general illumination—on an 8-foot ceiling, that’s roughly 4 feet. This distance helps create balanced lighting without leaving dark edges. For wall washing, bring the fixtures closer—between 1.5 and 3 feet from the wall—to effectively highlight vertical surfaces. For a precise layout, divide the wall length by double the number of lights in a row to determine exact distances from the wall. Similarly, keeping the solar panel surface clean ensures maximum light absorption for outdoor fixtures.
The type of decorative trim also influences placement. Fixed trims work better when positioned closer to walls, while wider beams can tolerate greater offsets without creating uneven lighting. Be cautious not to push lights too far from the wall, as this may result in underlit edges that detract from the room’s overall brightness. When adjusting for seasonal lighting needs, remember that switching the ceiling fan direction can improve air circulation and energy efficiency. Always turn off the power at the circuit breaker before starting any electrical work on fixtures.
To optimize placement, consider your fixture’s beam angle. Proper alignment ensures that light spreads efficiently across the surface, preventing wasted energy and reducing the need for additional fixtures. Accurate positioning from the outset helps achieve both aesthetic appeal and energy efficiency.
Where to Position Lights Around Seating and Focal Points
Position recessed lights directly over your seating area rather than the room’s geometric center. For sofas against a wall, place fixtures about 18 to 24 inches from that wall; for sofas farther in, set them roughly 3 feet behind the furniture. This ensures even, focused illumination on your seating rather than an all-over wash. Use lighting symmetry to balance brightness across the space, but adjust fixture orientation to prevent glare into eyes. If you also need overhead airflow, consider a garage ceiling fan to complement the lighting layout without competing with recessed fixtures. To highlight focal points like a fireplace or artwork, aim accent lights directly at them. Avoid making the TV the brightest spot since glare can ruin the atmosphere. When wall-washing surfaces near seating, position directional cans 12 to 18 inches from the wall to soften edges and provide illumination without overwhelming the central area. For any exposed cable runs near these fixtures, ensure you use proper waterproof splices to protect low-voltage connections from moisture and corrosion. Using a smart plug on these lights can save energy by automating their schedule and reducing unnecessary runtime.
What Common Recessed Lighting Mistakes Should You Avoid?
Avoid common recessed lighting mistakes by paying attention to spacing, fixture size, and color temperature. Ensure fixtures are spaced properly by dividing the ceiling height by two to prevent dark spots or overlapping light beams that create harsh contrasts. Over-lighting is a frequent error; installing too many cans can make a room feel sterile and uncomfortable. Always consider ceiling height and room scale—fixtures should be proportionate to the space. Using fixtures that are too large can overwhelm the room, while too small fixtures may leave areas dim. Additionally, select a consistent color temperature, ideally within the warm Kelvin range, to maintain a cozy and inviting atmosphere. Mixing different temperatures or choosing cold whites can disrupt the ambiance. For added flexibility, consider types of wire connectors when planning your electrical connections, as these ensure secure and reliable power delivery to each fixture. Finally, recognize that puck lights function as low-voltage fixtures that often use LED modules for efficient, directional illumination. A pendant light with a shade, for instance, offers a decorative alternative that can add focused task lighting while softening the overall look of the room. Lastly, match trims to your ceiling color and choose bulbs that minimize glare, reducing eye strain and creating a seamless look. A well-planned lighting layout should emphasize need-based placement instead of relying on a generic grid, ensuring each fixture serves a specific purpose in the room. Avoiding these pitfalls ensures your recessed lighting layout is both functional and aesthetically pleasing.
How to Layer Recessed Lighting for General, Task, and Accent Needs
Recessed lighting layers effectively when you start with ambient lights in a grid spaced at ceiling height divided by two, ensuring even general illumination. Keep fixtures about 2 to 3 feet from walls to reduce shadows and provide a balanced backdrop.
Add task lights closer to activity zones, positioning them approximately 24 to 30 inches from the wall. Space these fixtures 30 to 36 inches apart to minimize glare and ensure focused light over seating or work surfaces.
Finish with accent lighting using adjustable gimbal or directional fixtures. Aim these fixtures about 30 to 36 inches from the feature, such as artwork or textured walls, at roughly 30 degrees or one-third ceiling height off the wall to achieve the desired highlighting effect.
Ensure each layer is controlled separately through dedicated switches or dimmers, giving you flexibility to adjust the ambiance to your needs.
How to Measure Your Living Room Before Recessed Lighting Placement
Start by using a tape measure and grid paper to record your living room’s exact length, width, and ceiling height. These measurements are crucial for accurate spacing calculations. Measure any existing recessed lighting openings by removing the trim and bulb, then record the inside diameter of the housing. Mark fixed features like furniture, focal points, and shelves on your sketch to prevent placing lights over obstructions.
For layout, apply the half-ceiling-height rule for wall-to-light distance. For an 8-foot ceiling, this generally means spacing the fixtures about 4 feet apart. In open-plan areas, divide the space into imaginary sections and measure each separately. Use a laser level to mark aligned positions for precise placement. Planning ahead with these measurements ensures uniform light distribution and avoids surprises during installation. If you encounter wiring complications while adjusting existing fixtures, call an electrician to safely handle any live circuits or code violations. To further refine your layout, consider the same planning precision used in DIY blade templates when crafting custom ceiling fan blades, as both projects rely on accurate room and fixture measurements. Always verify local building codes to ensure compliance before cutting any holes.